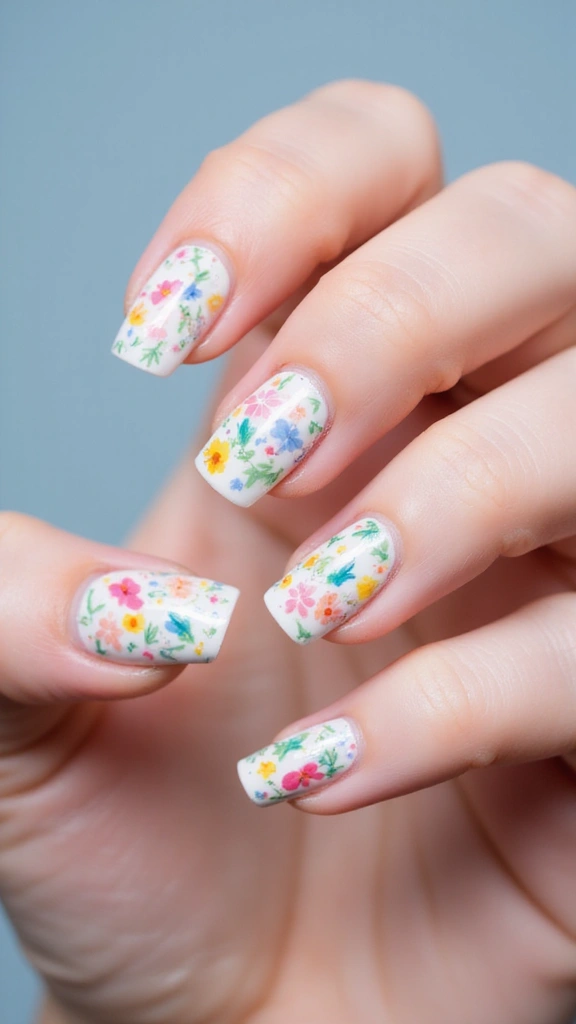
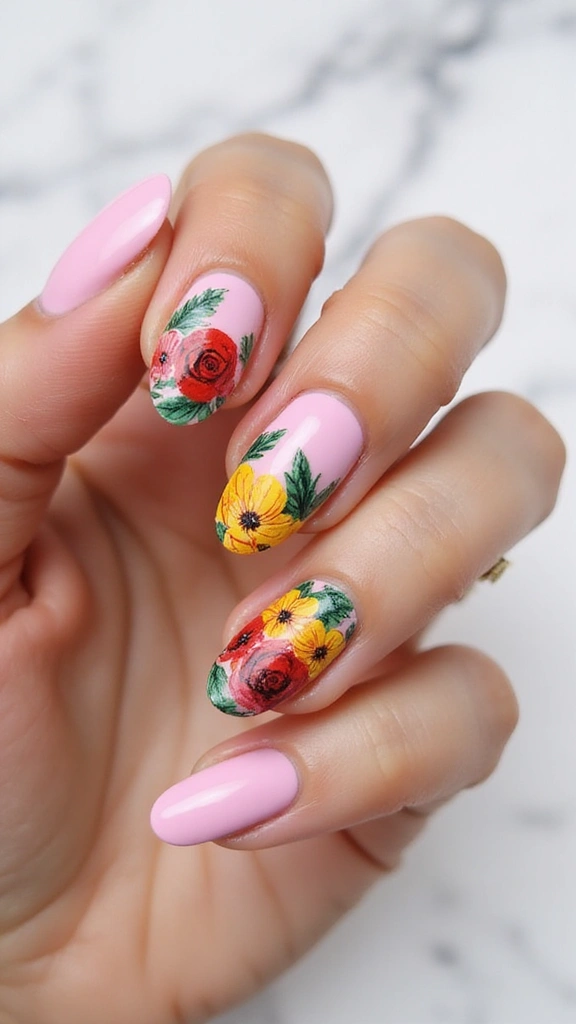
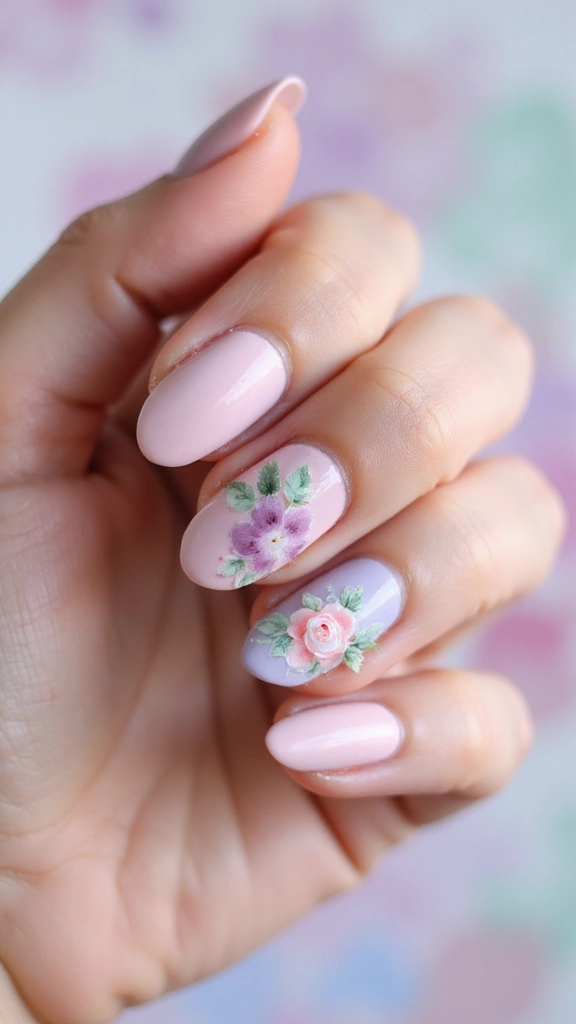
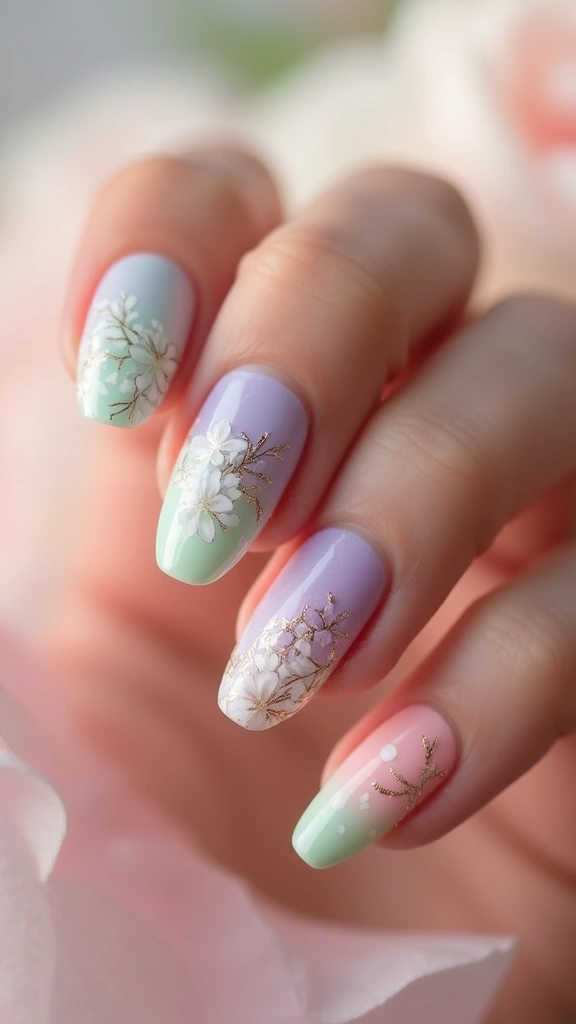
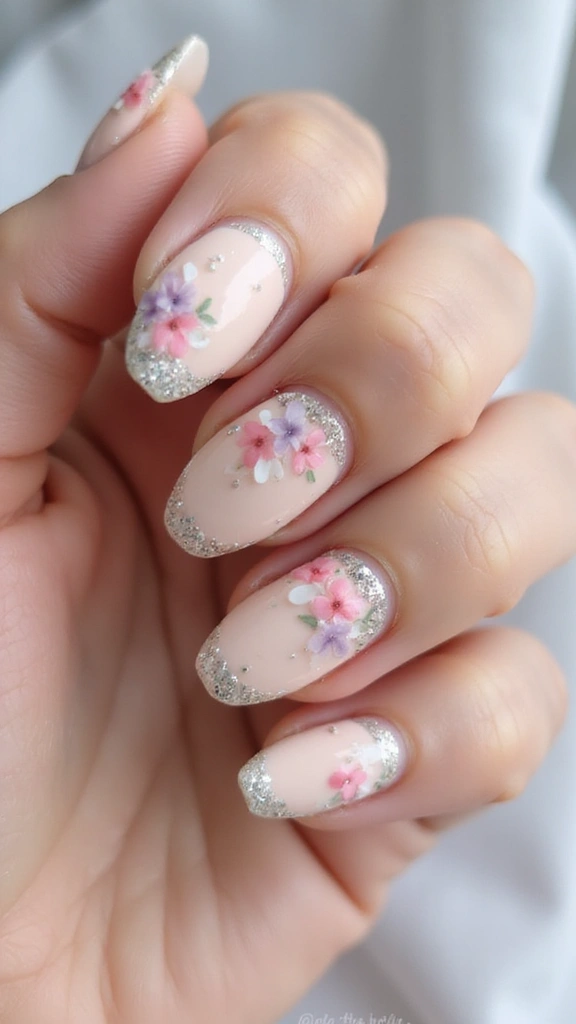
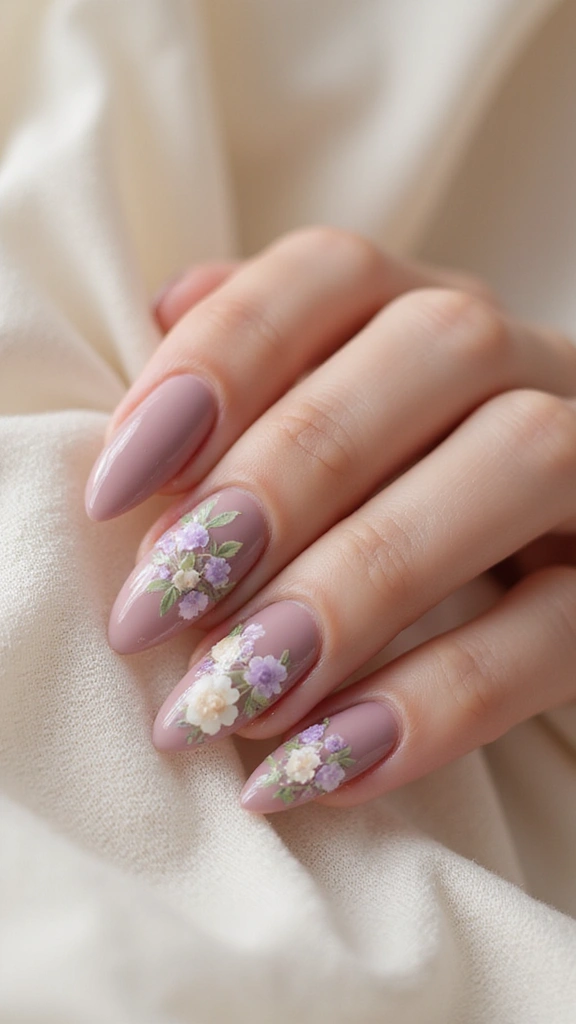
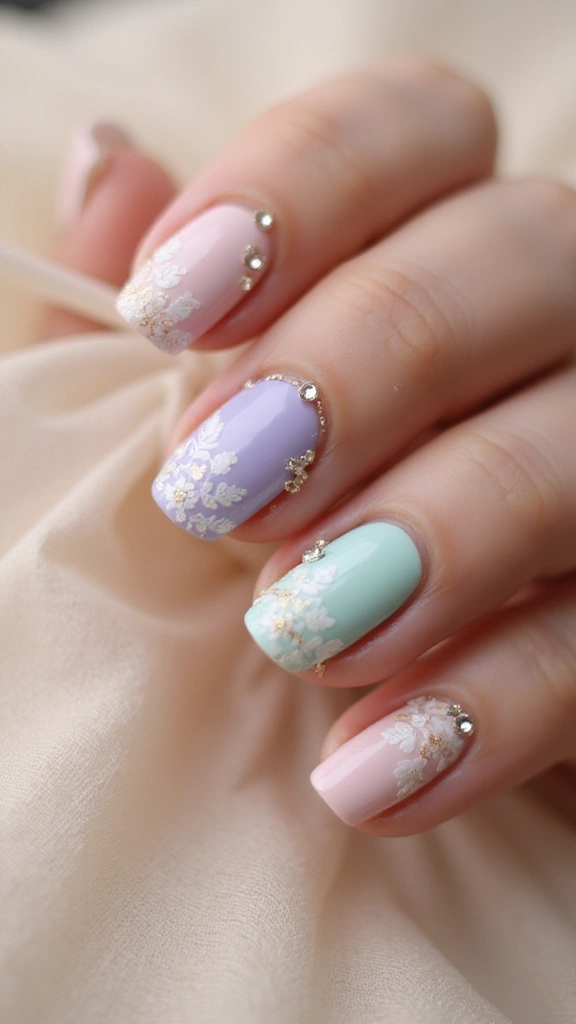
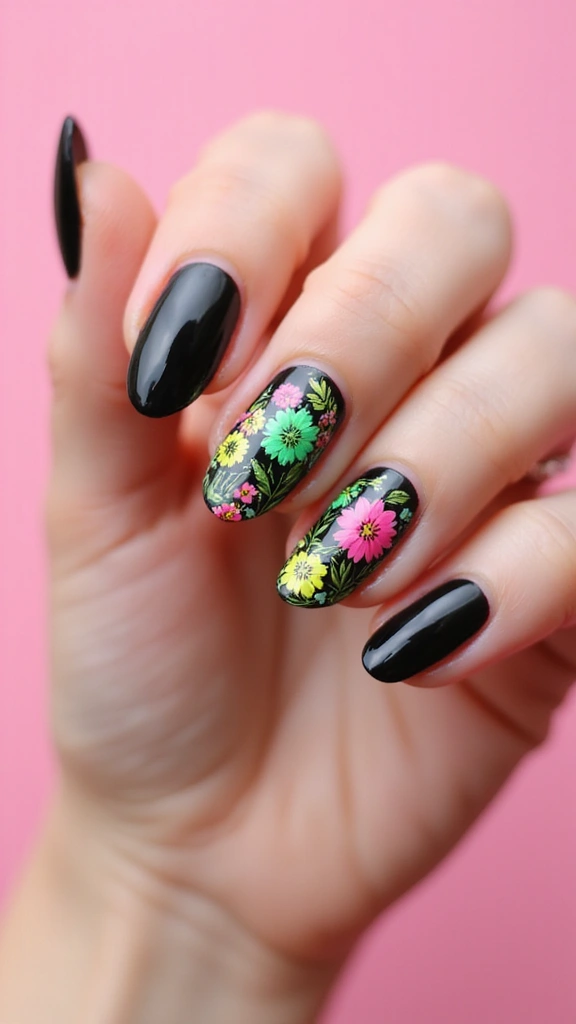
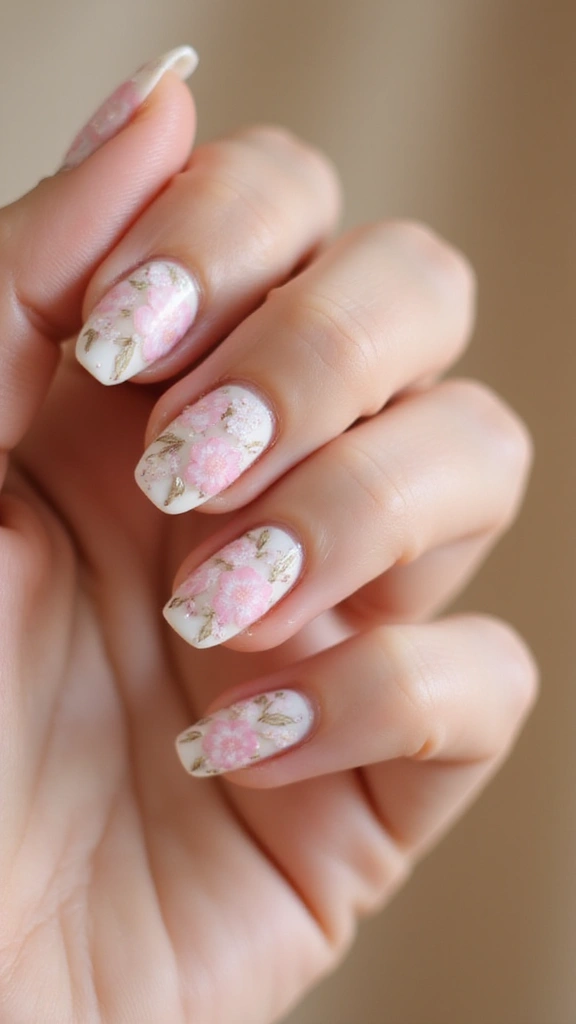
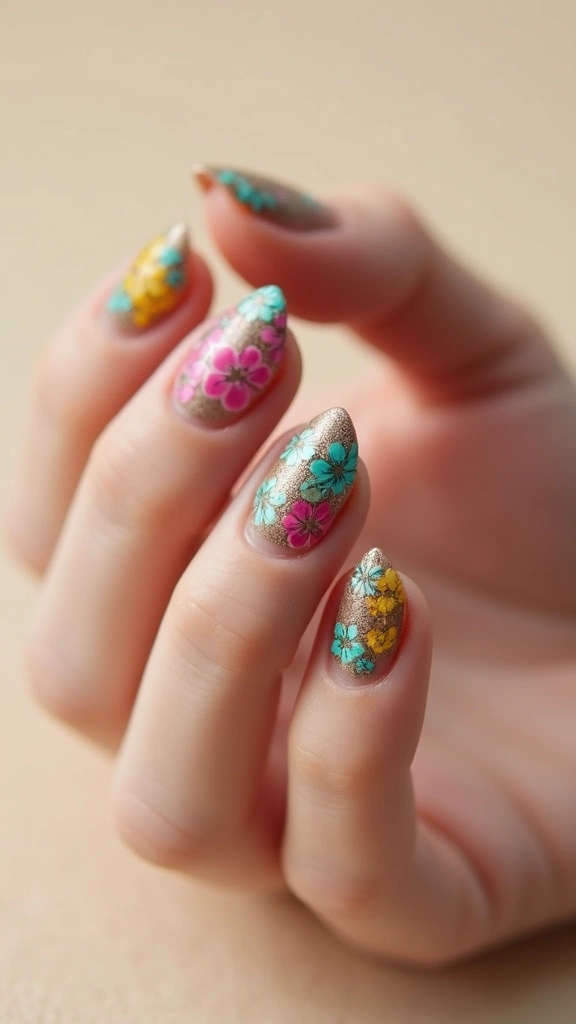
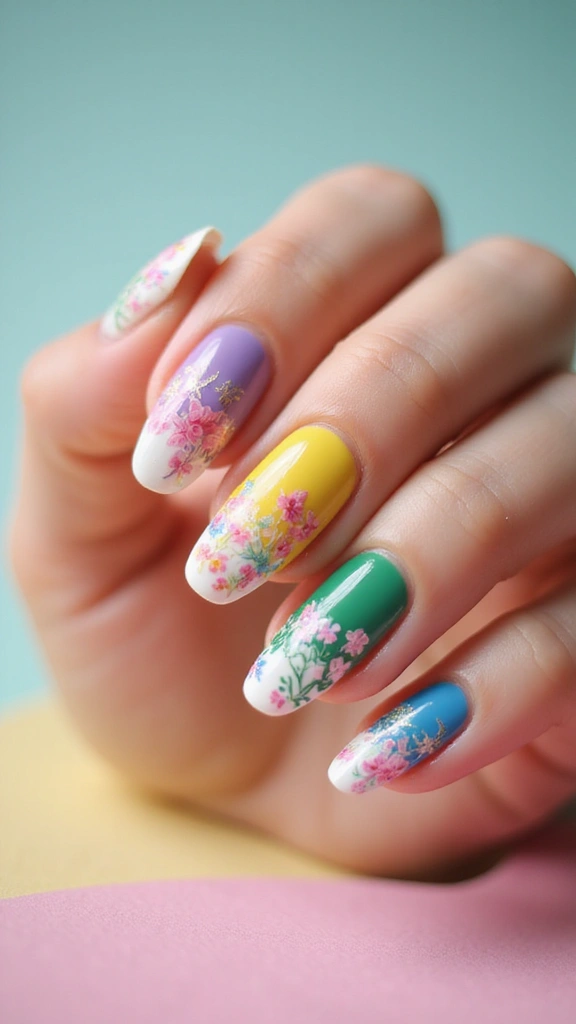
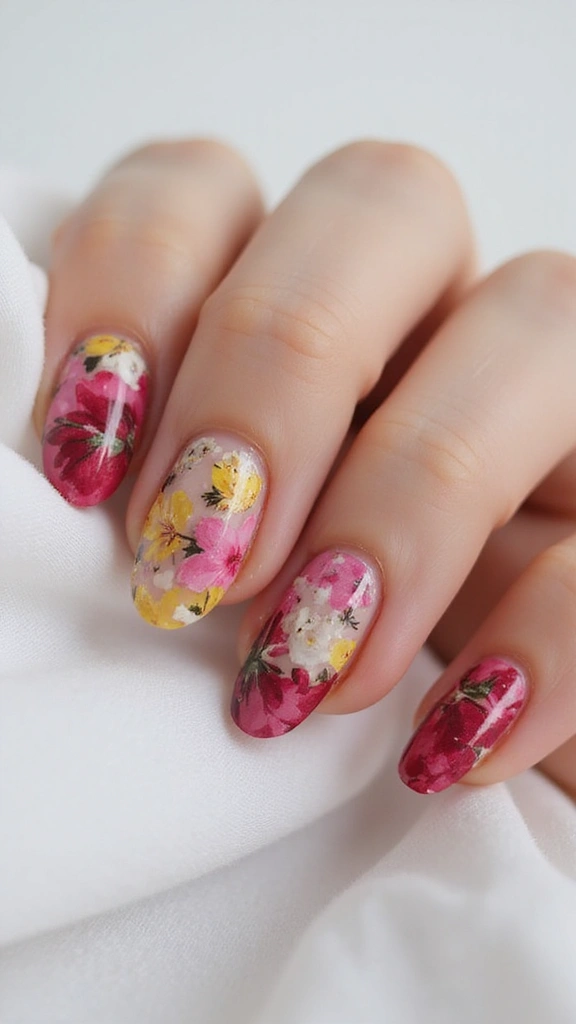
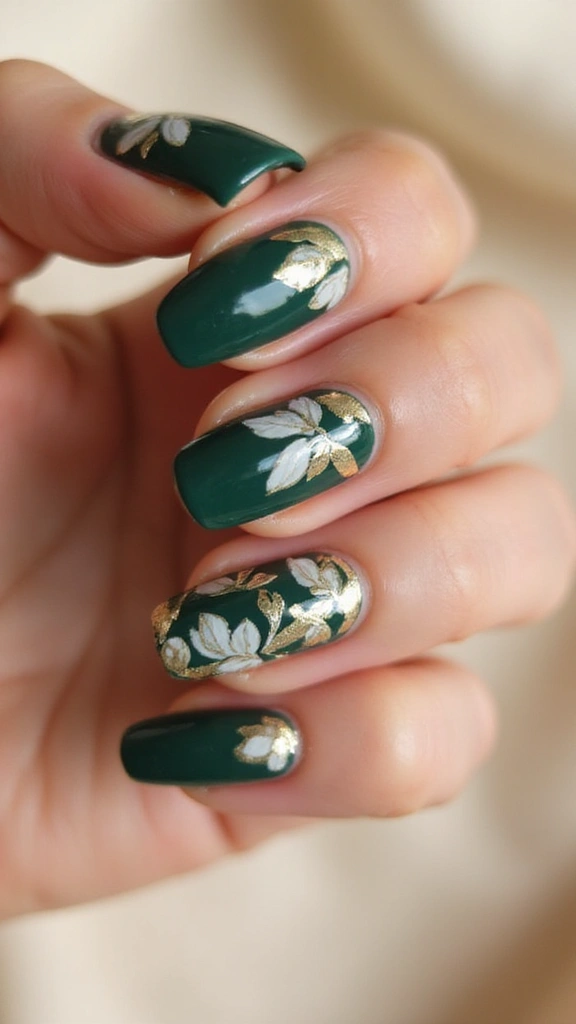
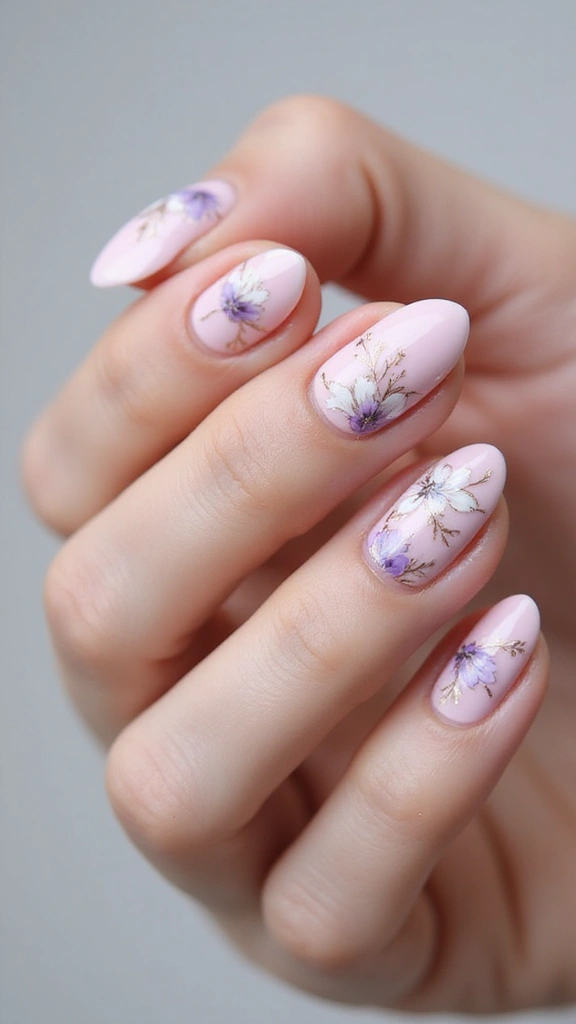
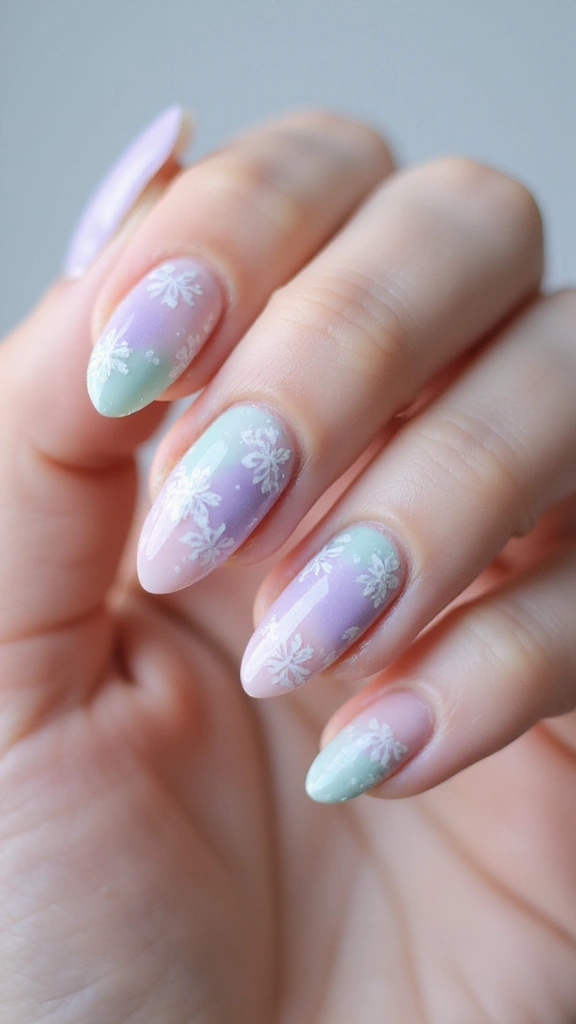
Step into spring with 25 stunning floral nail ideas! From delicate blossoms to bold garden-inspired designs, these nail looks will make you shine at every spring gathering.
Spring is in full bloom, and so are the creative floral nail ideas that can turn your manicure into a stunning work of art!
From daisies to roses, floral-inspired nail designs are the perfect way to express your vibrant personality and embrace the season. Whether you’re attending a picnic, a garden party, or simply want to brighten your day, these floral nail art ideas will surely catch everyone’s eye. Each design evokes a sense of freshness and beauty that is quintessentially spring. Dive into the world of nail art with these 25 breathtaking floral nail ideas that are bound to make you the center of attention!
Get ready to flaunt your nails like never before!
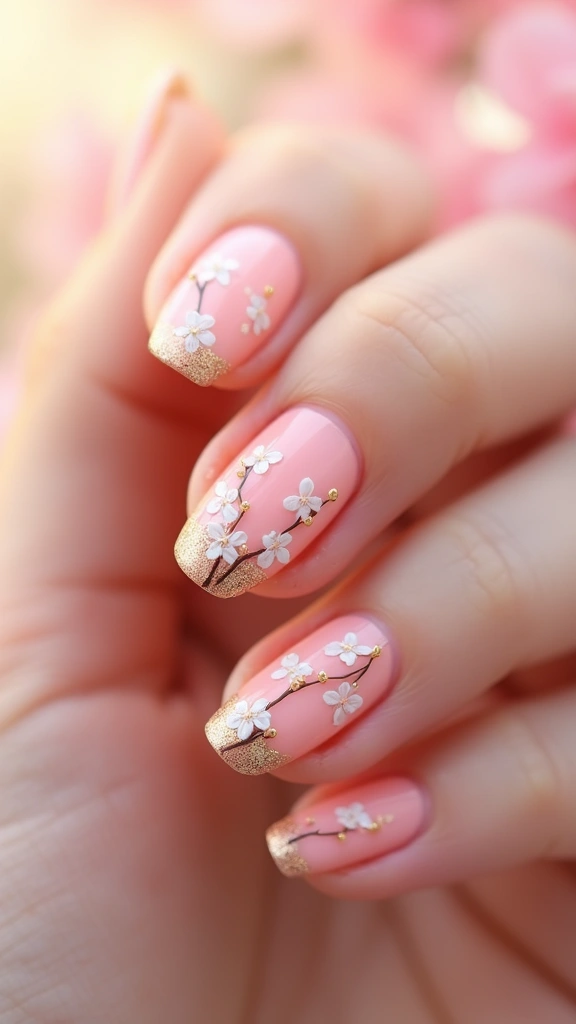
1. Elegant Cherry Blossom
Cherry blossoms symbolize the fleeting beauty of life, and their delicate pink petals translate beautifully onto your nails.
Opt for a soft pink base coat and add thin white branches with tiny blossoms at the tips. This design is not just visually stunning but holds a deeper meaning that resonates with the essence of spring. You can enhance the look with a glossy top coat to give that extra shine. For a fun twist, mix in some gold glitter at the base of the nail to represent the sunlight shining through the trees. This floral nail idea is perfect for both casual outings and elegant gatherings.
Be sure to use a fine brush for those intricate details. And if you’re feeling adventurous, try using a sponge technique to create an ombre background that mimics a spring sky!
– Use nail tape to create clean lines for the branches.
– Experiment with different shades of pink for a unique look.
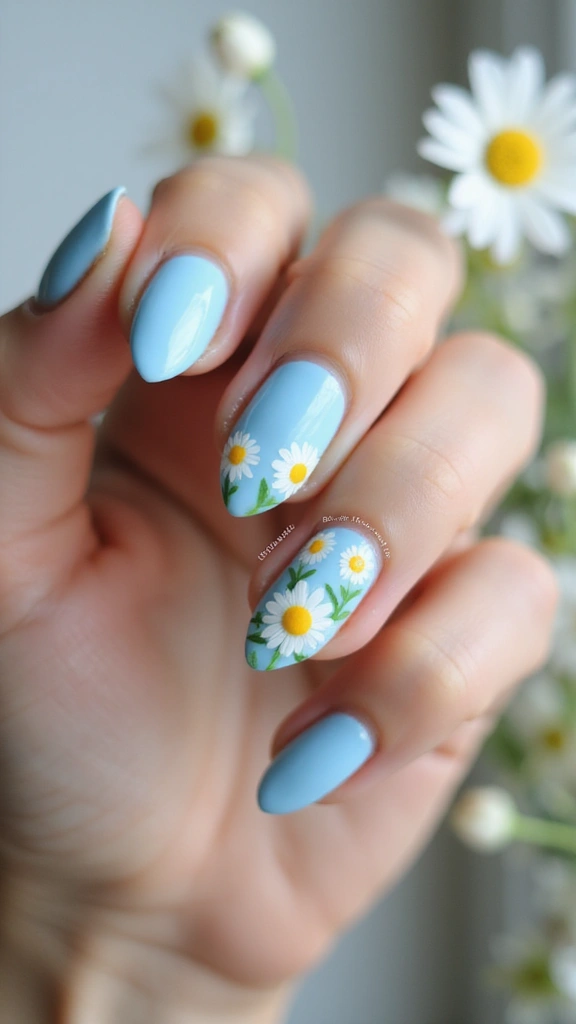
2. Whimsical Daisy Field
Daisies are synonymous with spring, bringing a cheerful vibe to any manicure.
For this look, start with a light blue base reminiscent of a clear sky. Paint cute white daisies with bright yellow centers scattered across the nails. The contrast between the blue base and the white flowers creates a fresh and calming effect that embodies the spirit of spring. This design is not only easy to create but also perfect for beginners!
To spice it up, consider adding some green leaves that peek out from behind the flowers for that true garden feel.
– Use dotting tools for perfect flower centers.
– Add a matte top coat for a chic finish.
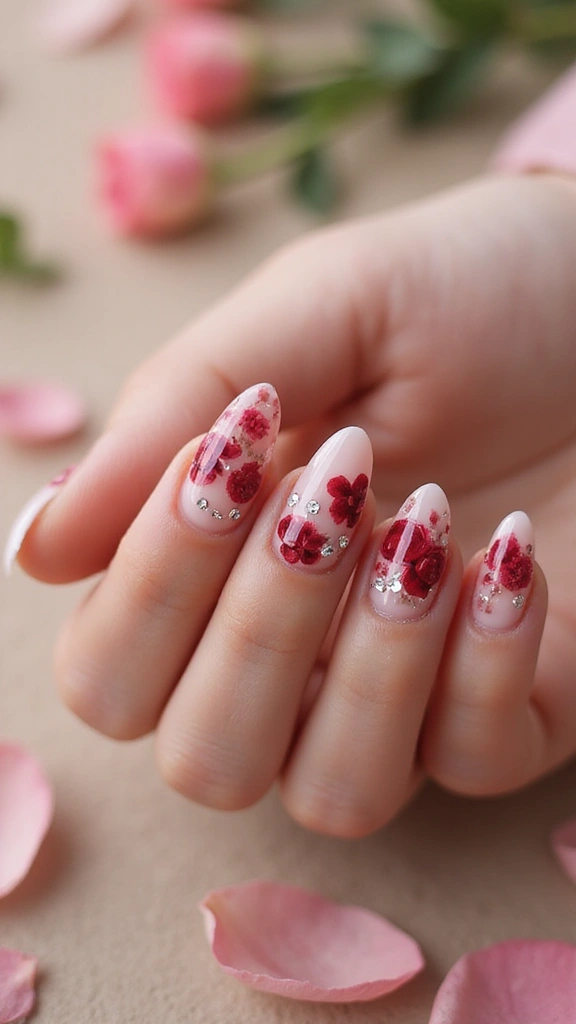
3. Romantic Rose Garden
Roses are timeless and symbolize love, making them an exquisite choice for nail art.
Begin with a soft nude or pale pink polish as your canvas. Next, create a rose design using a combination of deep reds and pinks, blending the colors to give them dimension. Position a few rosebuds alongside full blooms for a more intricate look. This mani is perfect for romantic dates or special occasions.
To elevate your design, add small rhinestones at the base of each nail for a touch of glam!
– Use a thin nail art brush for detailed petals.
– Practice your rose designs on paper before painting on your nails.
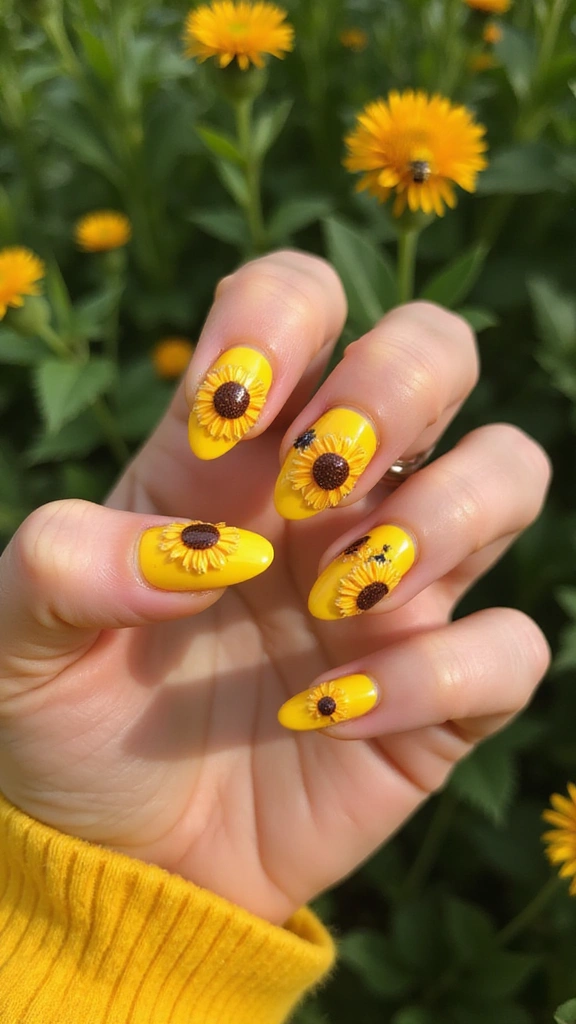
4. Playful Sunflower Burst
Sunflowers bring joy with their bright colors and sunny disposition.
A vibrant yellow base paired with dark brown or orange centers creates an eye-catching effect. Paint a few sunflowers along with their signature green leaves, making sure to keep the design playful and lively. This cheerful look is perfect for casual outings or beach days.
For a fun twist, consider adding tiny bumblebees buzzing around the sunflowers for that authentic farm feel!
– Use a sponge to create a textured background that resembles a sunny day.
– Combine with bright white accents for an added pop.
5. Vintage Floral Lace
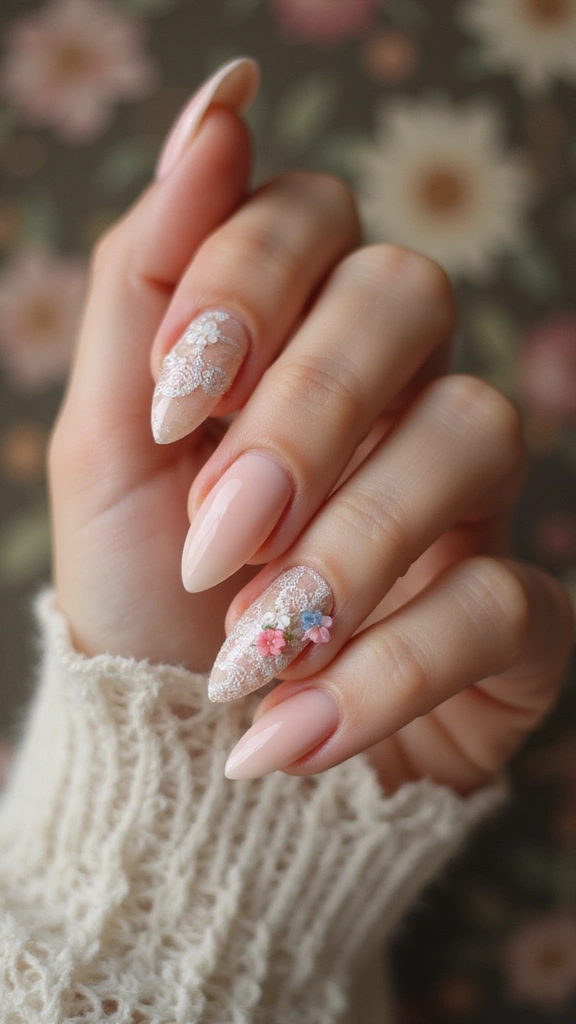
A vintage floral design exudes elegance and charm, perfect for a sophisticated spring affair.
Start with a soft peach or cream base, and use a delicate lace stamp to create intricate patterns on top. Add tiny flowers in pastel colors like lavender, mint green, and baby pink to bring the design to life. This refined look combines nail art with a touch of classic fashion.
To enhance the vintage vibe, finish with a matte top coat for a chic, understated elegance.
– Practice lace stamping on a nail wheel first.
– Mix and match pastel colors for a unique floral arrangement.
6. Fun Floral Geometric
Mixing floral patterns with geometric designs can result in a modern twist to your nail art.
Start with a clean white base, and create geometric shapes using vibrant colors like teal, pink, and yellow. Fill in a few shapes with tiny floral patterns for contrast. This unexpected combination makes for an artistic and playful look that’s sure to grab attention!
You can also add a glossy top coat to enhance the colors and make them pop even more.
– Use nail striping tape for clean lines.
– Choose a color palette that contrasts well for added impact.
7. Tropical Floral Paradise
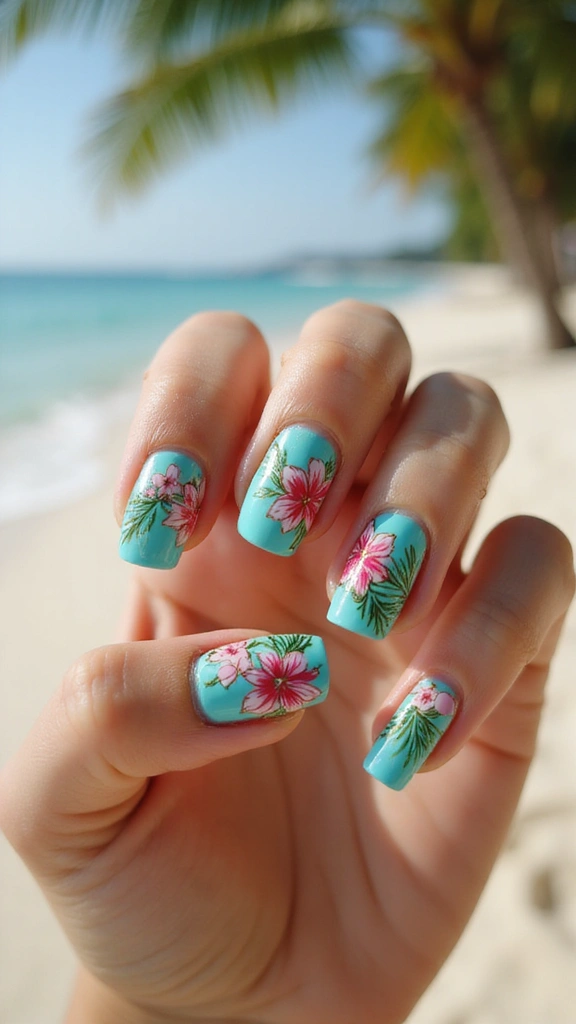
Bring a tropical vibe to your nails with bold floral designs that scream summer.
Think of a bright turquoise or coral base, adorned with large hibiscus flowers in vibrant shades of pink and red. Add some palm leaves to create a full tropical paradise effect. Perfect for vacations or summer parties, this nail art is sure to stand out!
Finish off with a shiny top coat to capture the essence of that tropical sun.
– Use bright colors for maximum impact.
– Consider adding a few rhinestones to give it an extra tropical flair.
8. Elegant Ombre Florals
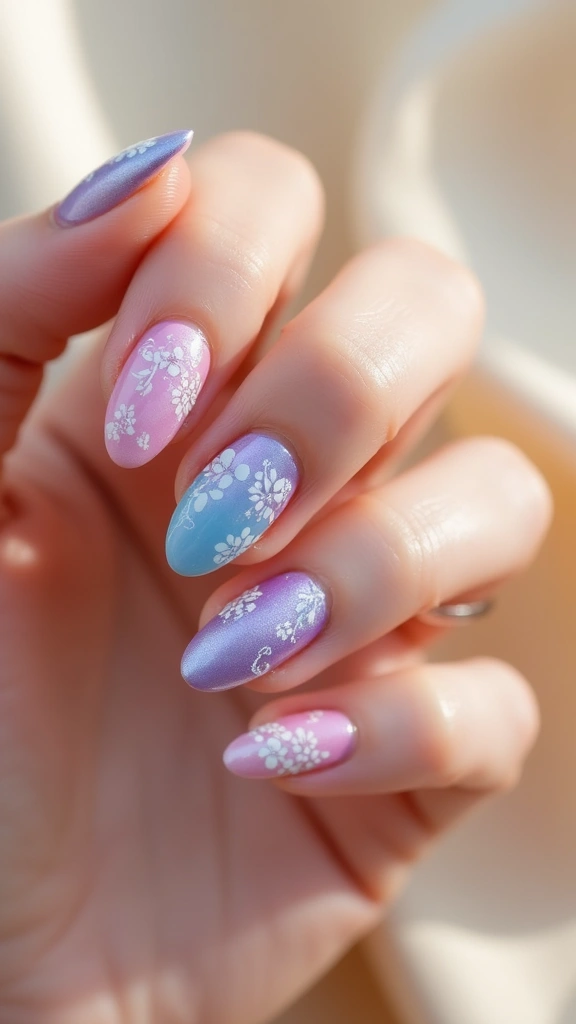
Ombre nail art adds depth and dimension, making your floral designs pop even more.
Select a gradient of soft pastels leading to deeper shades, and paint delicate floral silhouettes on top. This subtle look is perfect for those who prefer a more understated but elegant style. Pair ombre techniques with tiny white flowers and green leaves for a soft, natural feel.
To make it last, don’t forget to apply a top coat to lock in your design and add shine!
– Use a makeup sponge for perfect ombre blending.
– Choose flowers that complement each other in color.
9. Bold Floral Accents
Sometimes a splash of floral accents is all you need to make a statement.
Choose a solid color for most of your nails, like deep blue or classic red. Then, on one or two accent nails, paint a large floral design that stands out with vibrant colors. This minimalist approach allows for a bold statement that’s not overwhelming, perfect for both day and night events.
To add a touch of glam, consider adding glitter or foil accents around the flowers.
– Keep the base color simple to highlight the floral design.
– Use a fine brush for larger floral patterns.
10. Artistic Floral Watercolor
Watercolor art has made its way into the nail world, and it’s all about soft, dreamy designs.
Opt for a pale base color like white or light grey, and use watercolors to create a soft floral pattern that blends together artfully. This technique gives a unique, hand-painted feel to each nail, making them look like mini canvases.
For the best results, use a matte top coat to maintain that artistic vibe.
– Experiment with different color combinations before applying.
– Practice on paper to get the brush strokes right.
11. Floral French Tips
Take the classic French manicure to a new level by adding floral designs to the tips.
Instead of the traditional white, opt for soft pastel colors that complement your floral art, such as lavender, blush pink, or mint green. Paint delicate flowers at the tips of your nails for a fresh twist on this classic design.
This look is perfect for both everyday wear and special occasions, combining elegance with a touch of fun.
– Use a thin brush for precise floral details.
– Pair with a glossy top coat for that salon-fresh finish.
12. Elegant Floral Accents with Glitter
Who says floral designs can’t sparkle? Combine elegance with a touch of glam by integrating glitter.
Start with a creamy base color and add your floral designs using fine brushes. Once dry, apply a layer of glitter polish at the tips or around the flowers for a shimmering effect. This look captures the beauty of flowers while adding an extra element of fun, making it ideal for special events or nights out.
– Use a fine glitter for a more sophisticated look.
– Make sure the floral designs are fully dry before applying glitter to avoid smudging.
13. Vintage Floral Patterns
Bring vintage charm to your nails with intricate floral patterns that feel timeless and elegant.
Choose a muted base color like dusty rose or pale yellow. Make use of stamping plates or freehand painting to apply classic floral designs with intricate details. This vintage approach is perfect for those who appreciate the elegance of the past and want to embrace it in their nail art.
Finish off with a glossy top coat for a polished look.
– Consider using old-fashioned floral designs for authenticity.
– Layering colors can add depth to the patterns.
14. Floral Lace and Rhinestones
Incorporate luxurious lace elements into your floral nail art for a sophisticated look.
Start with a soft base color, then paint exquisite lace designs on certain nails, leaving some nails to feature floral art. Adding rhinestones to the centers of flowers or the edges of lace brings a touch of glam that captures attention. This chic design is perfect for formal occasions or weddings.
– Use a thin brush for detailed lace patterns.
– Ensure the rhinestones are securely placed to avoid them popping off.
15. Neon Floral Explosion
Add a punch of color with neon floral designs that are vibrant and eye-catching.
Start with a simple black or white base, then paint bright neon flowers in pink, green, and yellow. This bold and playful design is perfect for festivals or summer parties, bringing fun and energy to your nail art.
To add depth, you can use contrasting colors to highlight the flowers.
– Keep the background minimal to make the neon colors pop.
– Use nail art brushes for precise detailing.
16. Classic Floral Elegance
Stick to timeless beauty with floral designs that evoke classic elegance.
Choose a soft, neutral base and paint simple yet beautiful flowers like tulips or orchids with a delicate touch. This design is perfect for office settings or formal events, making your nails look chic without being overly flashy.
Finish with a satin or matte top coat for a sophisticated touch.
– Keep the floral designs subtle and elegant.
– Choose colors that complement your skin tone for a refined look.
17. Glossy Floral Accents on Neutral Base
Create an effortlessly chic look with glossy floral accents on a neutral base.
Begin with a beige or taupe polish. Then, on a couple of accent nails, add glossy floral designs using bright colors. This creates a beautiful contrast that draws attention without being overwhelming. It’s an excellent option for those who want to keep their nails looking polished yet trendy.
Finish with a high-gloss top coat to add that perfect shine.
– Use a thin brush for clean floral lines.
– Allow ample drying time between coats.
18. Artistic Floral Sketches
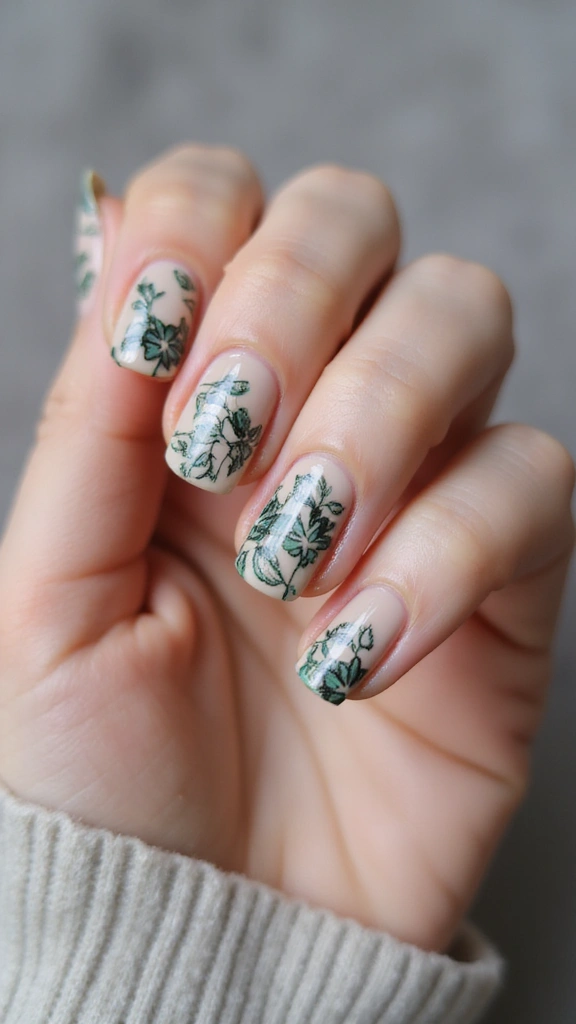
Showcase your artistic flair with floral sketches that look like they were drawn by hand.
Choose a light-colored base and use a fine brush to create simple, sketchy outlines of flowers in black or dark green. This minimalist design is perfect for art lovers and adds an avant-garde twist to your nails.
Finish with a matte top coat for a modern look.
– Practice sketching on paper before painting on your nails.
– Keep it simple for a clean aesthetic.
19. Mixed Media Floral Art
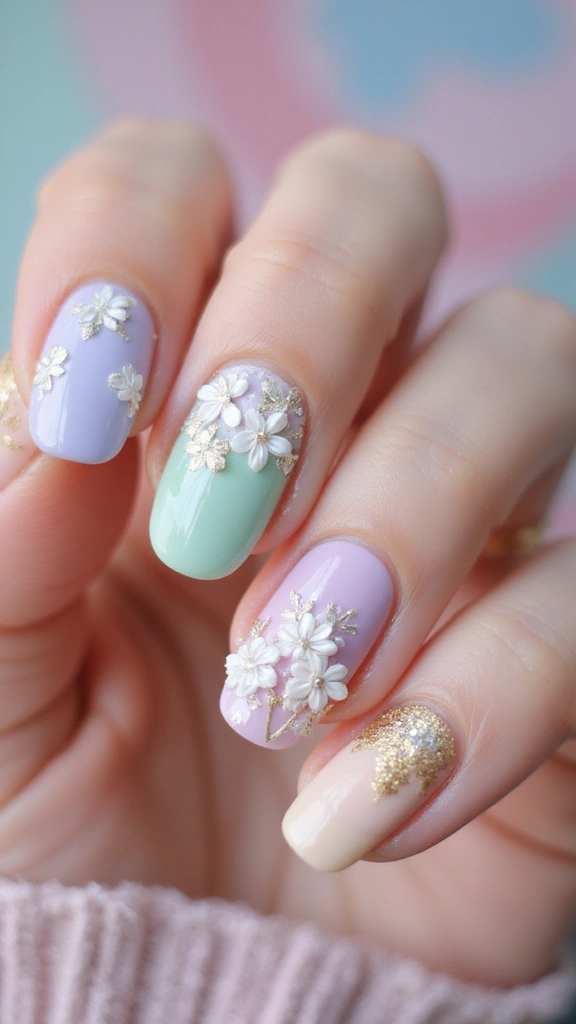
Combine different textures and techniques for a unique mixed media floral design.
Start with a pastel base and create 3D floral elements using nail gel or acrylic. Add some matte details alongside the glossy ones for a visually intriguing effect. This design is perfect for those who want to stand out and express their creativity.
Final touches can include glitter or metallic accents for added dimension.
– Experiment with layering different materials for depth.
– Ensure all elements are securely applied for durability.
20. Floral Crescent Moon
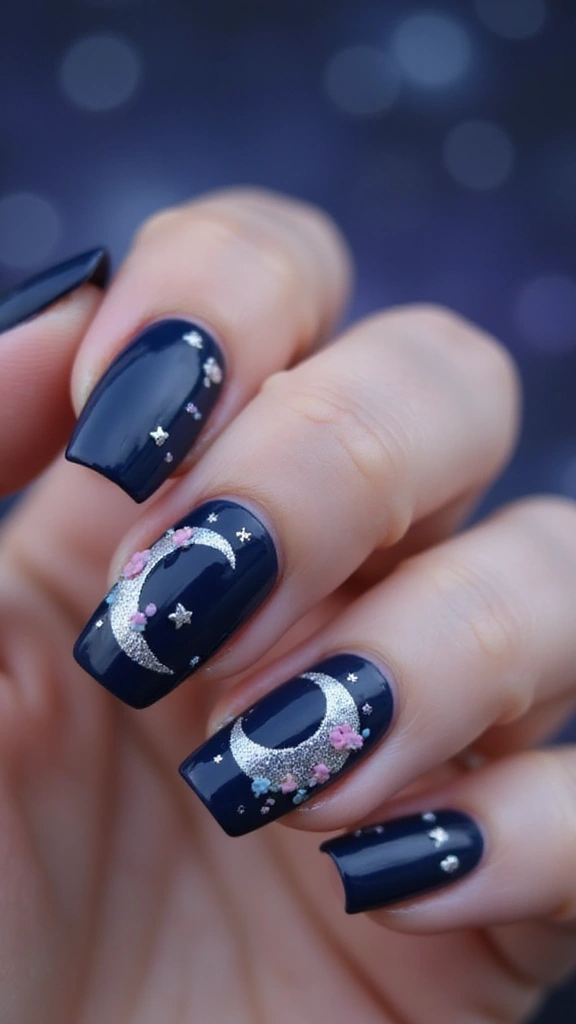
Incorporate celestial elements into your floral designs with a crescent moon theme.
Begin with a deep navy or purple base that evokes the night sky. Paint a beautiful crescent moon surrounded by delicate flowers and stars for a dreamy, whimsical effect. This design is perfect for evening events, making your nails stand out beautifully in the moonlight.
Top it off with a glossy finish for that extra sparkle.
– Use a thin brush for detailed work on the moon.
– Consider glow-in-the-dark polish for an extra magical touch.
21. Floral Drip Art
Drip art is a fun and trendy way to show off your floral designs.
Start with a clear base and apply various colored polishes to create a drip effect with floral patterns. This playful technique creates an eye-catching design that’s perfect for both casual and festive occasions. The mix of colors captures the vibrancy of spring, making your nails look lively and fun!
Top it off with a glossy finish to enhance the colors and make them pop.
– Allow each drip layer to dry before applying the next.
– Use a striper brush for precise control over the drip effect.
22. Floral Nail Wraps
If you’re short on time, floral nail wraps are a quick way to achieve stunning nail art.
Choose wraps with intricate floral designs and apply them over your nails for an instant makeover. The convenience of nail wraps means you don’t have to worry about drying time, and they can last quite a while when properly applied. This option is perfect for busy individuals who still want fabulous nails!
Finish with a glossy top coat to seal and add shine.
– Make sure your nails are clean and dry before application.
– Use a file to remove excess wrap for a perfect fit.
23. Floral Foil Accents
Foil accents can take your floral designs to the next level with a touch of luxury.
Start with a solid base color and add floral designs using gel polish. Once dry, apply foil in select areas for a metallic finish that shimmers beautifully under the light. This design is perfect for glam events, making your nails look like a work of art!
Complete with a glossy top coat to seal in the foil and keep your nails looking fresh.
– Use a gentle touch when applying foil to avoid tearing.
– Experiment with different colors of foil for unique effects.
24. Floral Stamping Designs
Nail stamping is an excellent way to create intricate floral designs quickly.
Choose a base color and use a floral stamping plate to transfer beautiful designs onto your nails. This technique saves time and allows for precise replication of detailed patterns, making it perfect for those with busy schedules.
Finish with a high-gloss top coat to ensure your designs shine bright.
– Practice stamping on a piece of paper before attempting on your nails.
– Use a clear stamper for better visibility while placing designs.
25. Floral and Watercolor Mix
Combine the softness of watercolor art with floral designs for a beautiful finish.
Begin with a pale base and create watercolor effects using a wet brush with nail polish in soft, blended colors. Then, add floral patterns on top for a romantic and dreamy look that’s perfect for spring. This technique showcases both artistry and creativity, making your nails a true expression of art.
Use a matte top coat for an added touch of sophistication.
– Allow each layer to dry before adding more details.
– Play with colors to see what combinations work best for you.
Floral nail designs are a fantastic way to embrace the beauty of spring, allowing you to express your personality through vibrant art!
From intricate patterns to playful accents, there’s a floral design for everyone. So, which of these ideas will you be trying out for your next gathering? Each design is a celebration of the season, perfect for any occasion. Embrace the floral trend and let your manicure bloom!
Frequently Asked Questions
What are some beginner-friendly floral nail ideas?
If you’re new to nail art, starting with simple designs is a great idea! You might want to try the Whimsical Daisy Field, which features easy-to-paint daisies on a light blue base. Another fun option is the Floral French Tips, where you can add floral designs at the tips of your nails for a fresh twist on a classic manicure. These designs require minimal skill and are sure to impress at any spring gathering!
How can I make my floral nail designs last longer?
To keep your stunning floral nail designs looking fresh, start with a good base coat! This not only protects your nails but also helps your manicure adhere better. After painting your floral designs, seal everything with a top coat to add shine and durability. Remember to avoid soaking your hands in water for prolonged periods and wear gloves when doing dishes or cleaning to preserve your manicure for days on end!
What nail polish colors work best for floral designs?
Choosing the right colors can make your floral nail designs pop! Soft pastels like pale pink, lavender, and mint green serve as beautiful bases for floral art. For the flowers themselves, vibrant colors like yellow, bright pink, and white create eye-catching contrasts. Don’t forget to experiment with different color combinations to find the perfect palette that suits your style for spring gatherings!
Can I use nail wraps for floral designs?
Absolutely! Floral nail wraps are a fantastic way to achieve intricate floral designs without needing advanced nail art skills. They’re a quick and easy option if you’re short on time. Just choose wraps with beautiful floral patterns that resonate with your style, apply them over your nails, and seal with a top coat for added durability. You’ll have stunning floral nails in no time, making you the star of any spring event!
What tools do I need for creating floral nail art?
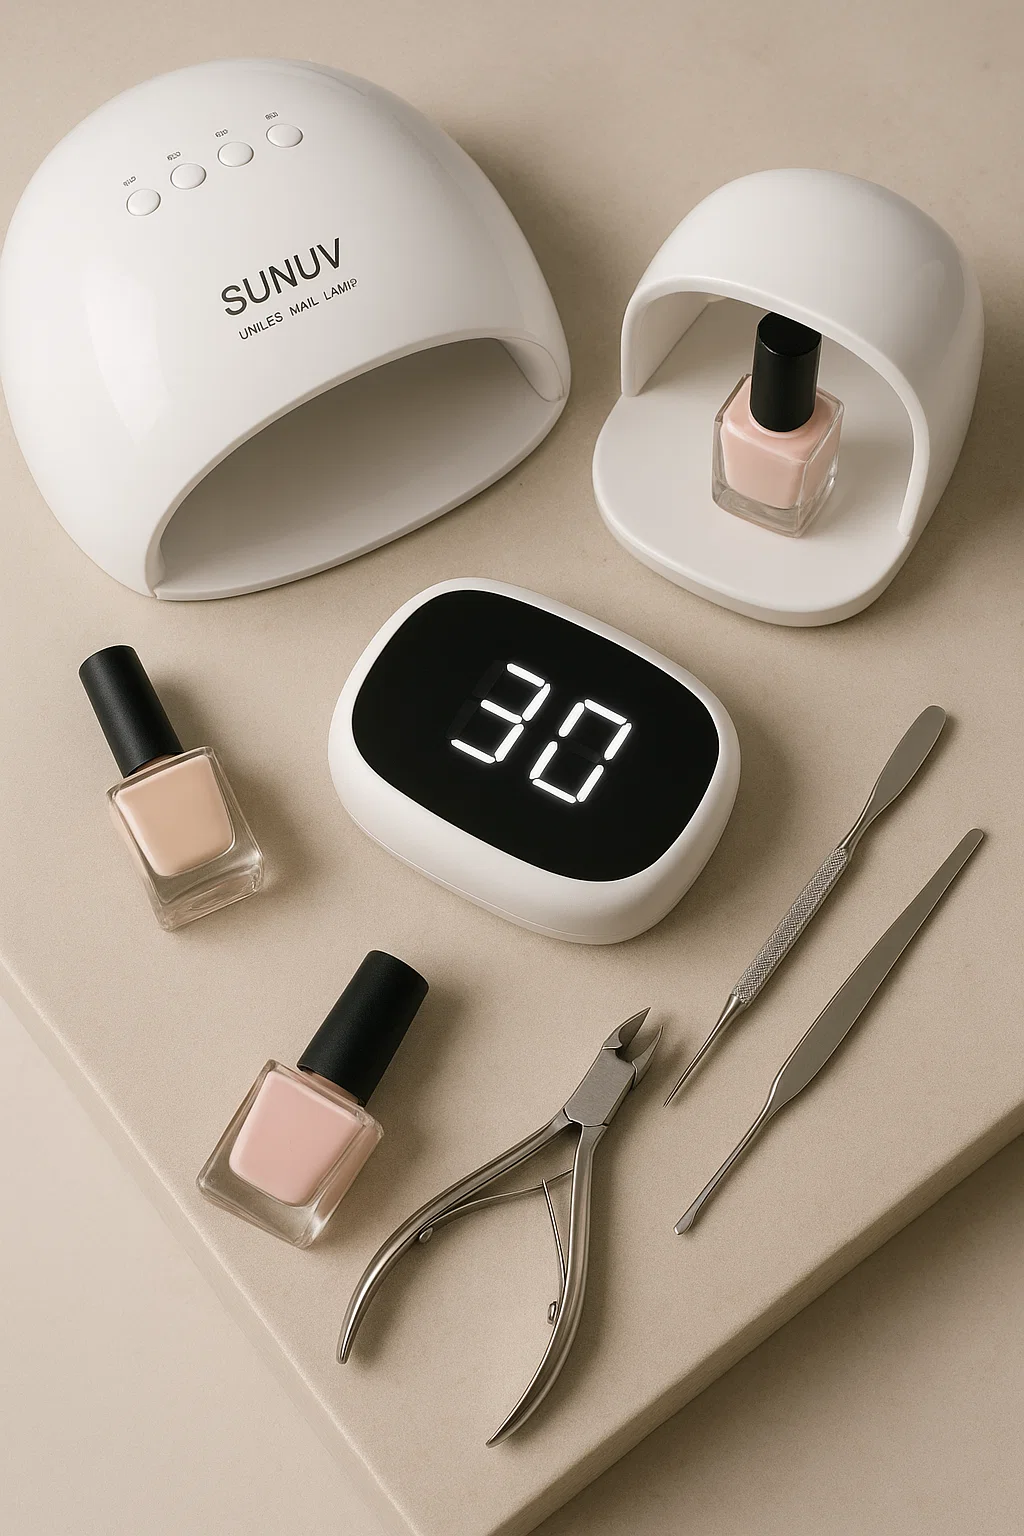
To create beautiful floral nail art, you’ll need a few essential tools! Start with basic items like a good set of nail brushes for precision painting, dotting tools for creating flower centers, and a palette for mixing colors. Don’t forget a top coat to finish your designs and add shine. As you get more comfortable, you can explore stamping plates and nail gels for more intricate designs!

