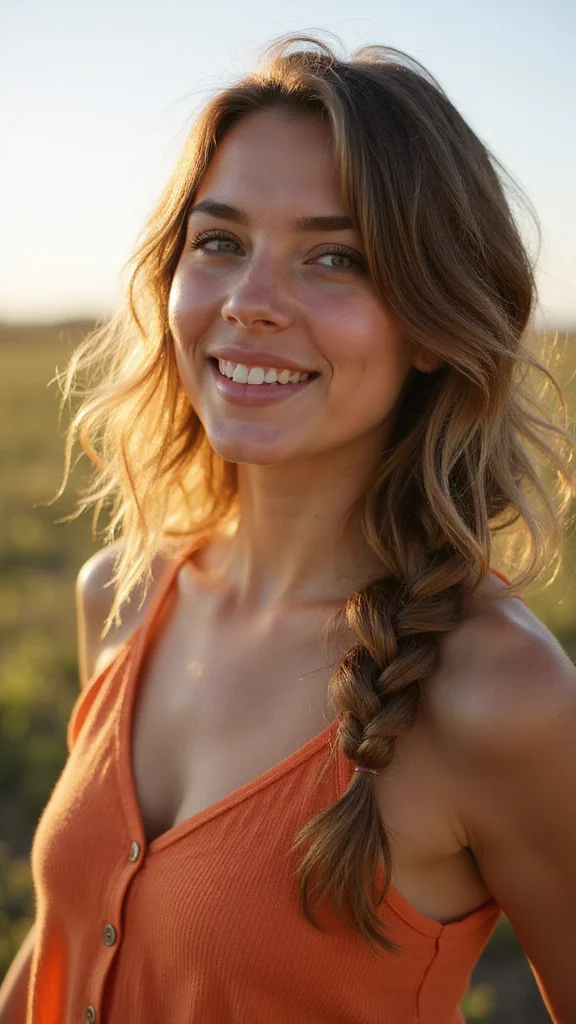
Mornings move fast. You want your hair to look good without spending an hour in front of the mirror. Braided hairstyles are your answer. They look polished, hold up all day, and take just minutes to create.
Whether you’re heading to work, school, or a casual hangout, a quick braid elevates your entire look. You don’t need special tools or advanced skills. A few bobby pins, a hair tie, and your hands are enough.
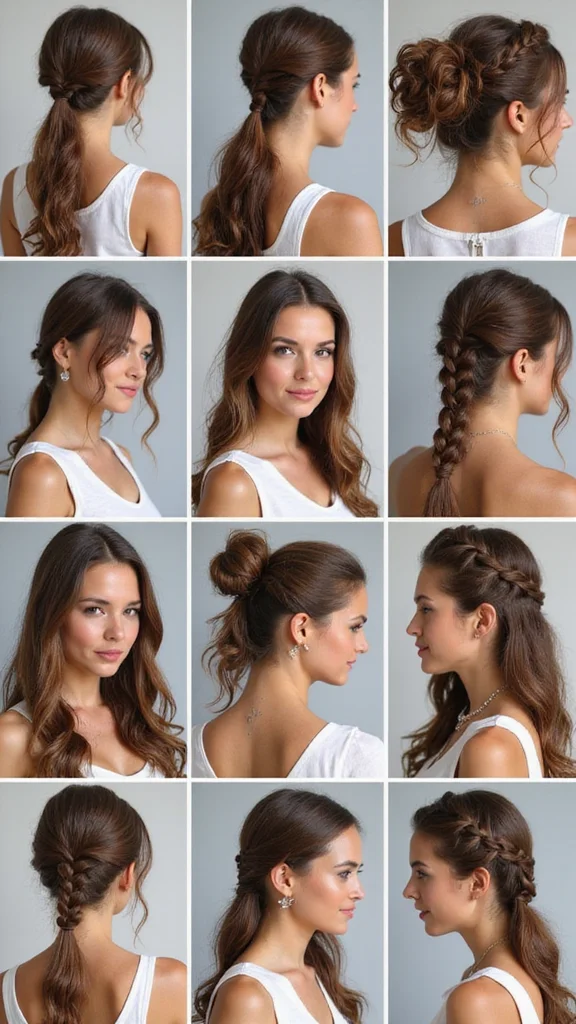
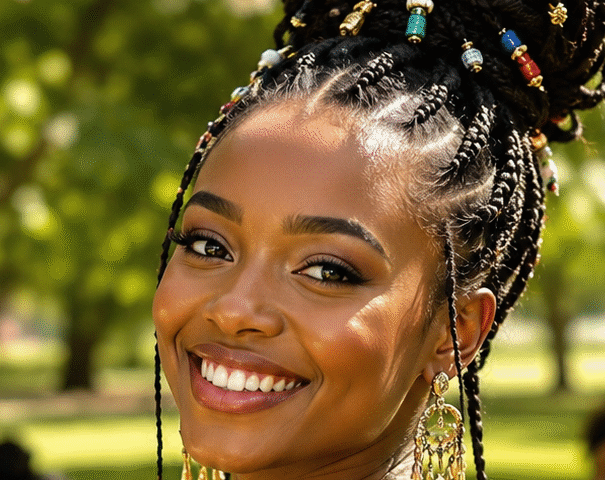
This guide walks you through 25 braided styles that work in five minutes or less. Some are classic. Some are trendy. All are doable on a busy morning. You’ll find options for straight hair, curly hair, thick hair, and fine hair. Each style comes with a clear visual so you can see exactly what you’re aiming for.
Stop rushing out the door with your hair in a bun. Try one of these braids instead. Your confidence will thank you, and you’ll still make it out on time.
1.Half Up Braided Crown
Take a section of hair from one side of your head and braid it across the crown to the other side. Secure it with bobby pins. Leave the bottom half of your hair down for a romantic, effortless look.
This style balances structure with softness. The braid frames your face while keeping hair out of your way. It works on all hair lengths and looks equally good with straight or wavy hair. The half up style is versatile enough for casual days and dressy enough for special occasions.
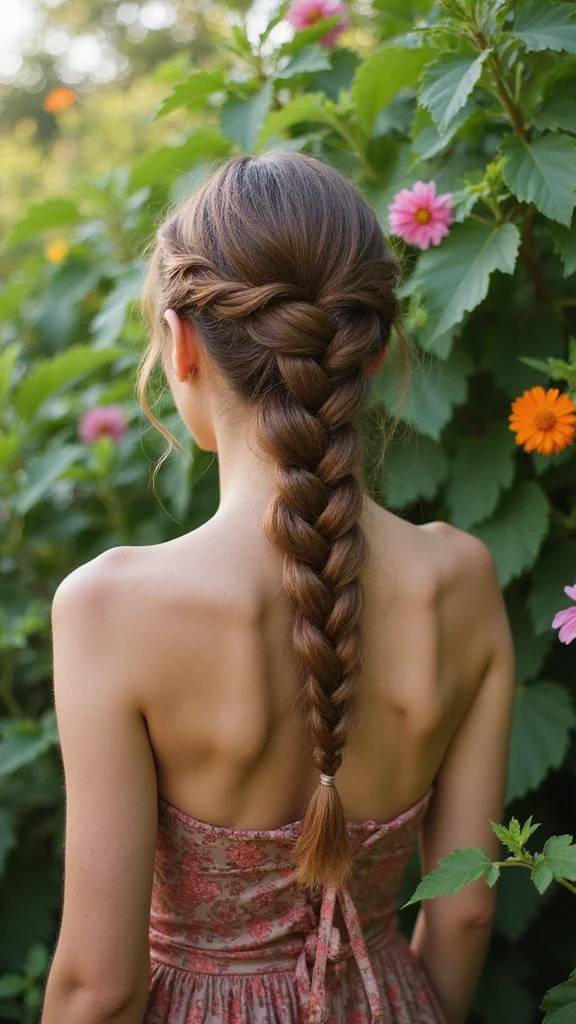
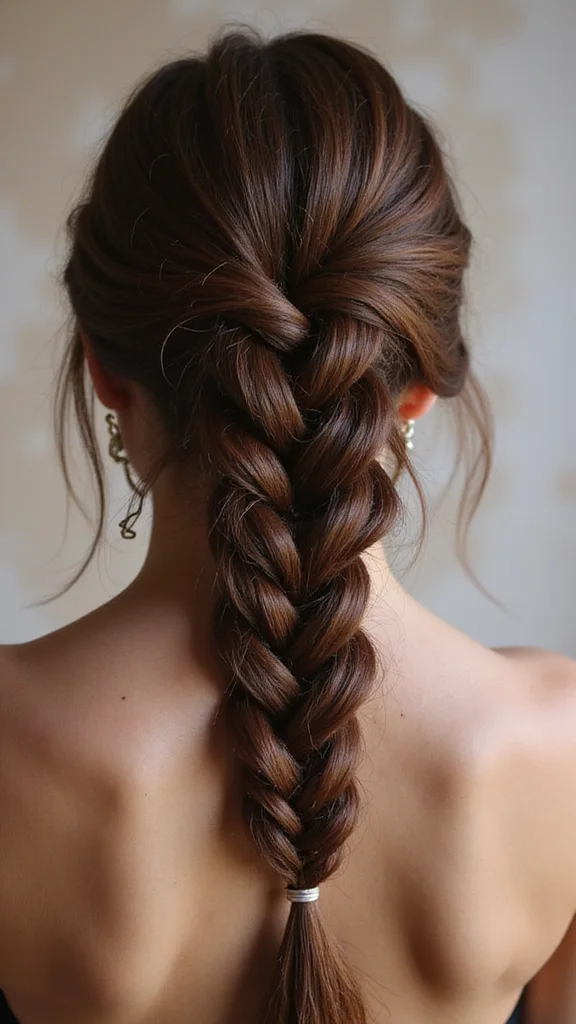
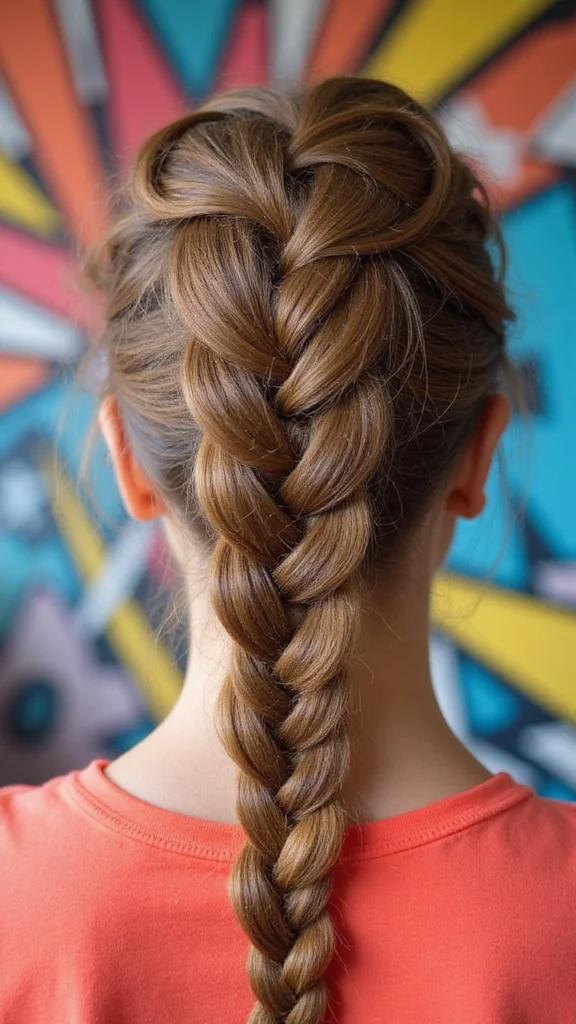
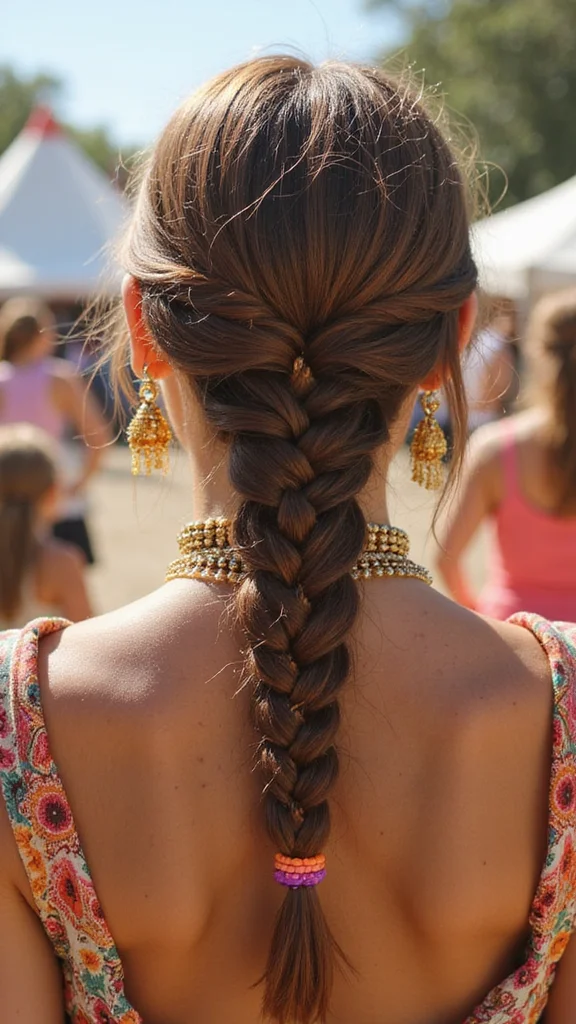
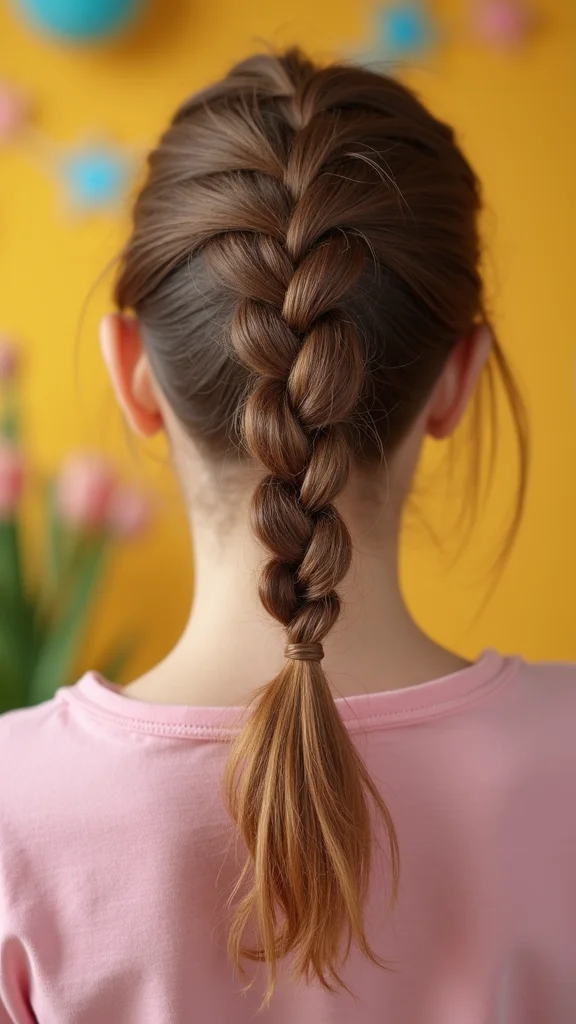
2. Classic Three Strand Braid
The three strand braid is the foundation of all braiding. Divide your hair into three equal sections. Cross the right section over the middle, then the left over the middle. Keep alternating until you reach the end. Secure with an elastic.
This braid works for every hair type and every occasion. It’s fast, reliable, and always looks neat. Wear it down your back, to the side, or wrapped around your head like a crown. Tease the braid slightly after securing it for a fuller, more textured appearance.
3. Fishtail Braid
The fishtail braid uses only two sections instead of three. Divide your hair in half. Take a thin piece from the outside of the right section and cross it over to the left section. Repeat on the left side. Continue alternating.
This braid looks delicate and intricate even though it’s surprisingly simple. The thin strands create a textured, woven appearance that catches light beautifully. It takes about three minutes once you get the rhythm down. Fishtail braids work especially well on longer hair and look stunning when slightly loosened.
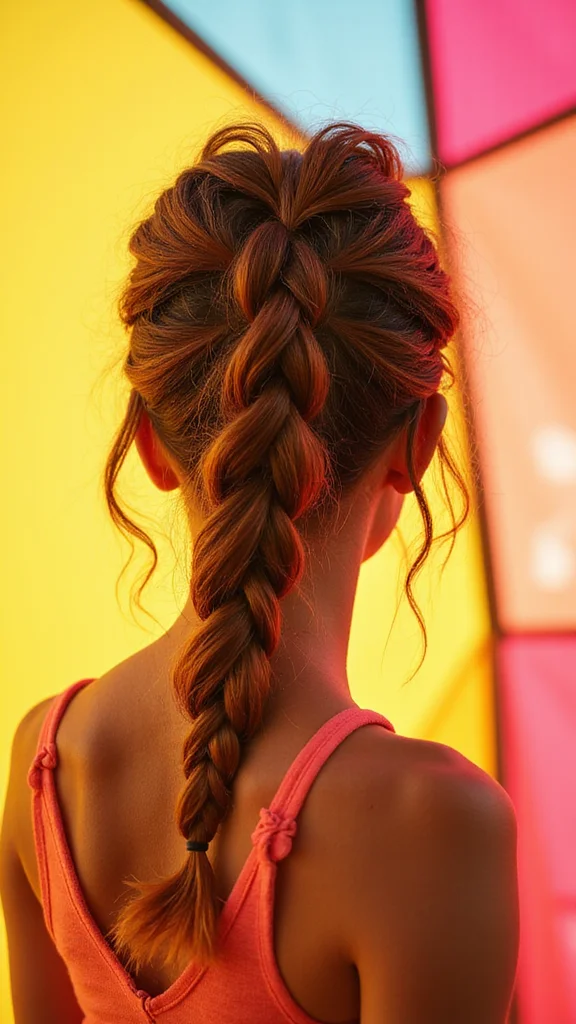
4. Dutch Braid
The Dutch braid is like a reverse French braid. Instead of crossing sections over the middle, you cross them under. Start at the crown with three sections. Cross the right under the middle, then the left under the middle. Add hair as you go down.
This braid sits raised on your head and looks bold. It’s perfect for days when you want your braid to be the statement. Dutch braids hold up well throughout the day and work on all hair textures. The underhand weaving creates natural dimension that photographs beautifully.
5. Braided Ponytail
Gather your hair into a ponytail at your preferred height. Divide the ponytail into three sections and braid it down. Secure the end with a small elastic. This style combines two classics into one sleek look.
The braided ponytail is practical and polished. It keeps hair completely off your face while adding visual interest. Position the ponytail high for a sporty vibe or low for something more refined. This style works great for gym sessions, office days, or casual outings.
6.Waterfall Braid
The waterfall braid creates the illusion of hair flowing like water down your head. Start by taking a small section at your temple and begin a regular three strand braid. As you braid, drop the bottom strand and pick up a new piece of hair from above. This creates the signature waterfall effect.
This style looks intricate but moves quickly once you understand the pattern. It works on both straight and wavy hair. Secure the end with a small elastic and you’re done. Pair it with loose waves or curls for extra dimension.
7. Side Braided Headband
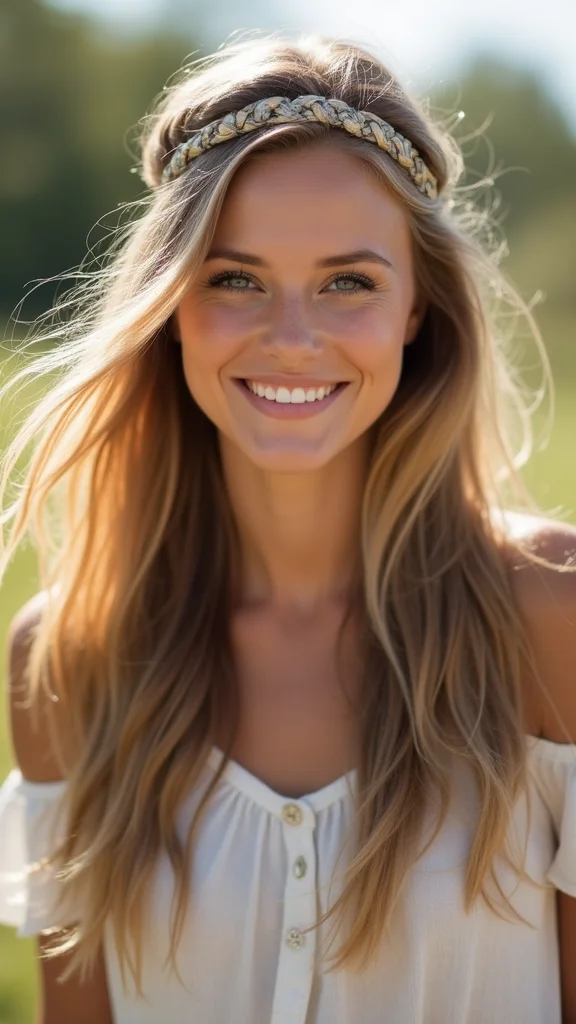
Create a thin braid starting at one temple and run it across the back of your head to the other temple. Secure the ends with bobby pins tucked into your hair. This creates a headband effect without any actual headband.
The side braided headband is subtle yet striking. It keeps hair off your face and adds an elegant touch to any outfit. This style takes about two minutes and works on all hair types. It’s especially flattering on round or square face shapes.
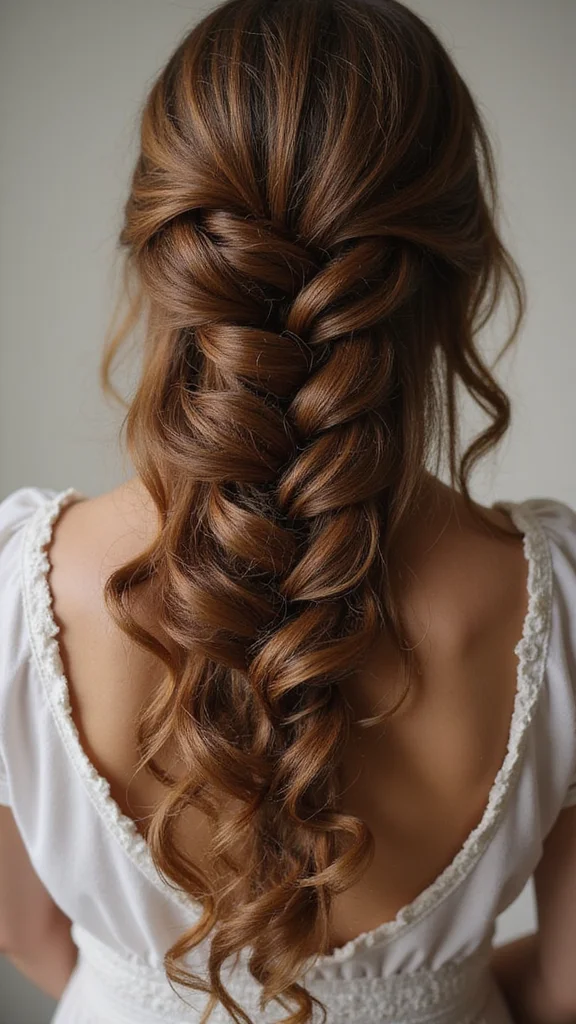
8. Rope Braid
The rope braid uses two sections twisted together instead of woven. Divide your hair in half. Twist the right section clockwise, then twist the left section clockwise. Wrap the right twisted section around the left. Continue down the length of your hair.
This braid looks more textured than a standard three strand braid. It creates a thick, rope-like appearance that’s visually striking. Rope braids work quickly and hold well throughout the day. They look especially good on thick or curly hair where the texture adds dimension.
9. Twisted Braid
Start with two sections of hair at the crown. Twist each section away from your face, then wrap them around each other as you move down. Add small sections of hair as you go, maintaining the twist and wrap pattern.
The twisted braid is faster than a traditional braid because you’re twisting instead of weaving. It creates a textured, dimensional look that works on all hair types. This style is especially forgiving on second day hair or textured hair that already has some grip.
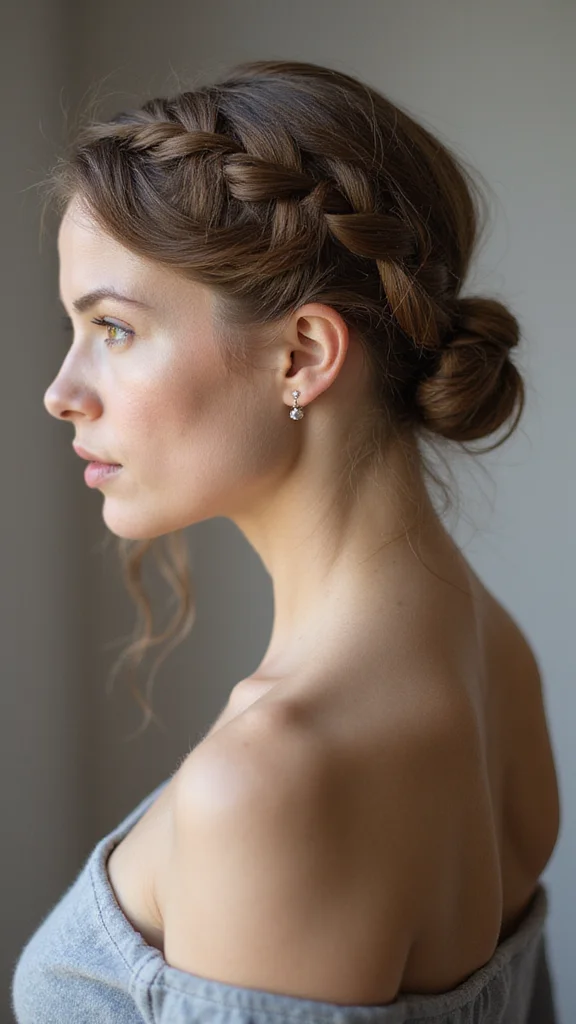
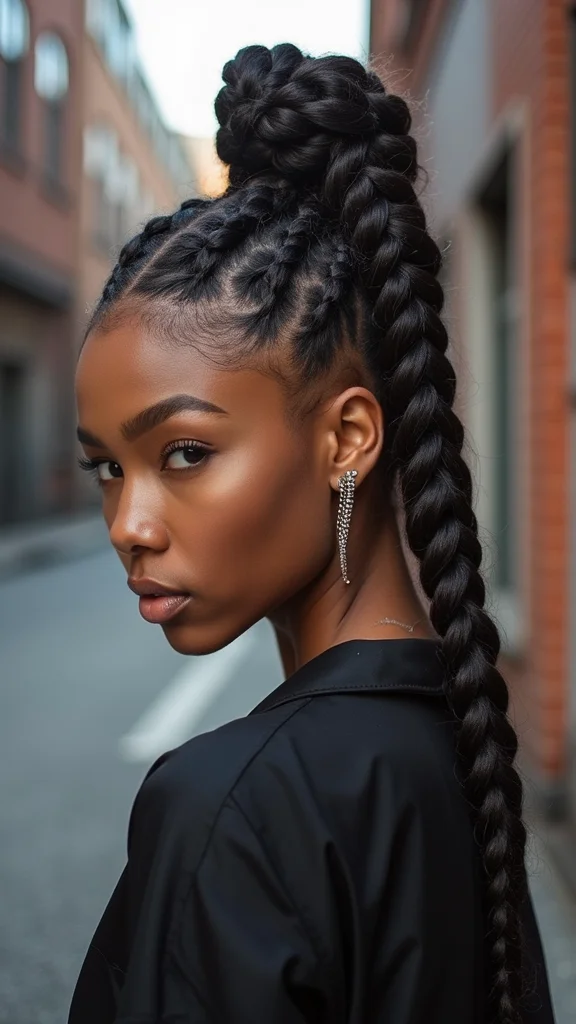
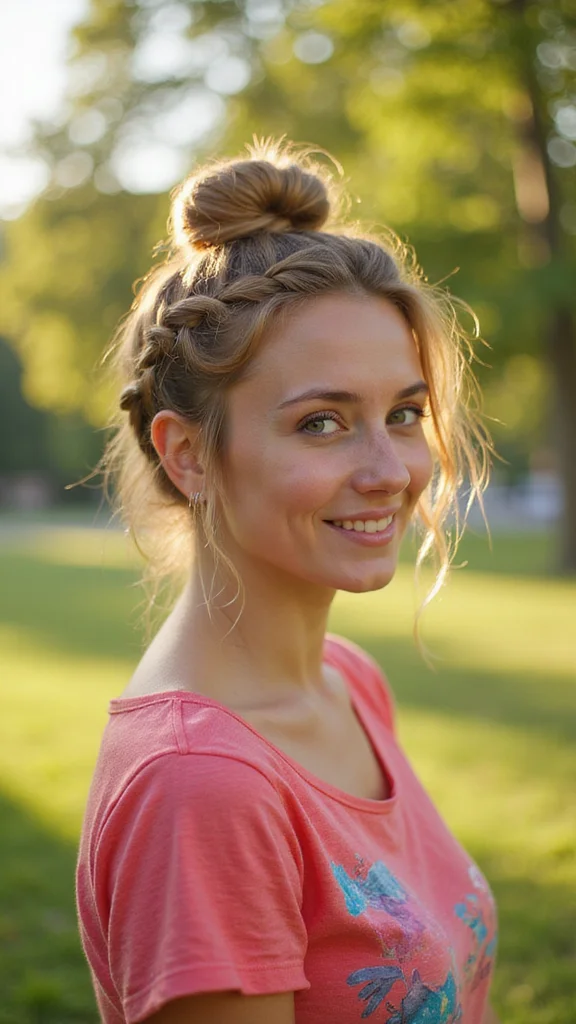
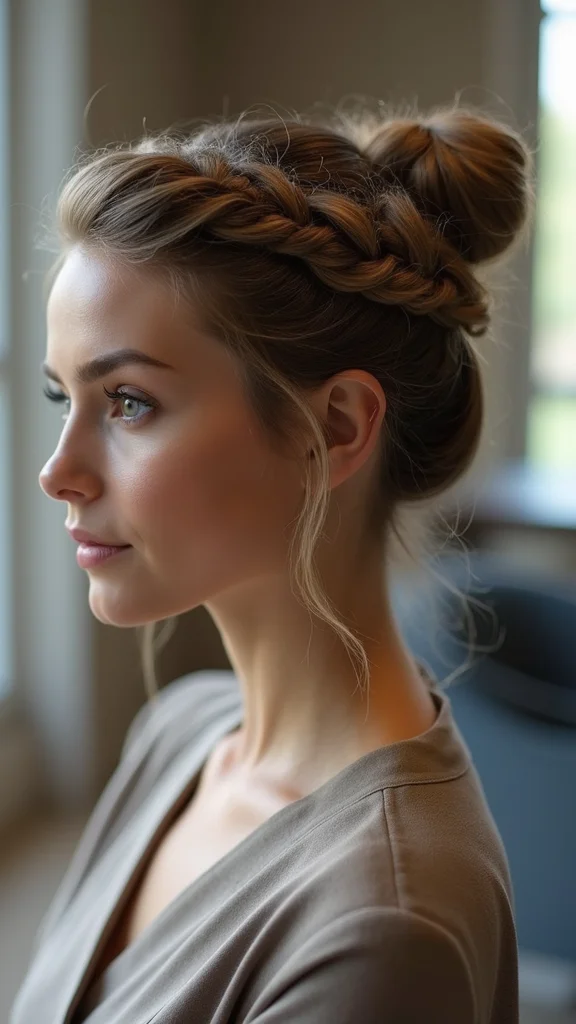
10. Braid Wrapped Bun

Gather your hair into a high ponytail. Braid the ponytail, then wrap the braid around the base of the ponytail to form a bun. Secure with bobby pins. This combines braiding with a classic updo.
The braid wrapped bun is elegant and practical. It keeps all your hair secured and off your neck, making it great for warm days or workouts. The braid detail elevates a simple bun into something more interesting. This style holds strong throughout the day and works on all hair lengths.
11. Messy Braid
Create a regular three strand braid but don’t worry about keeping it tight. Let the sections be loose and slightly uneven. Gently pull at the sides of the braid to make it wider and more textured. Secure the end.
The messy braid is forgiving and trendy. It looks intentionally undone, which means minor imperfections actually add to the style. This braid works great on second day hair or hair with texture already built in. It’s perfect for casual days when you want to look effortlessly cool.
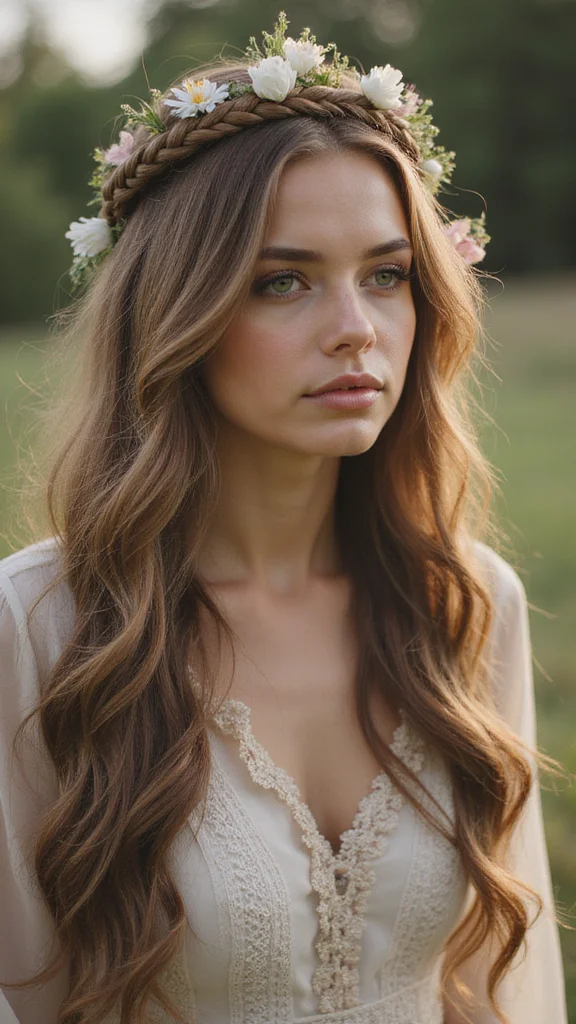
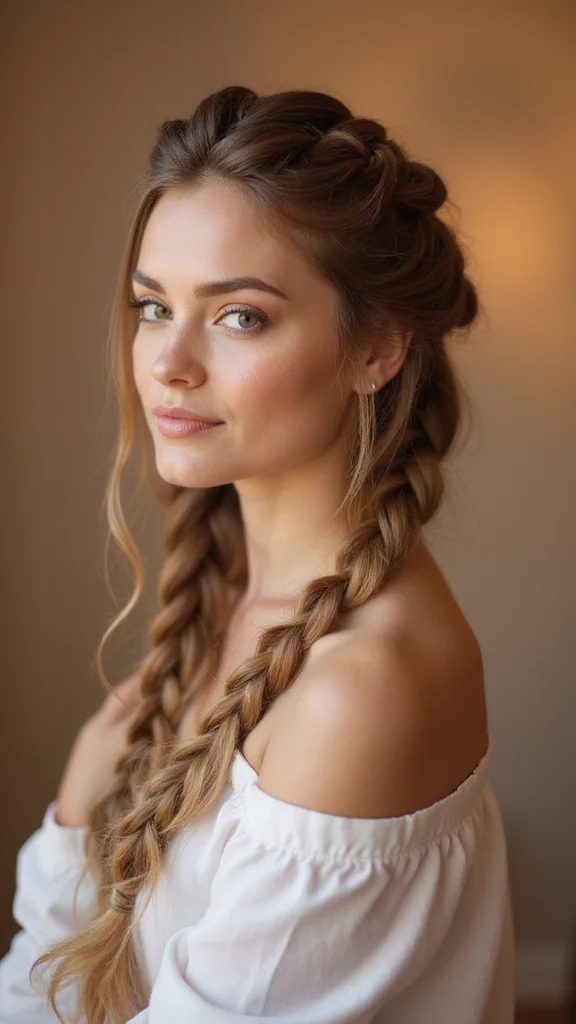
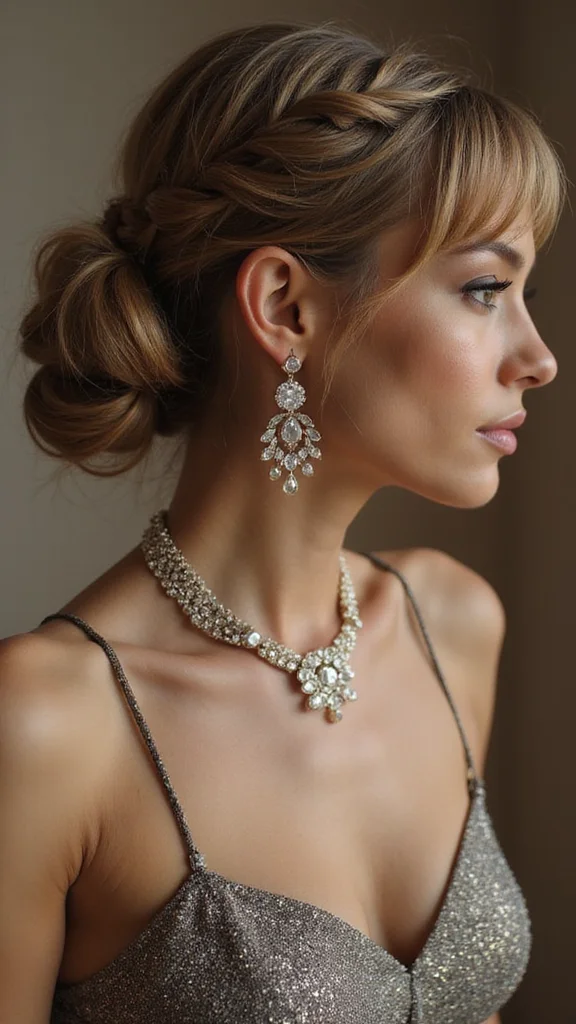
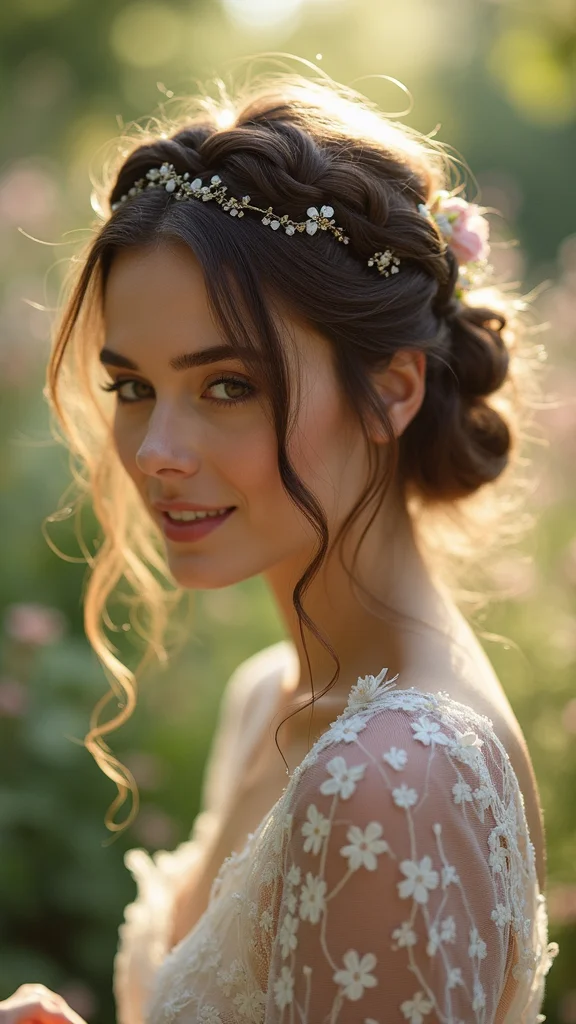
12. Crown Braid
Start a Dutch braid at one temple and work it around the back of your head to the other temple, following your hairline. Secure the end with bobby pins. This creates a crown effect that frames your entire face.
The crown braid is romantic and flattering. It works on all face shapes and hair types. This style is dressy enough for events but casual enough for everyday wear. The braid keeps hair off your face while the crown placement is universally flattering.
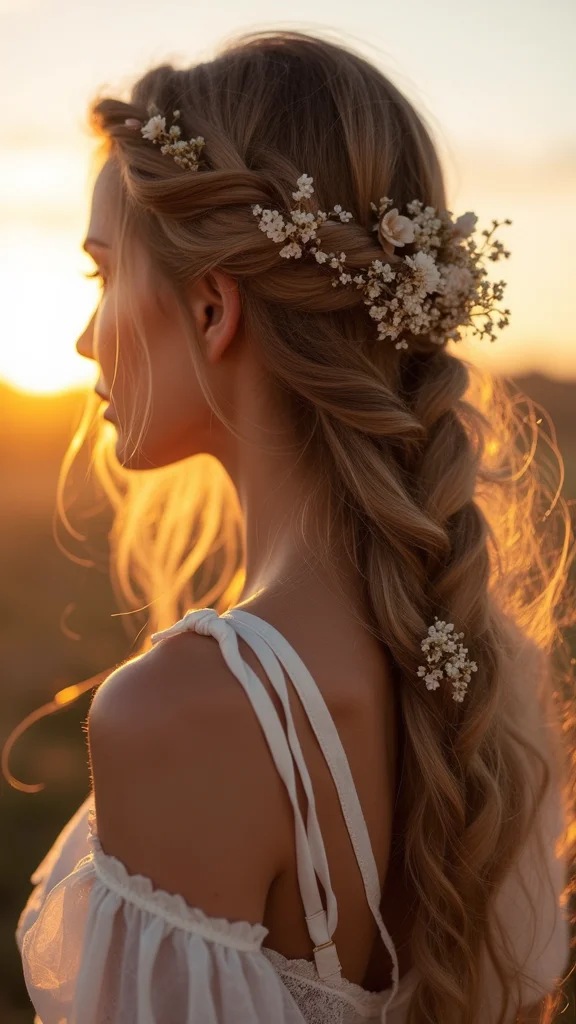
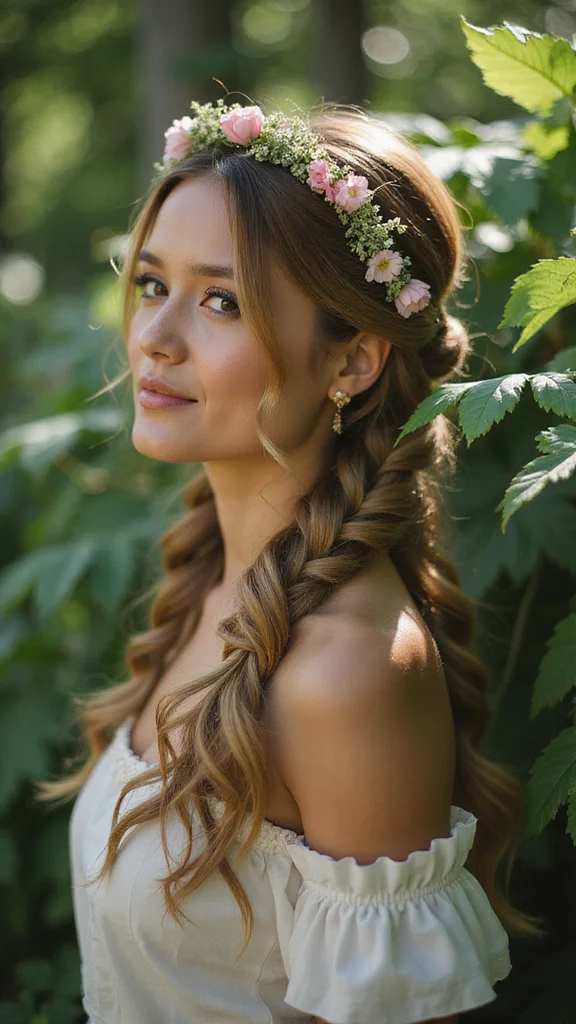
13. Boho Braid
Create a loose, slightly messy braid down the back of your head. Pull gently at the sides to widen it. You can add small flowers, ribbons, or beads woven into the braid for extra boho flair.
The boho braid captures a relaxed, free-spirited vibe. It looks best when it’s not too tight or too perfect. This style works wonderfully on wavy or curly hair where the texture adds to the bohemian feel. It’s great for festivals, casual outings, or any time you want a carefree look.
14. Simple Braided Pigtails
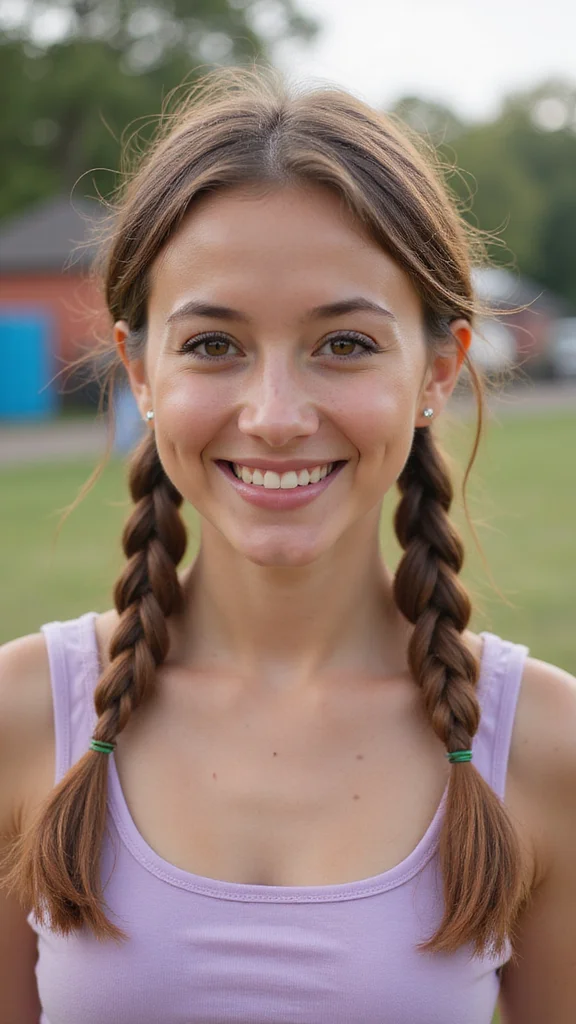
Divide your hair down the middle. Create a braid on each side of your head. Secure each braid with a small elastic. This playful style works on all ages.
Braided pigtails are fun and functional. They keep hair completely off your face and neck. This style works great for active days, gym sessions, or casual hangouts. Wear them high on your head for a sporty look or lower for something more relaxed.
15. Knotted Braid
Divide your hair into two sections. Tie them in a knot, then separate them again and tie another knot below. Continue tying knots down the length of your hair. Secure the end with an elastic.
The knotted braid is unique and eye-catching. It’s faster than traditional braiding because you’re tying instead of weaving. This style works on all hair types and creates an interesting texture. It’s perfect for days when you want something different from the usual braid.
16. Curly Braid
If you have naturally curly hair, embrace it in your braid. Create a loose three strand braid and let your curls show through. Don’t pull the braid too tight. The curls will add texture and dimension.
Curly braids celebrate your natural texture. They’re faster to create because you’re not fighting your hair’s natural pattern. This style looks fuller and more interesting than braids on straight hair. Curly braids work especially well on days when your curls are already defined.
17. Braided Side Bun
Create a braid starting at the crown and moving toward one side of your head. Wrap the braid around itself to form a bun on that side. Secure with bobby pins. This combines side styling with braided texture.
The braided side bun is chic and modern. It works on all hair lengths and types. This style is dressy enough for events but casual enough for everyday wear. The side placement is flattering and the braid detail adds visual interest to a classic bun.
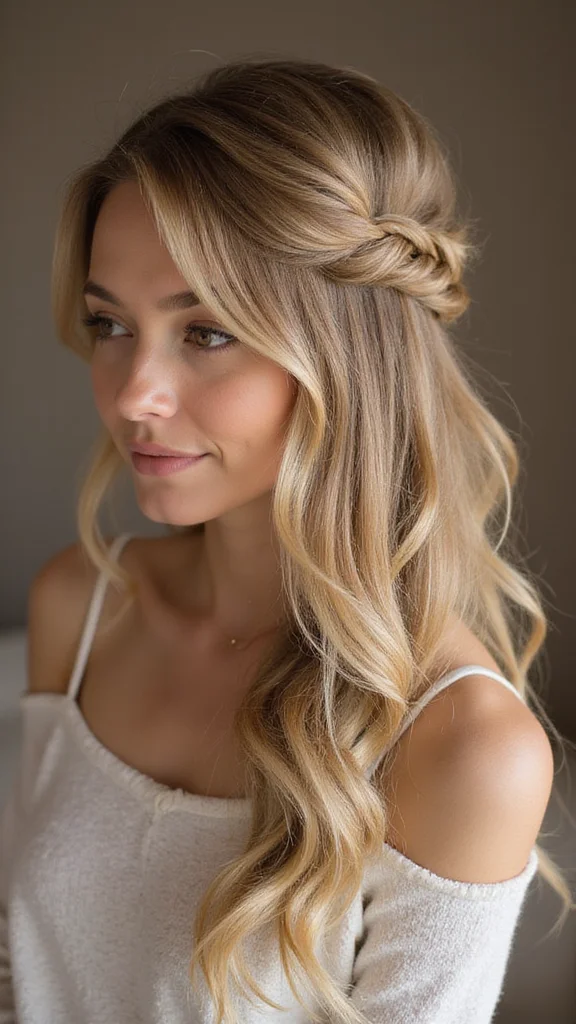
18. Twisted Halo Braid
Create two twisted sections starting at each temple. Bring them around the back of your head and secure them together. This creates a halo effect around your head.
The twisted halo braid is romantic and elegant. It frames your face beautifully and works on all hair types. This style is perfect for special occasions or any time you want to feel extra polished. The twisted sections are faster to create than woven braids.
19. Braided Pixie
If you have short hair, add a small braid to one side. You can braid from your temple back or create a tiny braid near your ear. Secure with bobby pins. This adds detail to a short cut.
20. Accent Braid
Create a thin braid and weave it through your loose hair. You can position it along your part, near your ear, or anywhere you want a subtle detail. Secure the ends with bobby pins.
21. Double Braided Bun
Create two braids starting from the crown. Gather them together at the back of your head and wrap them around each other to form a bun. Secure with bobby pins.
22. Quick Twisted Braid
Take two sections of hair and twist them around each other from crown to ends. This is the fastest braided style you can create. Secure with an elastic.
23. Five Minute Braided Bun
Braid your hair loosely from crown to ends. Coil the braid around itself at the nape of your neck. Secure with bobby pins. This updo takes exactly five minutes.
24. Beachy Braid
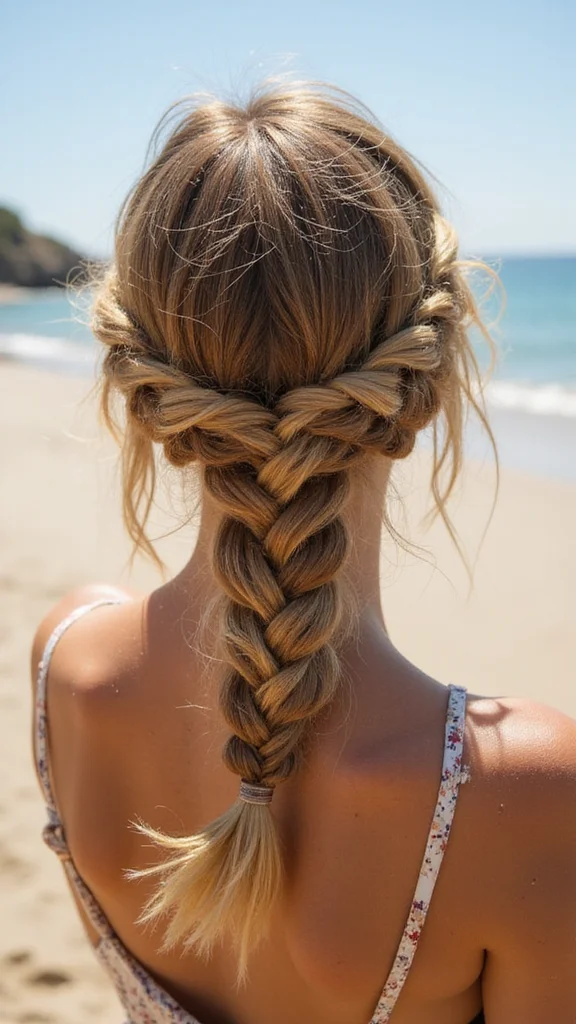
Create a loose, slightly messy braid and pull gently at the sides to widen it. Add a light texturizing spray if you have straight hair. This creates a beachy, undone vibe.
Conclusion
Quick braids are a game changer for busy mornings. You now have 25 options to choose from, each taking five minutes or less. Some are classic and timeless. Some are trendy and modern. All are doable with just your hands and a few bobby pins.


Leave a Reply