Getting ready in the morning doesn’t have to be complicated. A solid makeup routine saves time and builds confidence. Whether you’re heading to work, school, or a casual outing, having a clear step-by-step process makes all the difference.
This guide walks you through a practical 13-step makeup routine designed for real life. You’ll learn how to prep your skin, apply foundation, add dimension with color, and lock everything in place. Each step builds on the last, creating a cohesive look that lasts all day.
The beauty of this routine is its flexibility. You can rush through it in ten minutes or take your time for a more polished finish. The products and techniques work together to enhance your natural features without looking overdone.
Understanding your skin type is the first step toward a successful makeup routine. Whether you have oily, dry, combination, or sensitive skin, this guide adapts to your needs. Taking time to identify your skin’s unique characteristics ensures your makeup looks fresh and feels comfortable all day long.
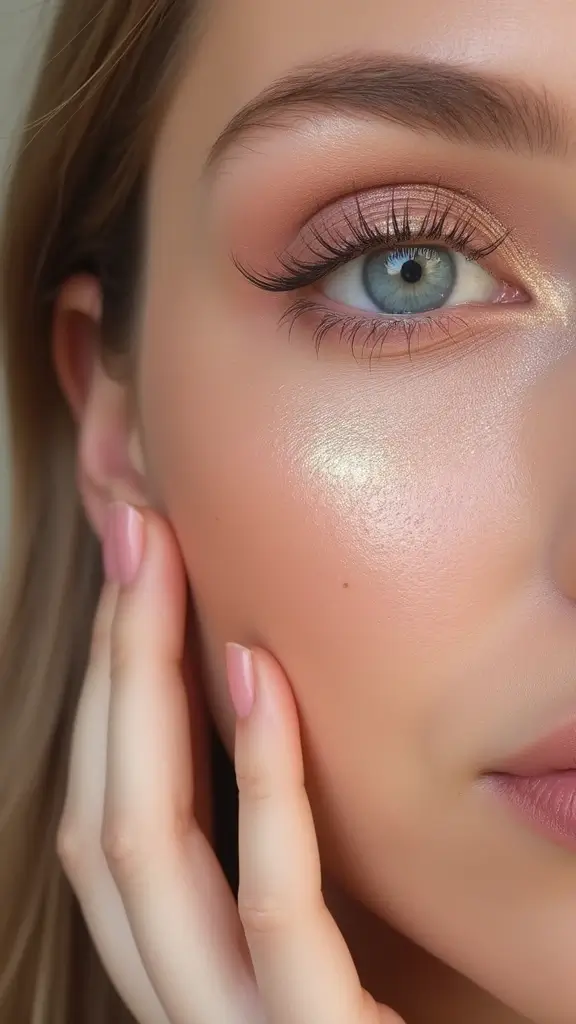
1.Subtle Eye Makeup
Eyeshadow adds dimension without drama. Choose a neutral shade that complements your eye color. Apply it across your lid using a flat brush with gentle pressing motions.
Add a slightly darker shade to your crease for definition. Blend the two shades together so there’s no harsh line. Keep the inner corner light to make eyes appear larger and more awake.
Neutral eyeshadow palettes offer versatility for everyday wear. Shades like taupe, beige, brown, and soft gold work with most skin tones and eye colors. Using a flat brush with pressing motions rather than swiping creates better color payoff. Blending is crucial for a polished appearance. A fluffy blending brush works best for this step.
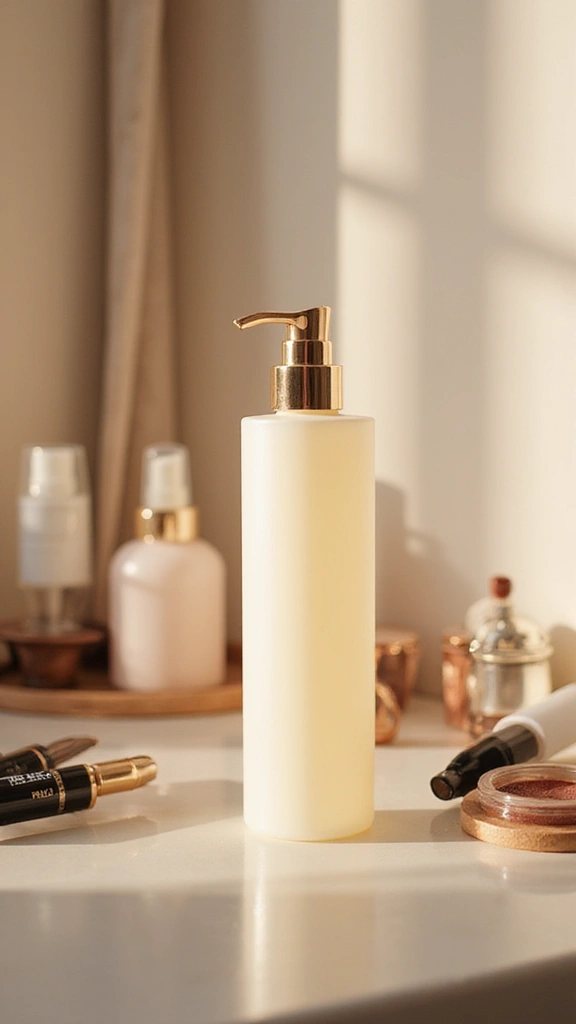
2. Prime for Longevity
A primer creates a smooth base and helps makeup stick around. Apply a pea-sized amount across your T-zone and cheeks. Use your fingertips to gently press it into your skin rather than rubbing.
Wait about one minute for the primer to set. This gives it time to create that silky surface makeup loves. A good primer fills in pores and fine lines, making your skin look more refined.
Primers work by creating a barrier between your skin and makeup, allowing products to adhere better and last longer. Silicone-based primers work well for most skin types and create a smooth, slippery surface. Water-based primers suit sensitive skin and those prone to breakouts. The investment in a quality primer pays dividends throughout your day, extending your makeup’s wear time by several hours.
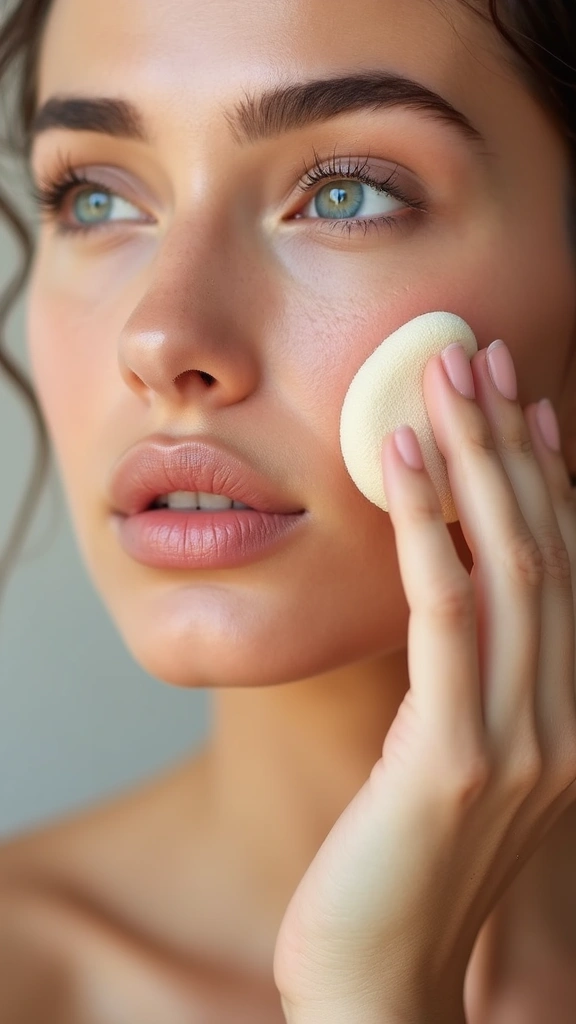
3. Tinted Moisturizer or BB Cream
Tinted moisturizer gives you coverage without the heavy feeling of full foundation. Pump a small amount into your palm and warm it between your hands. Press it gently onto your face, starting at the center and blending outward.
Focus on areas that need the most coverage, like around your nose and chin. The beauty of tinted products is they let your skin breathe while evening out tone. You get a natural finish that looks like your skin, only better.
Tinted moisturizers and BB creams occupy a sweet spot between skincare and makeup. They provide light to medium coverage while hydrating your skin. Warming the product between your hands helps it blend seamlessly into skin. Start with less product than you think you need. You can always add more, but removing excess requires starting over.
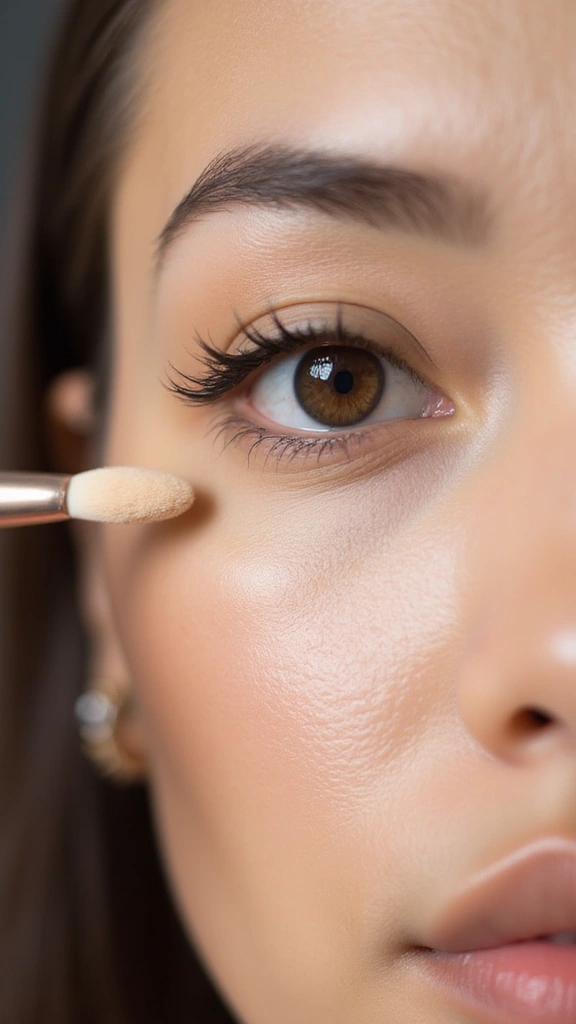
4. Conceal and Brighten
Concealer targets specific areas that need extra coverage. Use a shade one or two shades lighter than your skin tone under the eyes. Tap it gently with your ring finger, which applies the least pressure.
Apply concealer to any blemishes or dark spots you want to hide. Blend the edges so there’s no harsh line. A good concealer brightens tired eyes and creates the illusion of a well-rested face.
The under-eye area requires special attention because the skin there is thinner and more delicate. Using your ring finger prevents tugging and damage. Tap the concealer gently rather than rubbing or dragging it across the skin. Concealer formulas vary widely in texture and coverage. Full-coverage concealers work best for blemishes while lighter, more fluid concealers suit the under-eye area.
5. Lightly Set with Powder
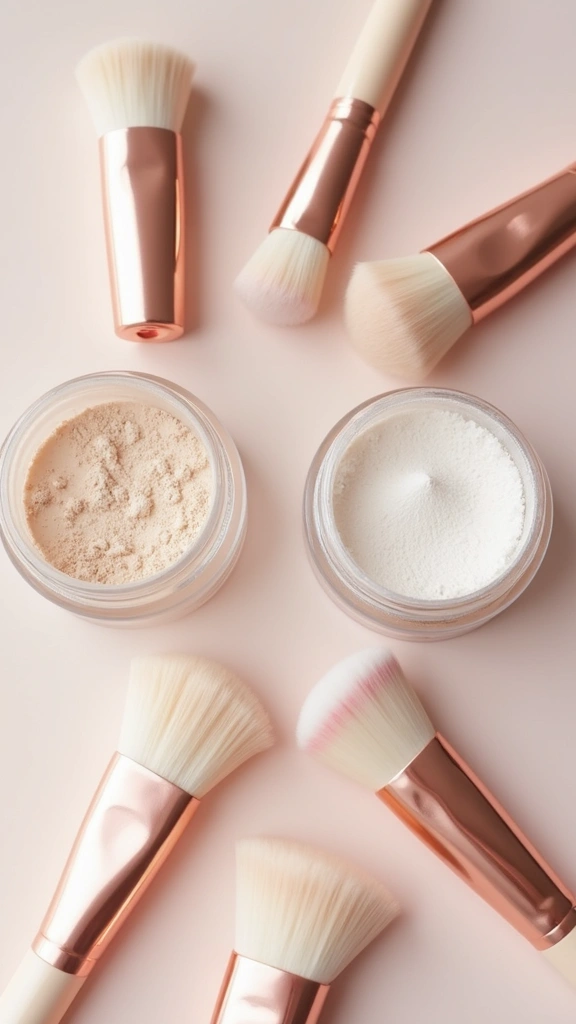
Powder locks everything in place without adding weight. Use a light hand and a fluffy brush to apply translucent powder. Focus on your T-zone where oil tends to build up first.
Dust the powder across your cheeks and chin with a feather-light touch. Too much powder makes skin look chalky and ages your face. A light dusting is all you need to keep makeup fresh for hours.
Translucent powder works on all skin tones because it contains no pigment. The key to successful powder application is using the right tool and technique. A large, fluffy brush distributes powder evenly and prevents heavy application. Focus powder on areas prone to oiliness rather than applying it everywhere on your face.
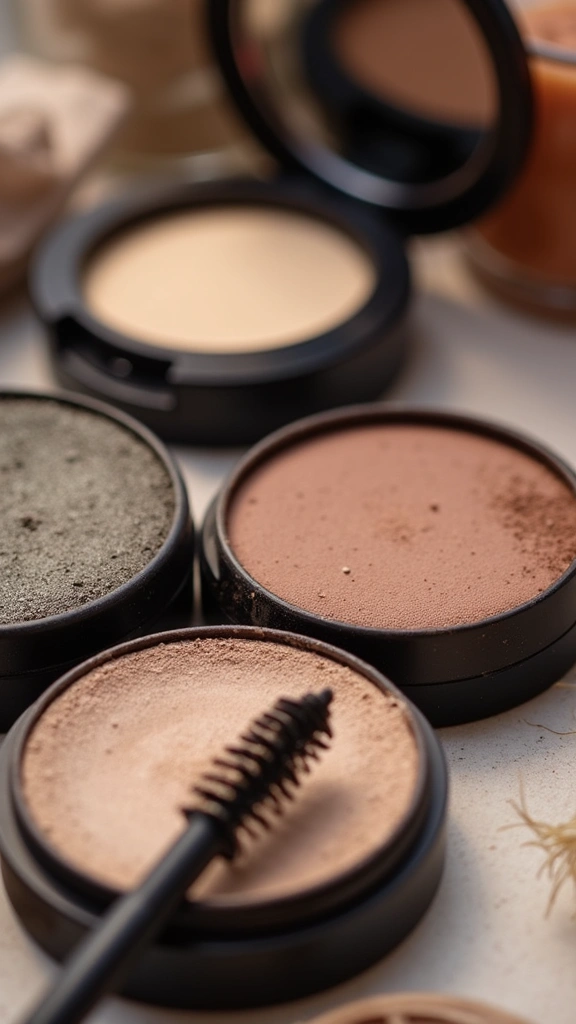
6. Brow Definition
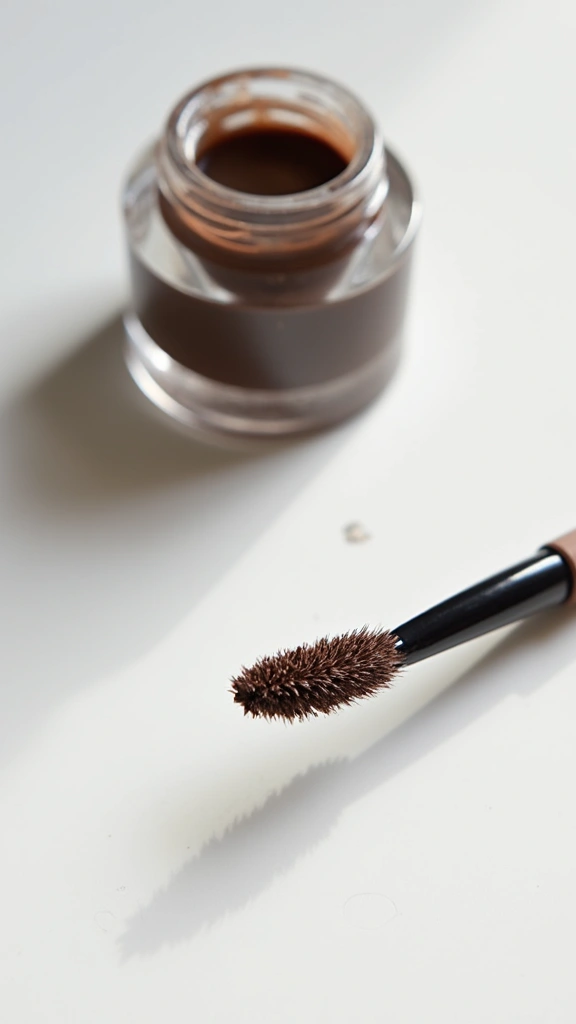
Your brows frame your entire face. Use a brow pencil or powder to fill in sparse areas and define the shape. Match the product to your natural brow color for a seamless look.
Start at the inner brow and work outward with short, feathery strokes. This mimics natural hair and looks more realistic than a solid line. Well-groomed brows instantly make you look more put together.
Brow products come in several forms, each with distinct advantages. Pencils offer precision and work well for creating defined strokes. Powders provide a softer, more natural appearance and work best for filling in larger areas. The shape of your brows should complement your face shape and natural brow bone. Regular plucking or waxing keeps stray hairs in check between professional appointments.
7.Start with Clean Skin
Your skin is the canvas for everything that follows. Wash your face with lukewarm water and a gentle cleanser suited to your skin type. Pat your skin dry with a soft towel without rubbing delicate areas around your eyes.
A clean, dry face ensures makeup applies smoothly and lasts longer throughout the day. This foundation step prevents buildup and keeps your skin healthy. Throughout the night, your skin accumulates dead cells, oil, and environmental debris. Morning cleansing removes these impurities and prepares your skin for the day ahead.
Choose a cleanser formulated for your specific skin concerns. Those with oily skin benefit from gel or foam cleansers that remove excess sebum. Dry skin types should opt for creamy or milk-based formulas that cleanse without stripping natural oils.
8. Enhance the Eyes
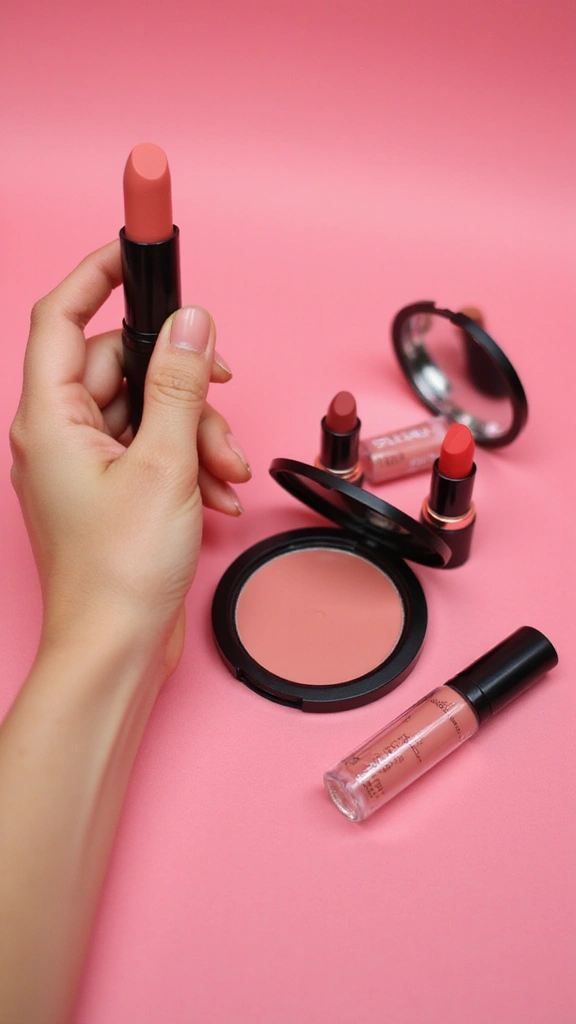
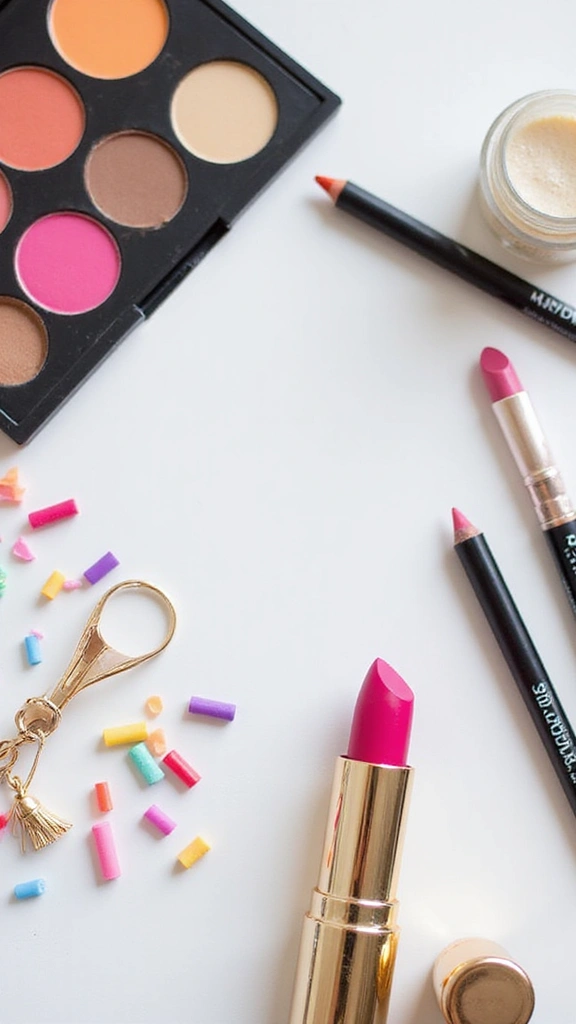
A touch of color on your lips completes the look. Choose a shade that makes you feel confident. Apply it directly from the tube or use a lip brush for precision.
Blot with a tissue if you want a softer finish. A simple lip color ties your whole makeup together without requiring much effort. Whether you go bold or neutral, this final touch makes your face feel finished.
Lip color selection depends on your skin tone, personal preference, and the occasion. Warm skin tones often look best in warm lip colors like coral, warm reds, and peachy tones. Cool skin tones typically suit cool reds, berry shades, and mauve tones. Lip color formulas vary in texture and longevity. Matte lipsticks offer bold color and long wear. Satin finishes provide color with a slight sheen and more comfort. Glosses offer shine and moisture but require frequent reapplication.
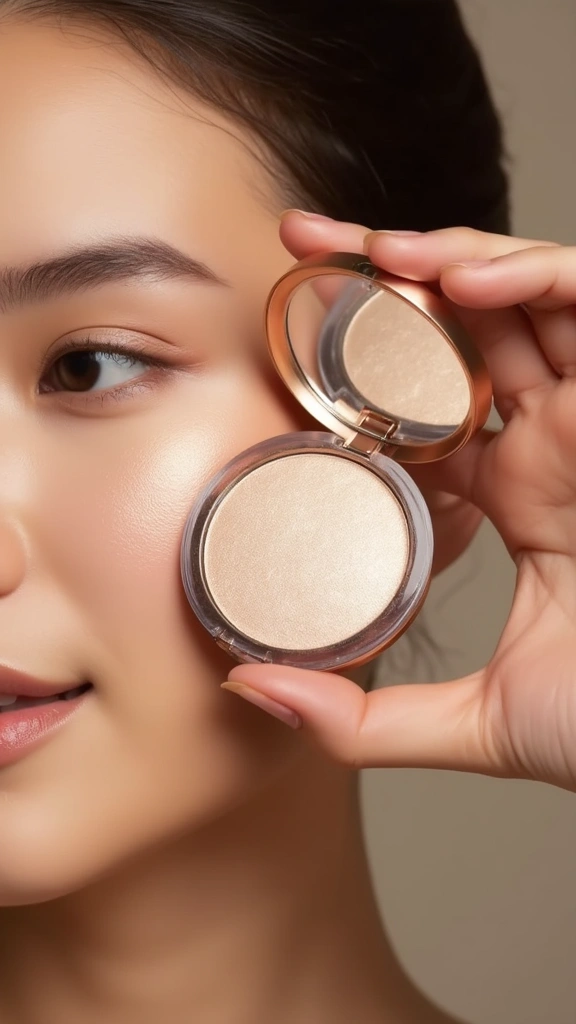
9. Highlight the High Points
Highlighter adds a subtle glow that makes skin look fresh and youthful. Apply it to the tops of your cheekbones, down the center of your nose, and along your brow bone. Use a light hand to avoid looking shiny.
Blend it gently with your fingertip for a natural finish. Highlighter catches light and creates dimension on your face. The key is restraint and blending.
The purpose of highlighter is to catch light and draw attention to the high points of your face. These areas naturally catch light when you’re in good health and well-rested. The cheekbones, brow bones, and bridge of the nose are the most common placement areas. Highlighter formulas range from subtle to intense. Liquid and cream highlighters offer a natural, skin-like glow. Powder highlighters provide more visible shimmer and work well for those who want a more dramatic effect.
10. Setting Spray for Longevity
Setting spray is your insurance policy against makeup meltdown. Hold the bottle about six inches from your face and mist lightly. Don’t spray too close or you’ll disturb your carefully applied makeup.
Let the spray dry naturally without touching your face. This locks everything in place and extends wear time by hours. A good setting spray keeps your makeup looking fresh from morning through evening.
Setting sprays work by creating a protective layer over your makeup. They help makeup resist heat, humidity, and movement. Different formulas offer different benefits. Some focus on longevity, keeping makeup in place for twelve hours or more. Others prioritize a natural finish, preventing that locked-down feeling. The application technique for setting spray is important. Holding the bottle too close can disturb your makeup. Six inches is the ideal distance for most setting sprays.
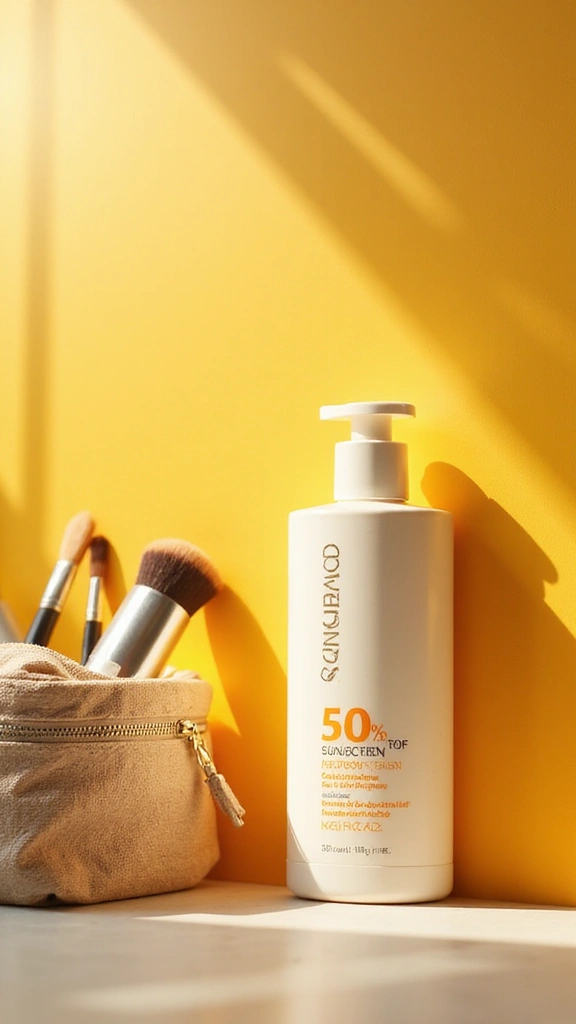
11. Daily Skin Protection
Sun protection is non-negotiable, even on cloudy days. If your tinted moisturizer doesn’t contain SPF, apply a lightweight sunscreen before makeup. This prevents sun damage and keeps skin healthy long-term.
Reapply sunscreen throughout the day if you’re outdoors for extended periods. Your skin will thank you now and in the years to come. This step is the most important investment in your skin’s future.
Sunscreen protects your skin from both UVA and UVB rays. UVB rays cause sunburn and skin cancer. UVA rays penetrate deeper and cause premature aging, including wrinkles and age spots. A broad-spectrum sunscreen with SPF 30 or higher protects against both types of rays. Many dermatologists recommend SPF 50 for maximum protection.
Choosing the right sunscreen formula ensures you’ll actually use it consistently. Lightweight, non-greasy formulas work best under makeup. Mineral sunscreens suit sensitive skin but can leave a white cast. Chemical sunscreens absorb into skin and work well for most people. Finding a sunscreen you enjoy using makes daily protection a habit rather than a chore.
12. Evening Refresh
By evening, your makeup may need a quick refresh. Blot excess oil with blotting papers rather than reapplying powder everywhere. Add a fresh coat of lip color if it’s faded.
Check your under-eye area and touch up concealer if needed. A two-minute refresh keeps you looking polished through dinner or evening plans. You don’t need to start over, just target the areas that need attention.
Blotting papers are a game-changer for midday touch-ups. They remove excess oil without adding more powder to your face. Simply press a blotting paper onto oily areas and let it absorb the oil. This keeps your makeup looking fresh without the heavy, powdery appearance that comes from reapplying powder. Evening touch-ups should be minimal and targeted. Focus on areas that show the most wear. Lips fade first, so reapplying lip color makes an immediate difference.
13. Weekend Variation

Weekends call for a different approach. You might skip the setting spray if you’re staying home. Or go bolder with eyeshadow and lip color since you have more time.
Experiment with techniques you don’t have time for on weekdays. Try a winged eyeliner or a deeper eyeshadow shade. Weekends are your chance to play and discover what works for you.
Weekend makeup routines offer freedom from the constraints of a quick morning schedule. You can take time to practice techniques that require more precision. Winged eyeliner, cut crease eyeshadow, and bold lip colors all benefit from a relaxed pace. Practicing these techniques on weekends builds muscle memory that translates to faster application during the week. Experimenting with new products and colors helps you discover your preferences and build a collection of products you truly love.
Leave a Reply