A smokey eye is one of the most versatile and striking makeup looks you can master. Whether you’re heading out for the evening or adding drama to your daily routine, this technique works for every skin tone and eye shape. The beauty of a smokey eye lies in its flexibility. You can go bold with charcoal and black, or soft with browns and taupes. The key is blending. Smooth transitions between colors create that signature smokey effect that makes eyes pop.
This guide covers 25 different smokey eye variations, from classic to creative. Each look uses simple techniques and products you likely already own. You’ll learn how to layer colors, blend like a pro, and adapt the style to match your mood and occasion. No special skills required. Just follow along, practice, and soon you’ll be creating stunning smokey eyes in minutes.
1.Bronze Goddess Smokey Eye
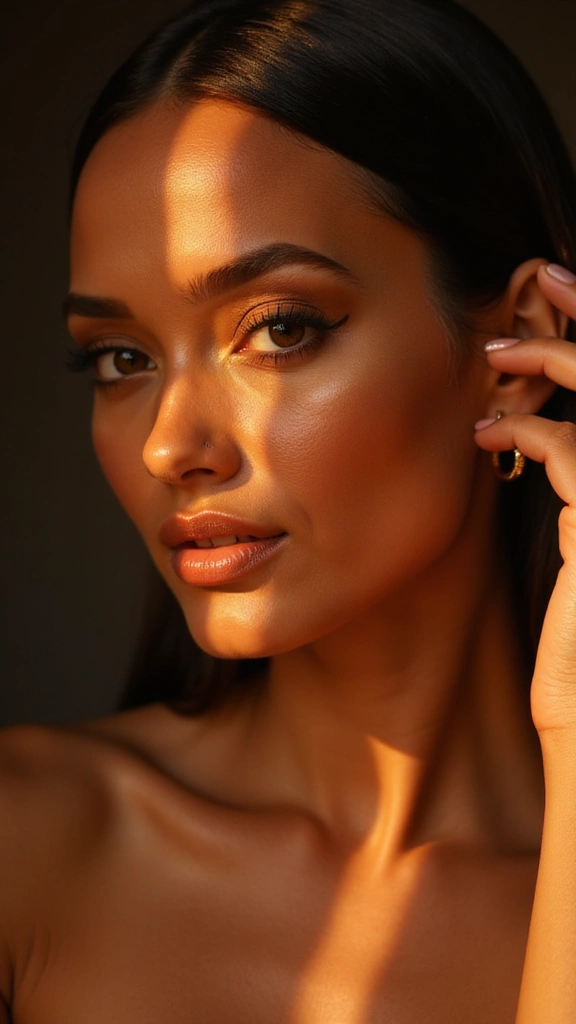
The bronze goddess smokey eye channels warmth and luxury through rich bronze and gold tones. Begin with a warm champagne or light gold base across your lid. Layer a medium bronze shade in the crease, blending it upward. Add a deeper bronze or chocolate shade along the upper lash line for definition.
2. Easy Vintage Smokey Eye
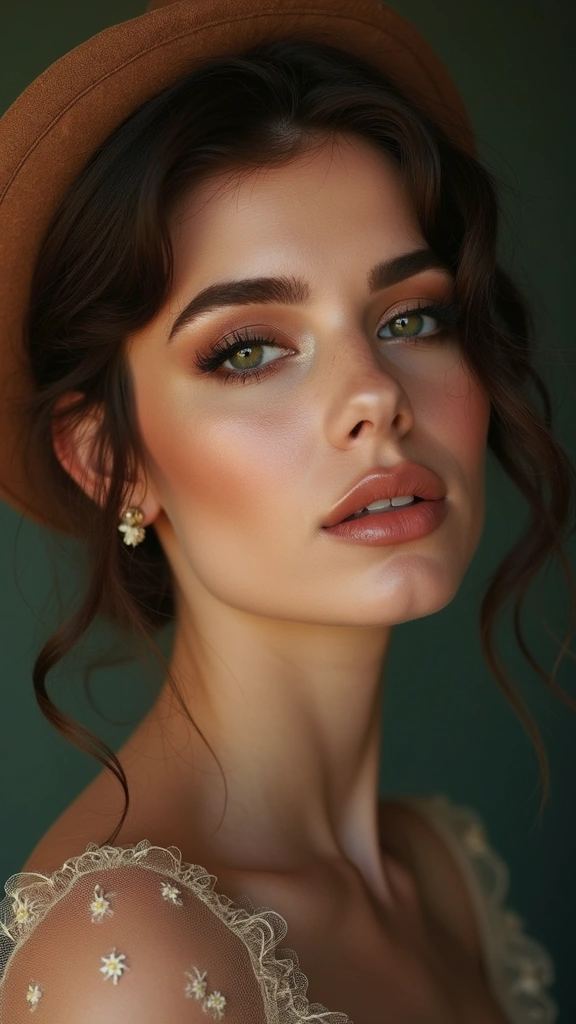
Vintage smokey eyes lean into warm, earthy tones that feel nostalgic and timeless. Think warm browns, soft golds, and muted bronzes blended together for a cohesive look. Begin with a warm brown base color across your entire lid. Layer a deeper bronze or chocolate shade in the crease, blending upward and outward.
3. Easy Graphic Smokey Eye
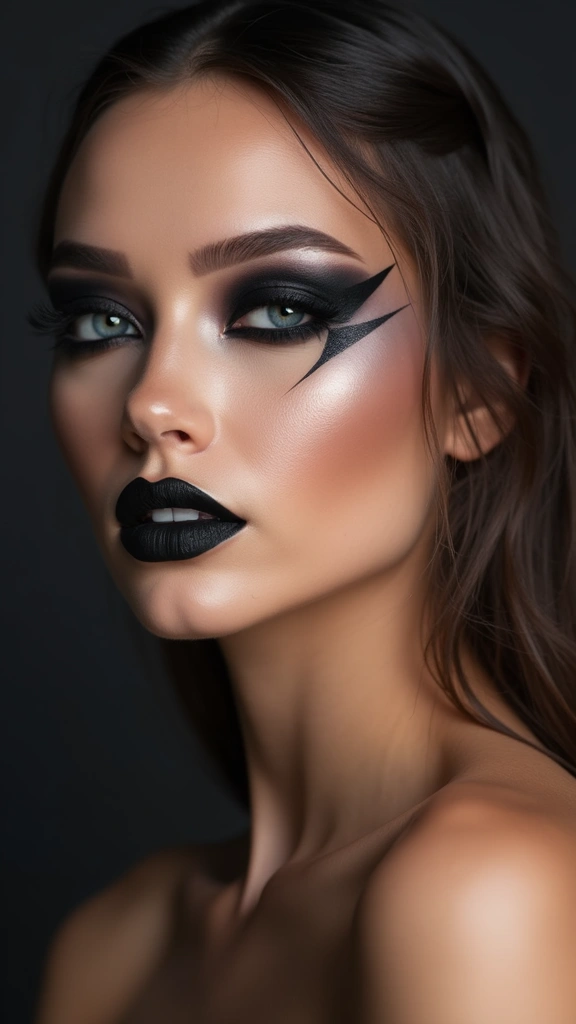
Graphic smokey eyes combine the softness of blending with the precision of defined lines. This modern approach gives you structure while maintaining that signature smokey feel. Start by mapping out where your shadows will go using a pencil or angled brush. Apply a medium shade across the lid, then use a darker shade to create a defined line along the upper lash line.
4. Sage Green Smokey Eye
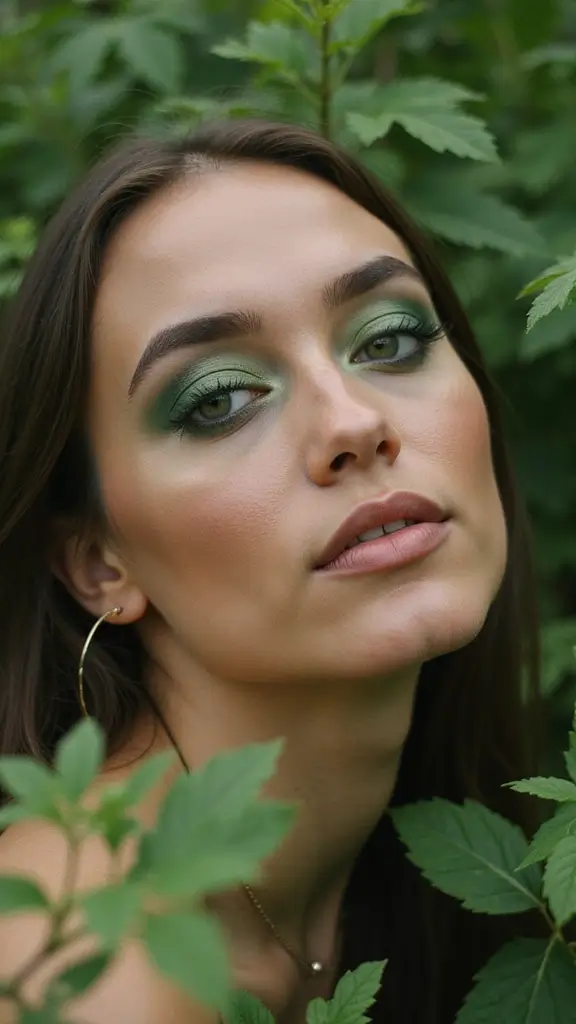
Sage green offers a fresh alternative to traditional neutral smokey eyes. This muted, cool toned green flatters most skin tones and feels both modern and wearable. Begin with a light gray or taupe base to anchor your look. Apply sage green across the lid, keeping it concentrated in the center. Blend a deeper forest green or charcoal gray into the crease for dimension.
5. Earthy Tones Smokey Eye
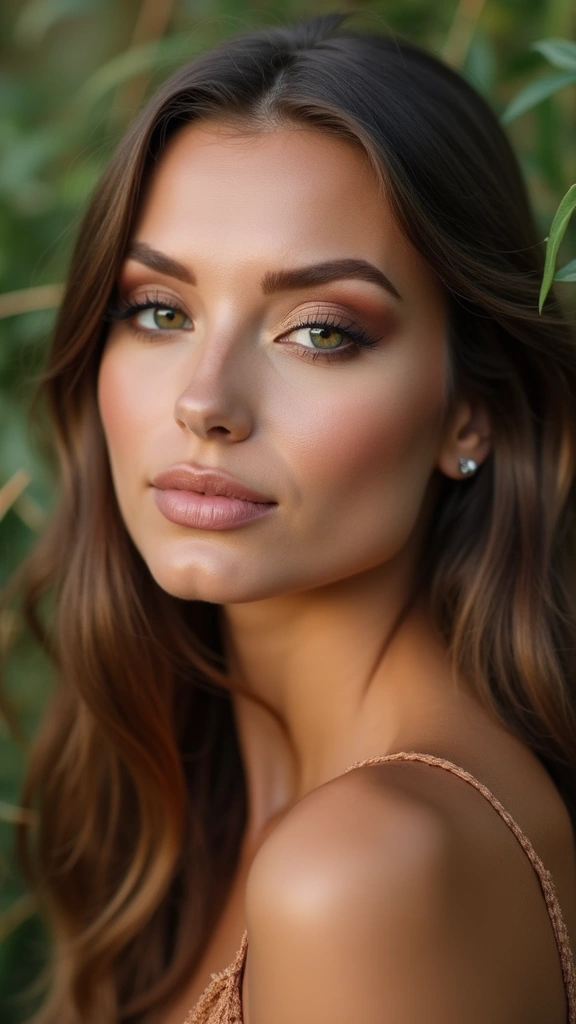
Earthy smokey eyes celebrate warm, natural tones found in nature. Terracotta, warm brown, taupe, and soft bronze create a harmonious, grounded look. Start with a warm taupe or light brown base. Layer a deeper warm brown in the crease, blending it upward and outward. Add a touch of terracotta or rust on the outer corner for warmth and depth.
6. Everyday Smokey Eye
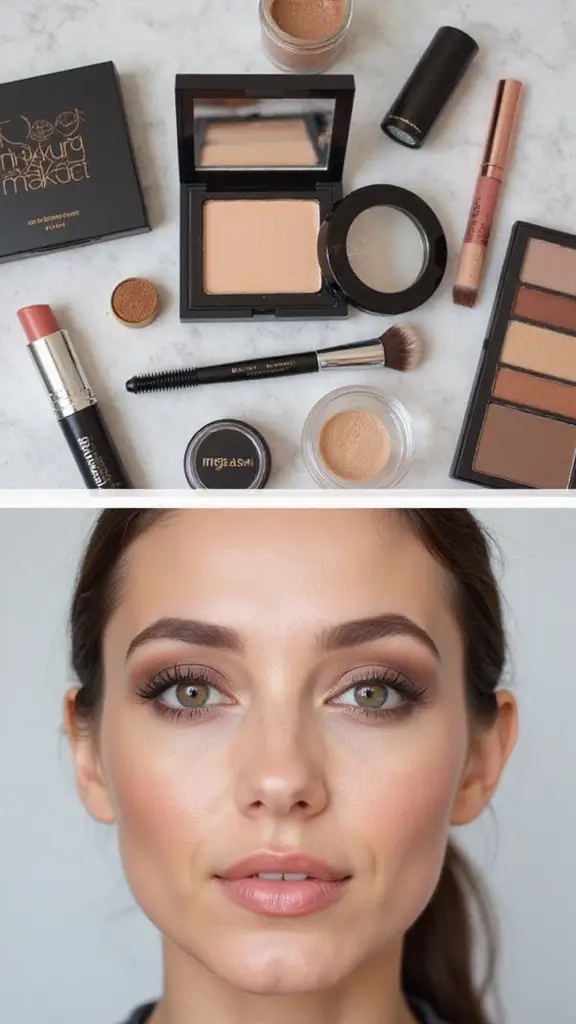
The everyday smokey eye strips the look down to its essentials for quick, wearable application. This version uses neutral browns and soft grays that work with any outfit or occasion. You need just three shades: a light neutral base, a medium brown, and a deeper brown or taupe. Apply the light shade across your lid, then the medium brown in the crease. Blend the darker shade along the upper lash line for definition.
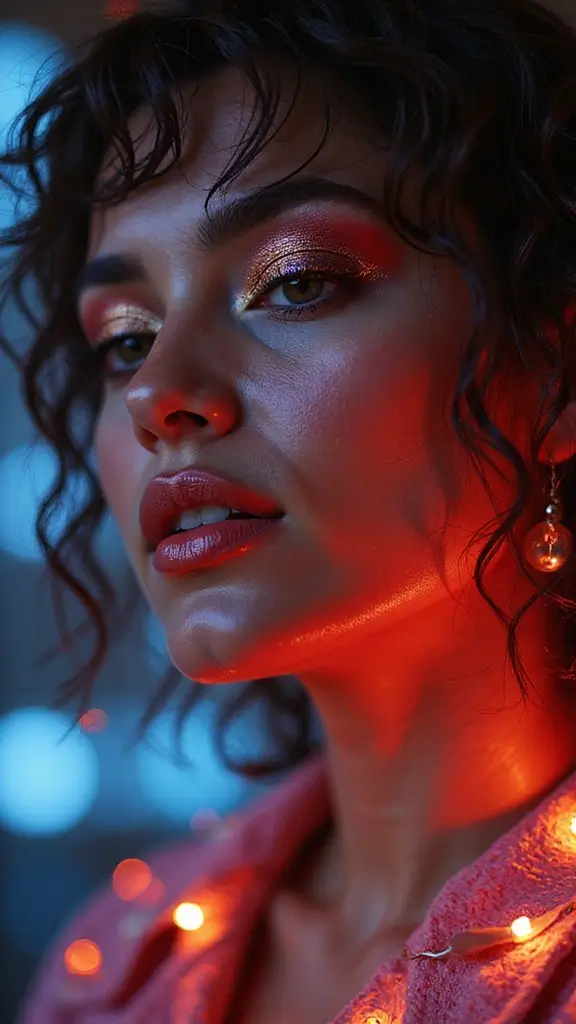
7. Glittery Smokey Eye
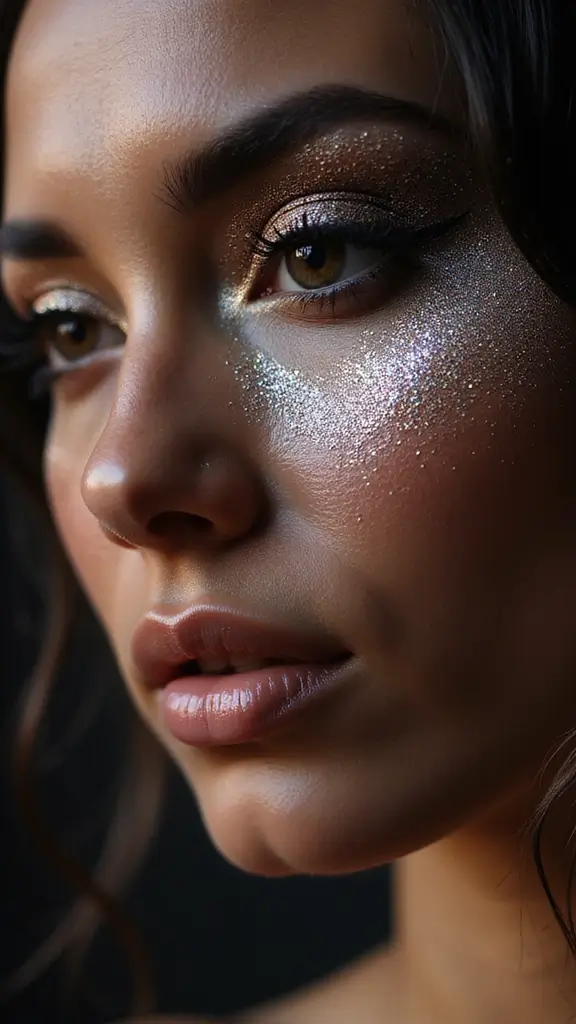
Glittery smokey eyes add glamour and sparkle to the traditional blended look. This version uses shimmery shadows instead of mattes for a more festive, eye catching effect. Start with a shimmery neutral base across your lid. Layer a shimmery medium shade in the crease, then add a deeper shimmery shade for definition.
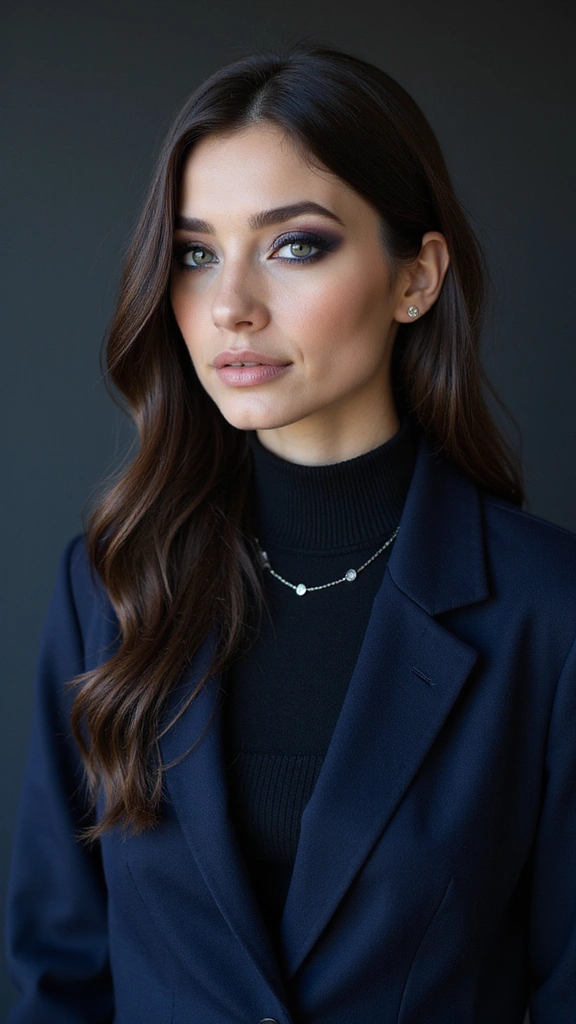
8.Deep Navy Smokey Eye
Navy blue brings sophistication to the smokey eye formula. This shade works beautifully on all skin tones and creates a modern twist on the classic look. Start with a light eyeshadow base to help colors stick around all day. Apply a medium navy shade across your lid, then deepen the crease with a darker navy or charcoal. Use a fluffy blending brush to soften edges so colors melt together seamlessly.
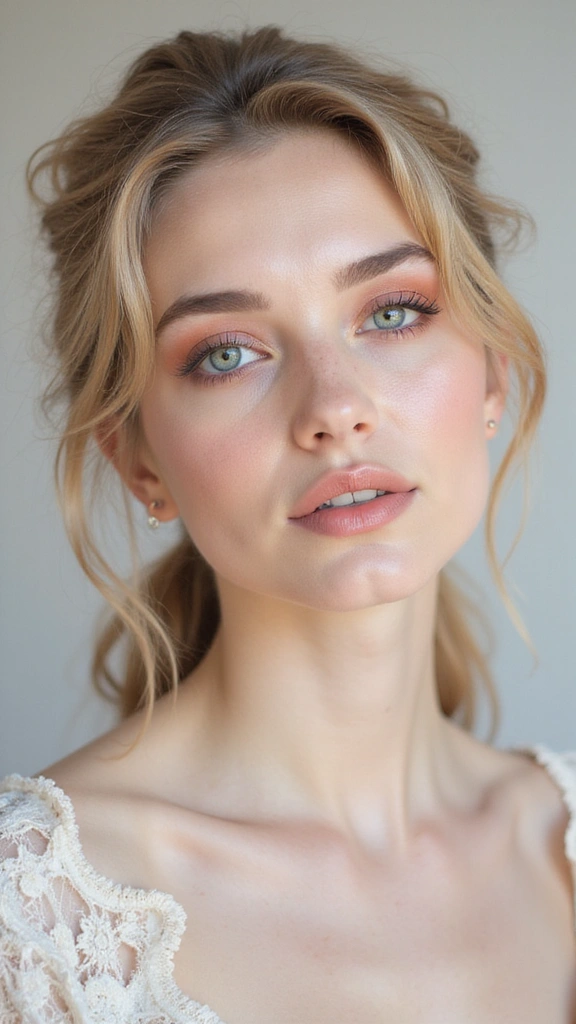
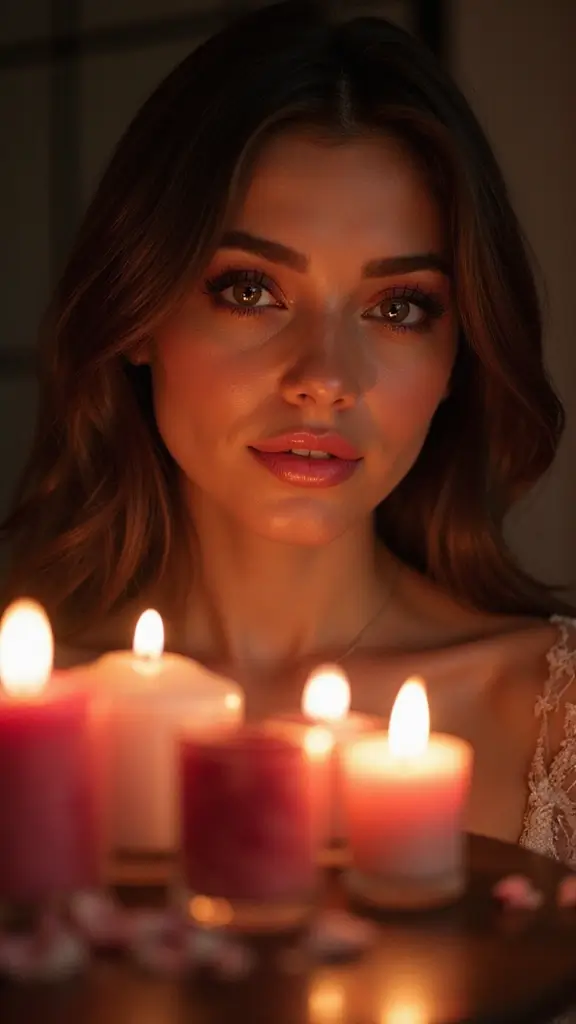
9. Soft Pink Smokey Eye
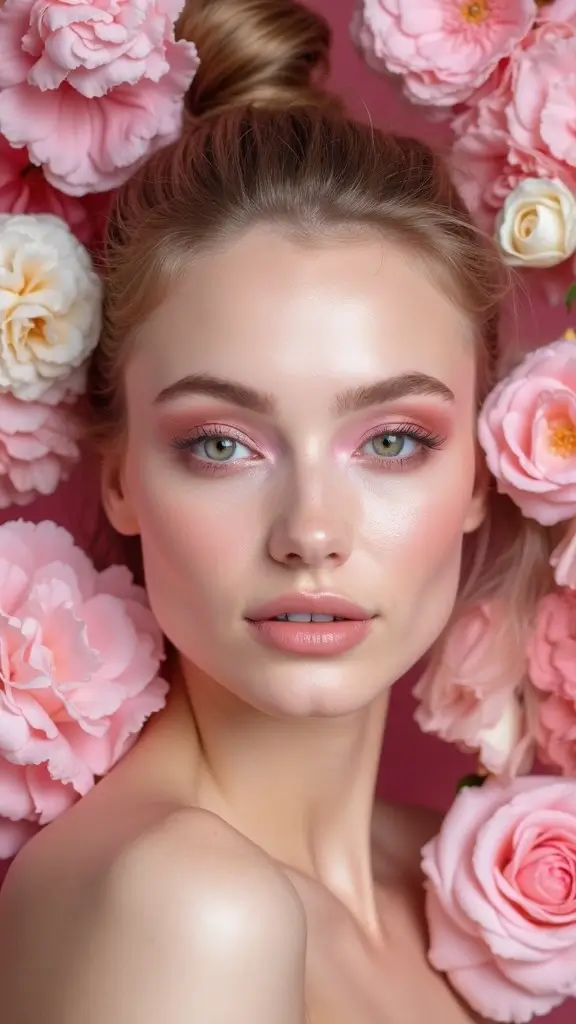
Soft pink smokey eyes bring a romantic, feminine touch to the classic technique. Mauve, dusty rose, and soft pink create a gentle, pretty look that feels less intense than traditional smokey eyes. Start with a light pink or nude base across your lid. Layer a dusty rose or mauve shade in the crease, blending it upward and outward. Add a deeper mauve or plum shade along the upper lash line for subtle definition.
10. Colorful Smokey Eye
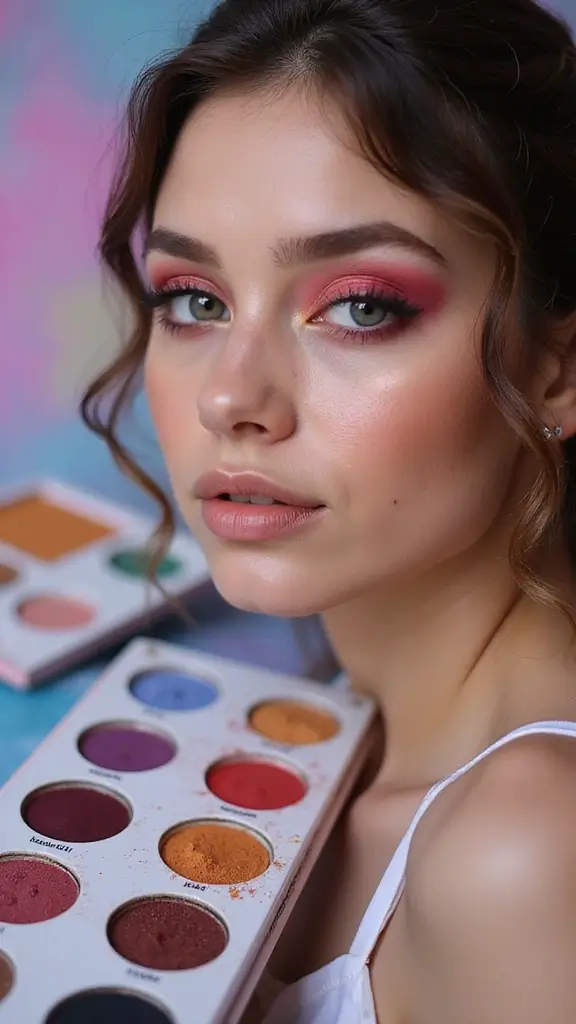
Colorful smokey eyes break the neutral mold by incorporating bold, vibrant shades while maintaining that blended, dimensional quality. Choose three to four complementary colors that appeal to you. Apply them across your lid in sections, then blend the edges where colors meet so they melt together seamlessly.
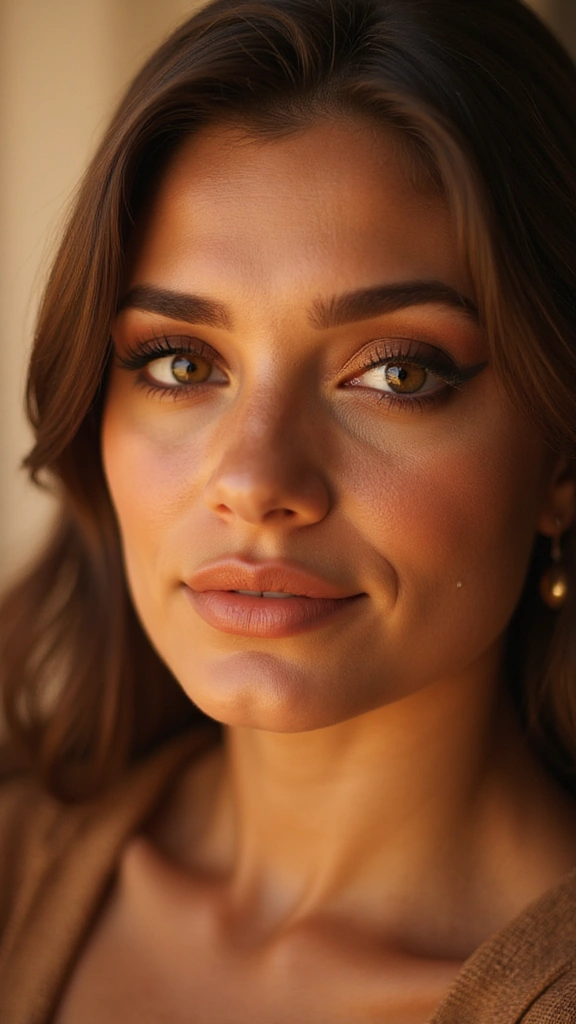
11. Subtle Brown Smokey Eye
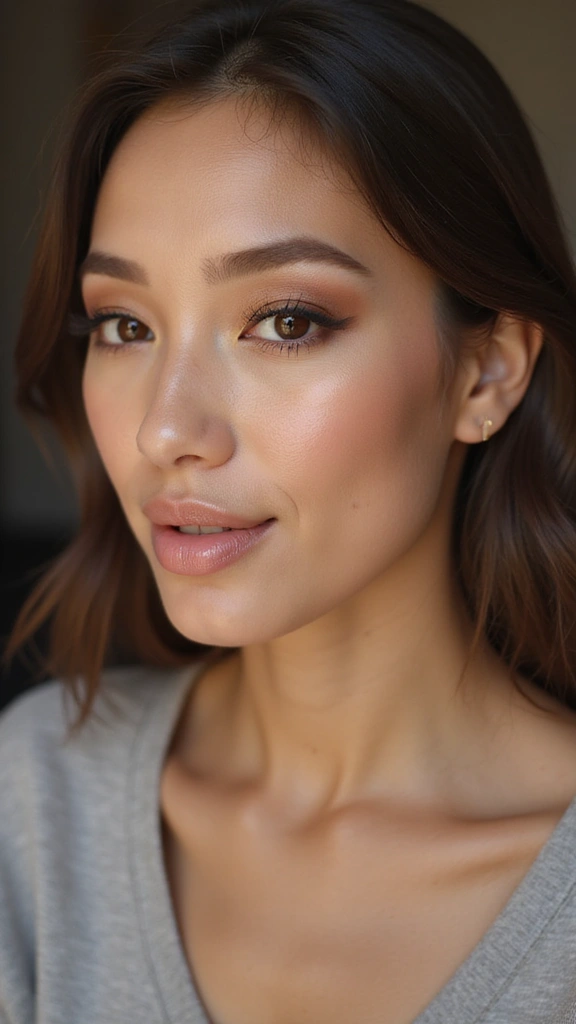
The subtle brown smokey eye delivers dimension without drama, making it perfect for everyday wear and professional settings. Apply a light beige or warm taupe base across your lid. Layer a soft medium brown in the crease, blending it gently upward. Add just a touch of deeper brown along the upper lash line for subtle definition.
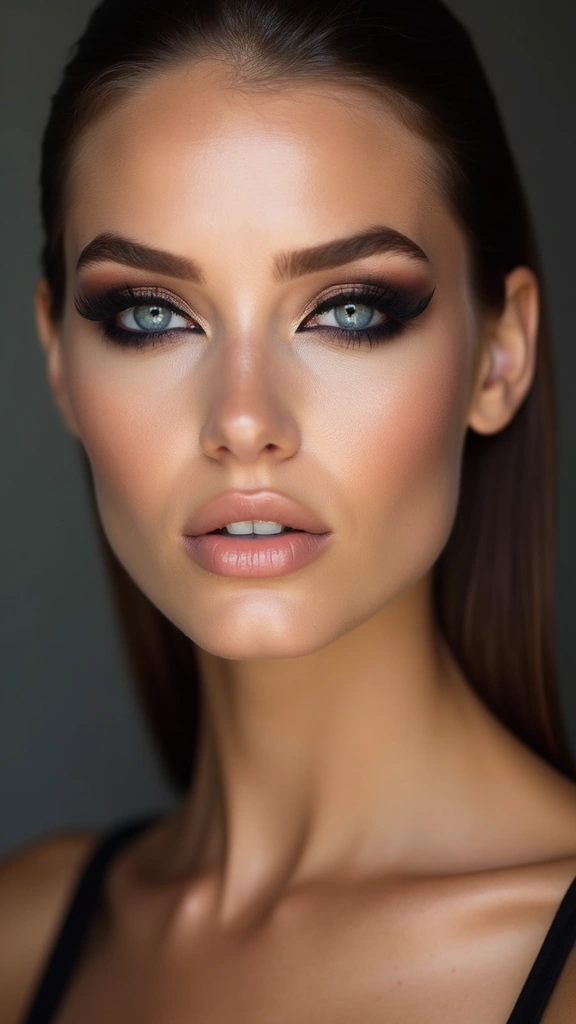
12. The Classic Charcoal Smokey Eye
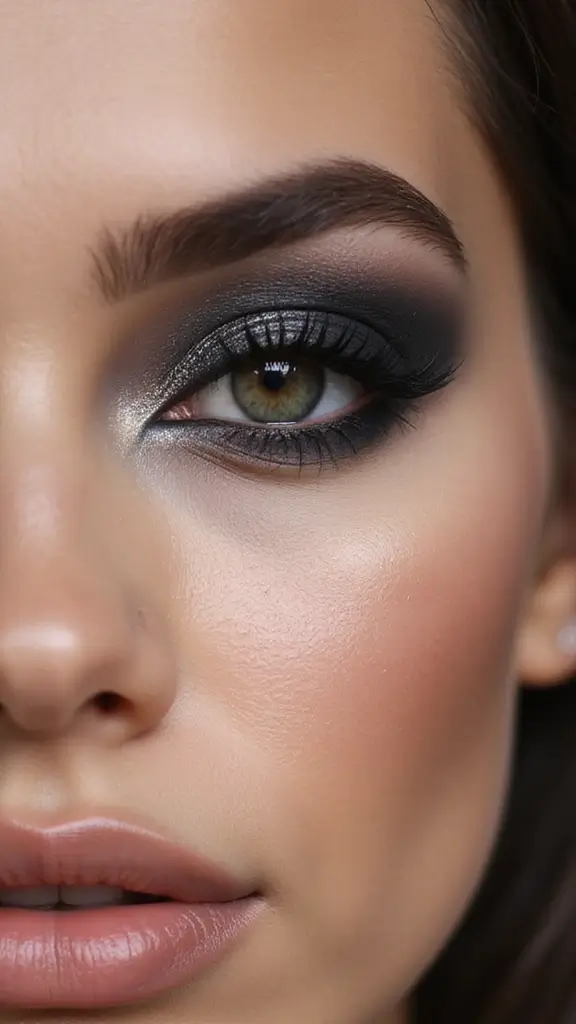
The classic charcoal smokey eye is the foundation of this entire technique. Charcoal gray and black create that iconic smokey effect that works for any occasion. Start with a light neutral base across your lid to help colors adhere. Apply a medium charcoal gray across your lid, concentrating color in the center. Blend a darker charcoal or black shade into the crease and along the upper lash line.
13. Easy Watercolor Smokey Eye
The watercolor smokey eye uses soft, muted tones blended together to create a dreamy, artistic effect. Choose soft, muted shades in colors you love. Apply them across your lid in sections, then use a damp blending brush to soften edges and create smooth transitions between colors.
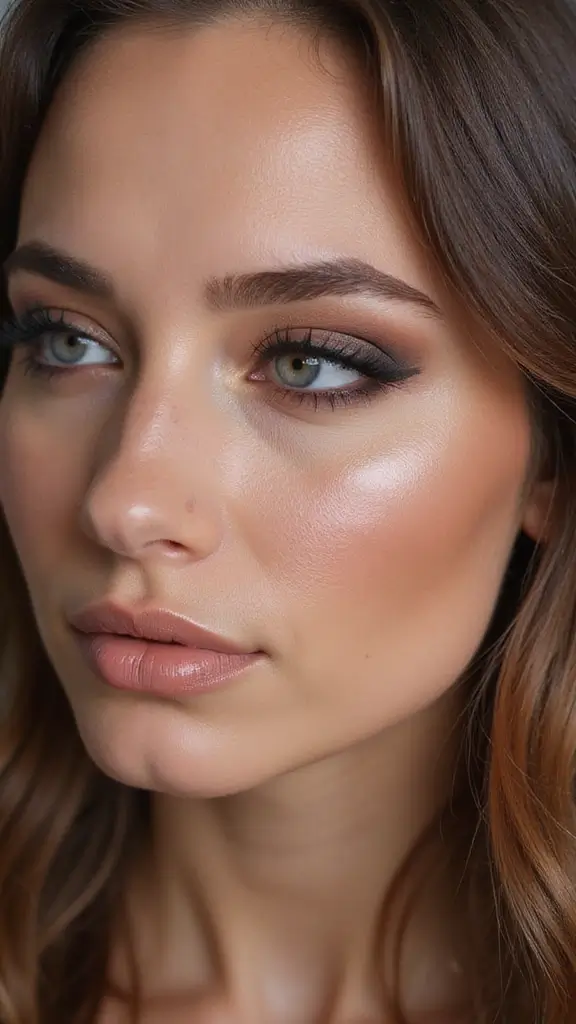
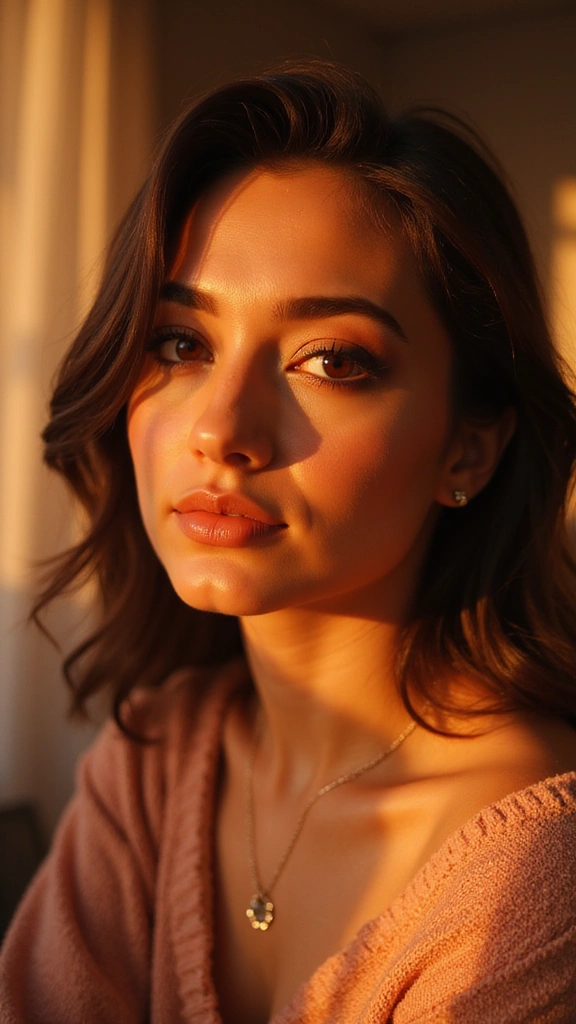
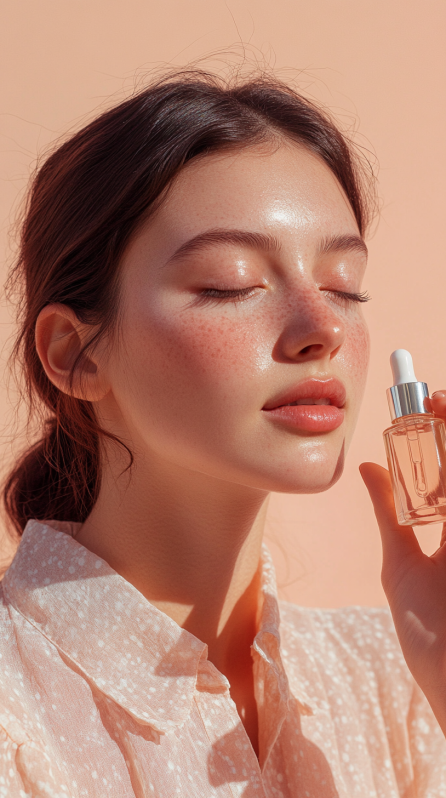
14. Natural Glow Smokey Eye
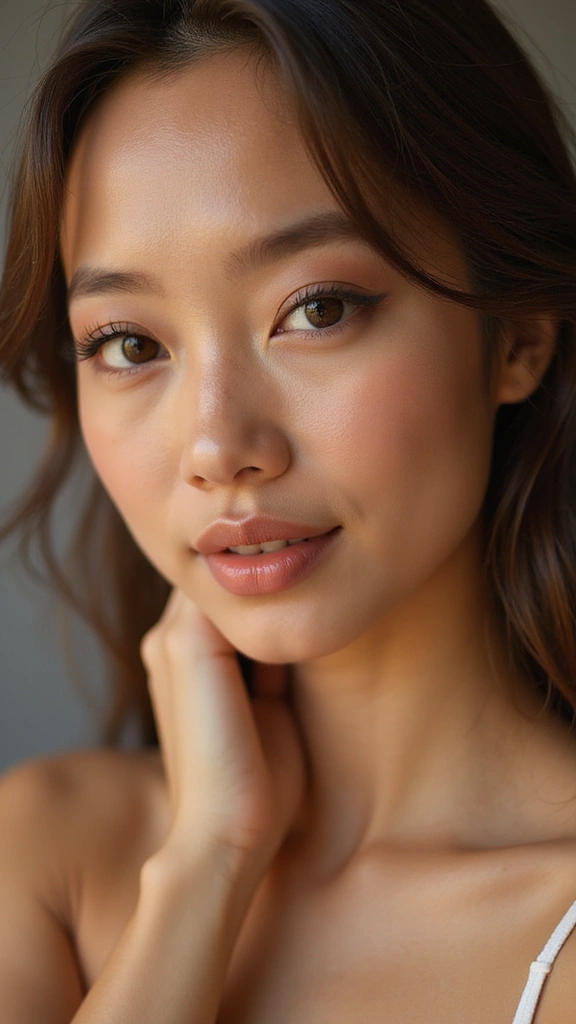
The natural glow smokey eye combines the blending technique with a luminous, radiant finish. This version uses warm neutrals and shimmer to create an eye that looks naturally awake and glowing. Start with a warm, shimmery base across your lid. Layer a warm medium brown in the crease, blending it gently. Add a touch of deeper brown along the upper lash line for subtle definition.
15. Rainbow Smokey Eye
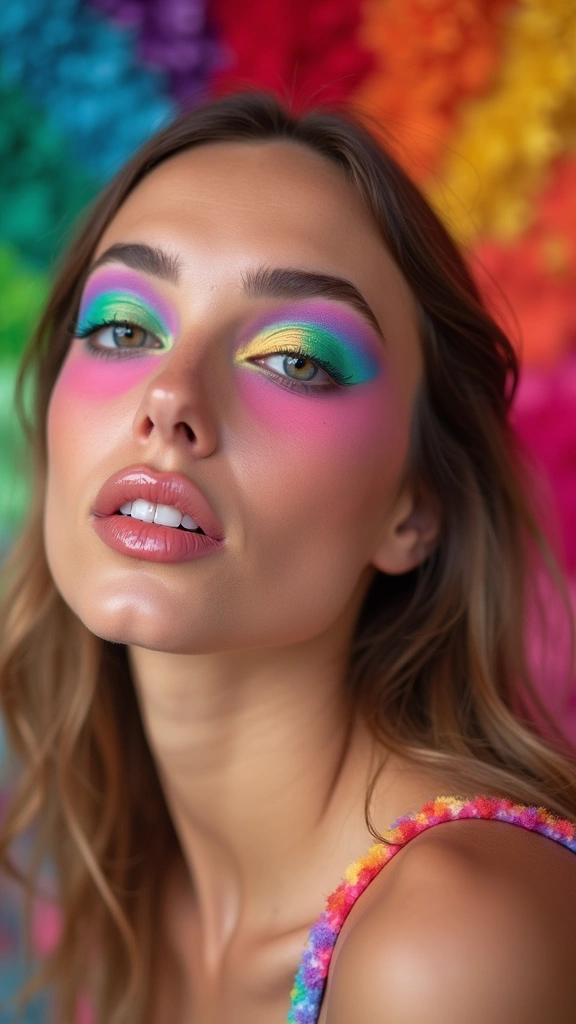
The rainbow smokey eye celebrates color and creativity by incorporating the full spectrum in one blended look. Choose colors that appeal to you, whether that’s a true rainbow or a custom color combination. Apply each color in sections across your lid, then blend the edges where colors meet.
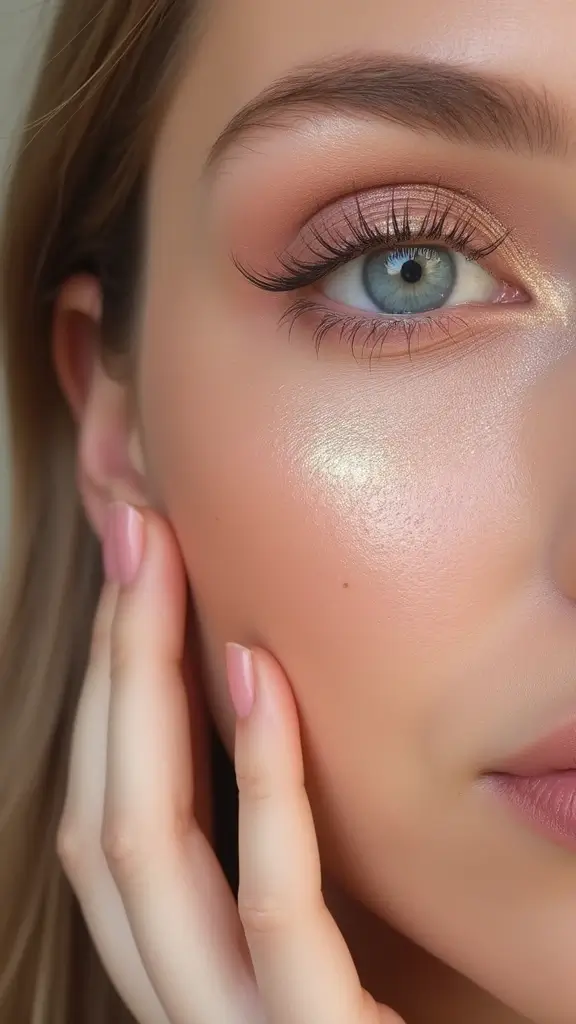
16. Shimmery Gold Smokey Eye
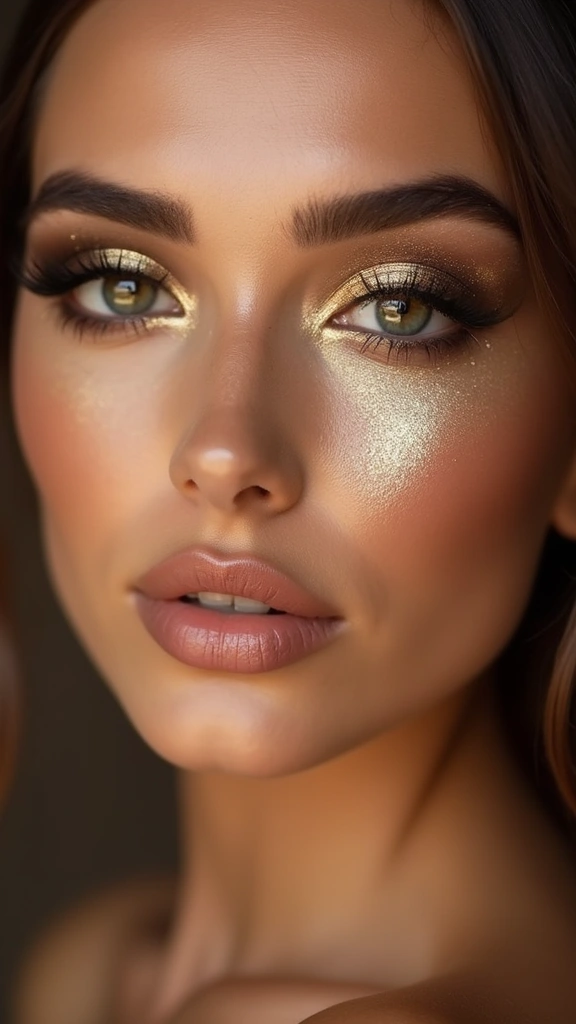
The shimmery gold smokey eye brings warmth and luxury through rich, golden shimmer. Start with a light gold shimmer base across your lid. Layer a medium gold or bronze shimmer in the crease, blending it upward. Add a deeper bronze or warm brown shimmer along the upper lash line for definition.
17. Romantic Berry Smokey Eye
The romantic berry smokey eye uses rich, jewel toned berries to create a sophisticated, feminine look. Plum, burgundy, and mauve blend together for a romantic, luxurious effect. Start with a light mauve or nude base across your lid. Layer a medium plum shade in the crease, blending it upward and outward. Add a deeper burgundy or plum shade along the upper lash line for definition.
18. Easy Fall Smokey Eye
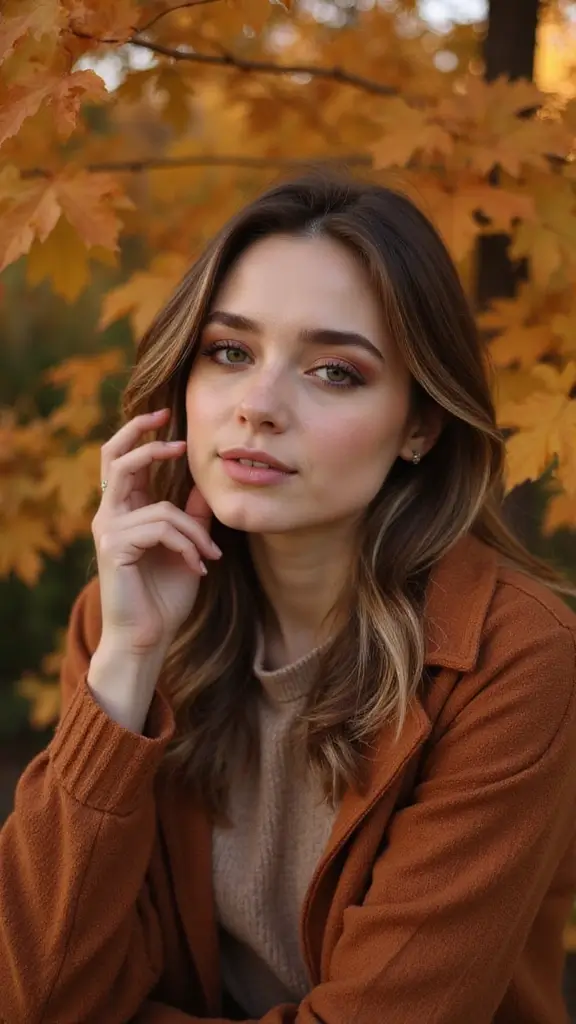
The easy fall smokey eye celebrates warm, seasonal tones that feel cozy and inviting. Rust, warm orange, and deep brown create a look that feels perfect for autumn. Start with a warm taupe or light brown base across your lid. Layer a rust or warm orange shade in the crease, blending it upward. Add a deep brown or chocolate shade along the upper lash line for definition.
19. Ombre Smokey Eye
The ombre smokey eye emphasizes gradient and color transition, creating a smooth progression from light to dark. Choose a light shade for your base, a medium shade for the middle, and a dark shade for definition. Apply each shade in sections, then blend the edges where colors meet until transitions are smooth.
20. Easy Cat Eye Smokey Eye
The easy cat eye smokey eye combines the blending technique with a subtle winged liner for added definition. Apply your smokey eye shadows as usual, blending them smoothly. Then use a dark liner to create a subtle wing at the outer corner, extending slightly upward and outward.
21. Metallic Smokey Eye
The metallic smokey eye uses reflective, shiny shadows to create a bold, eye catching look. Metallic silver, gold, or bronze shadows catch light dramatically and create movement. Start with a light metallic base across your lid. Layer a medium metallic shade in the crease, blending it gently. Add a deeper metallic shade along the upper lash line for definition.
22. Copper Brown Smokey Eye
The copper brown smokey eye combines warm copper with rich chocolate brown for a luxurious, warm look. Start with a light copper or warm taupe base across your lid. Layer a medium copper shade in the crease, blending it upward. Add a deep chocolate brown along the upper lash line for definition and contrast.
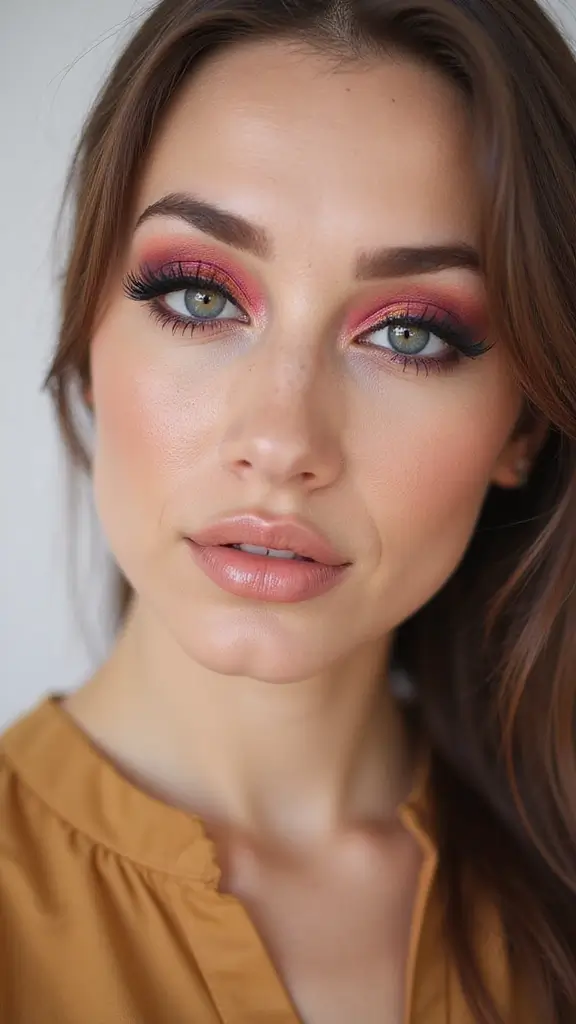
23. Sunset Smokey Eye
The sunset smokey eye captures the colors of a beautiful sunset, blending orange, pink, and purple together. Start with a light peach or pink base across your lid. Layer a warm orange shade in the center, then a soft purple shade in the crease. Blend the edges where colors meet until transitions are smooth.
24. Silver Black Smokey Eye
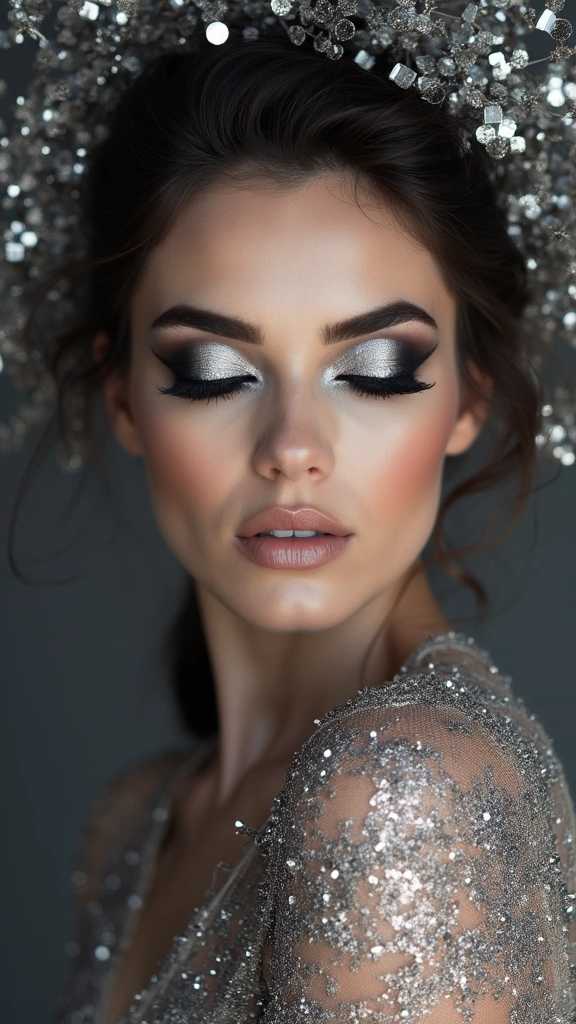
The silver black smokey eye uses cool toned silver and black for a dramatic, sophisticated look. Start with a light silver base across your lid. Layer a medium silver shade in the crease, blending it upward. Add a deep black shade along the upper lash line for maximum definition and drama.
25. Purple Haze Smokey Eye
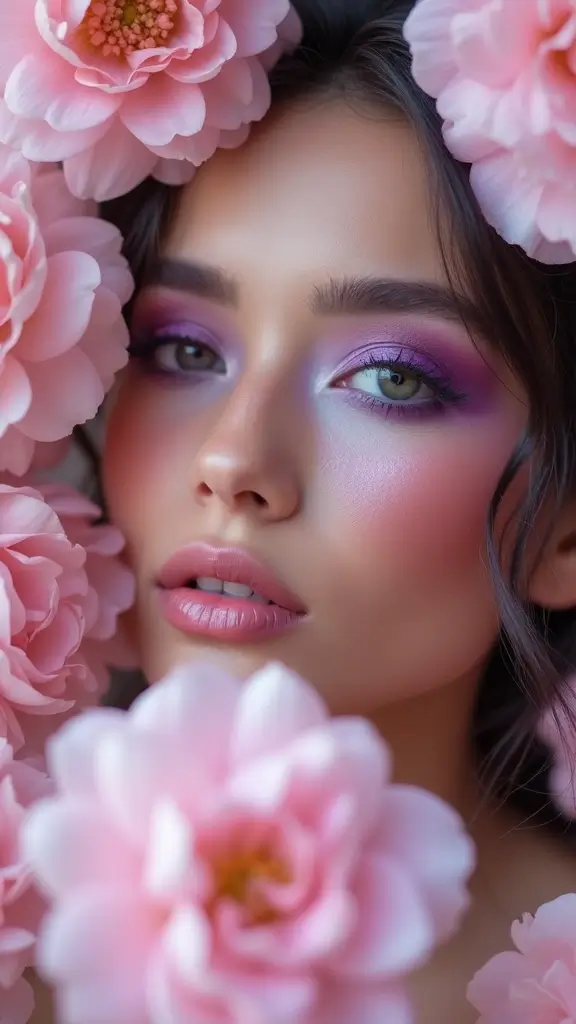
The purple haze smokey eye uses soft purple and lavender tones to create a dreamy, artistic look. Start with a light lavender or pale purple base across your lid. Layer a medium purple shade in the crease, blending it upward and outward. Add a deeper purple or plum shade along the upper lash line for subtle definition.
Leave a Reply