
Braids are everywhere this fall. They look sophisticated and polished without requiring years of practice. Traditional French braiding takes time and skill, but there’s a faster way to get that braided look. This hack works for beginners, busy mornings, and anyone wanting the aesthetic without the stress. You’ll learn to create an intricate-looking braid in minutes using simple steps and basic tools. No special skills required.
The Classic French Braid Look

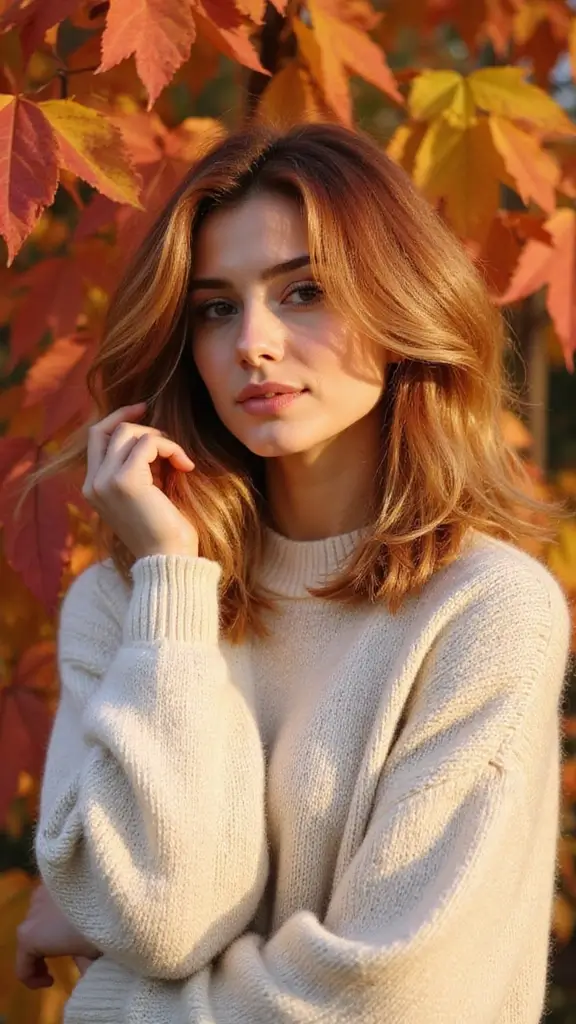
A real French braid starts at the crown and weaves down the back of the head, incorporating new sections as it goes. The result is a sleek, intricate pattern that looks expensive and intentional. The faux method replicates this visual impact without the complexity. Your friends won’t notice the difference. They’ll see a polished hairstyle that took effort. Braids pair well with fall sweaters, jackets, and layered outfits, adding texture and interest without competing with your clothing.
3. Essential Tools and Products

You need minimal supplies: a fine-tooth brush, bobby pins matching your hair color, and texturizing spray. The brush helps you section hair cleanly. Matching bobby pins blend in better than obvious ones. Texturizing spray adds grip, making hair easier to work with and helping the braid hold throughout the day. Light hairspray at the end locks everything in place. Some people use a curling iron to add waves before braiding for more dimension. Both straight and wavy approaches work depending on your style preference. Keep these tools in one spot for faster, less frustrating styling.
4. Step-by-Step Breakdown of the Technique

Start with clean, dry or slightly damp hair brushed thoroughly. Section off a two-inch piece at the crown. Divide this section into two parts and twist them loosely around each other. As you twist, add small sections from the sides, similar to a real French braid but using twists instead of weaving. This is much easier and faster. Keep twisting down the back of your head, adding hair as you go. Once you reach the nape, secure with a bobby pin. Gently pull at the twist to loosen it and create texture, making it look fuller and more braid-like. This creates that effortless, undone vibe. Finish with hairspray.
5. Preparing Your Hair for Success

Hair preparation is half the battle. Apply texturizing spray or dry shampoo the night before to add grip and make hair easier to work with. Freshly washed, silky-smooth hair will slip and slide during styling. Texture solves this problem. In the morning, brush gently to preserve texture. If you have very straight hair, curl it lightly with a curling iron before starting. Waves give you more to work with and make the finished style look fuller. Those with naturally curly or wavy hair already have built-in texture. Slightly damp hair is ideal—it gives control without being too slippery.
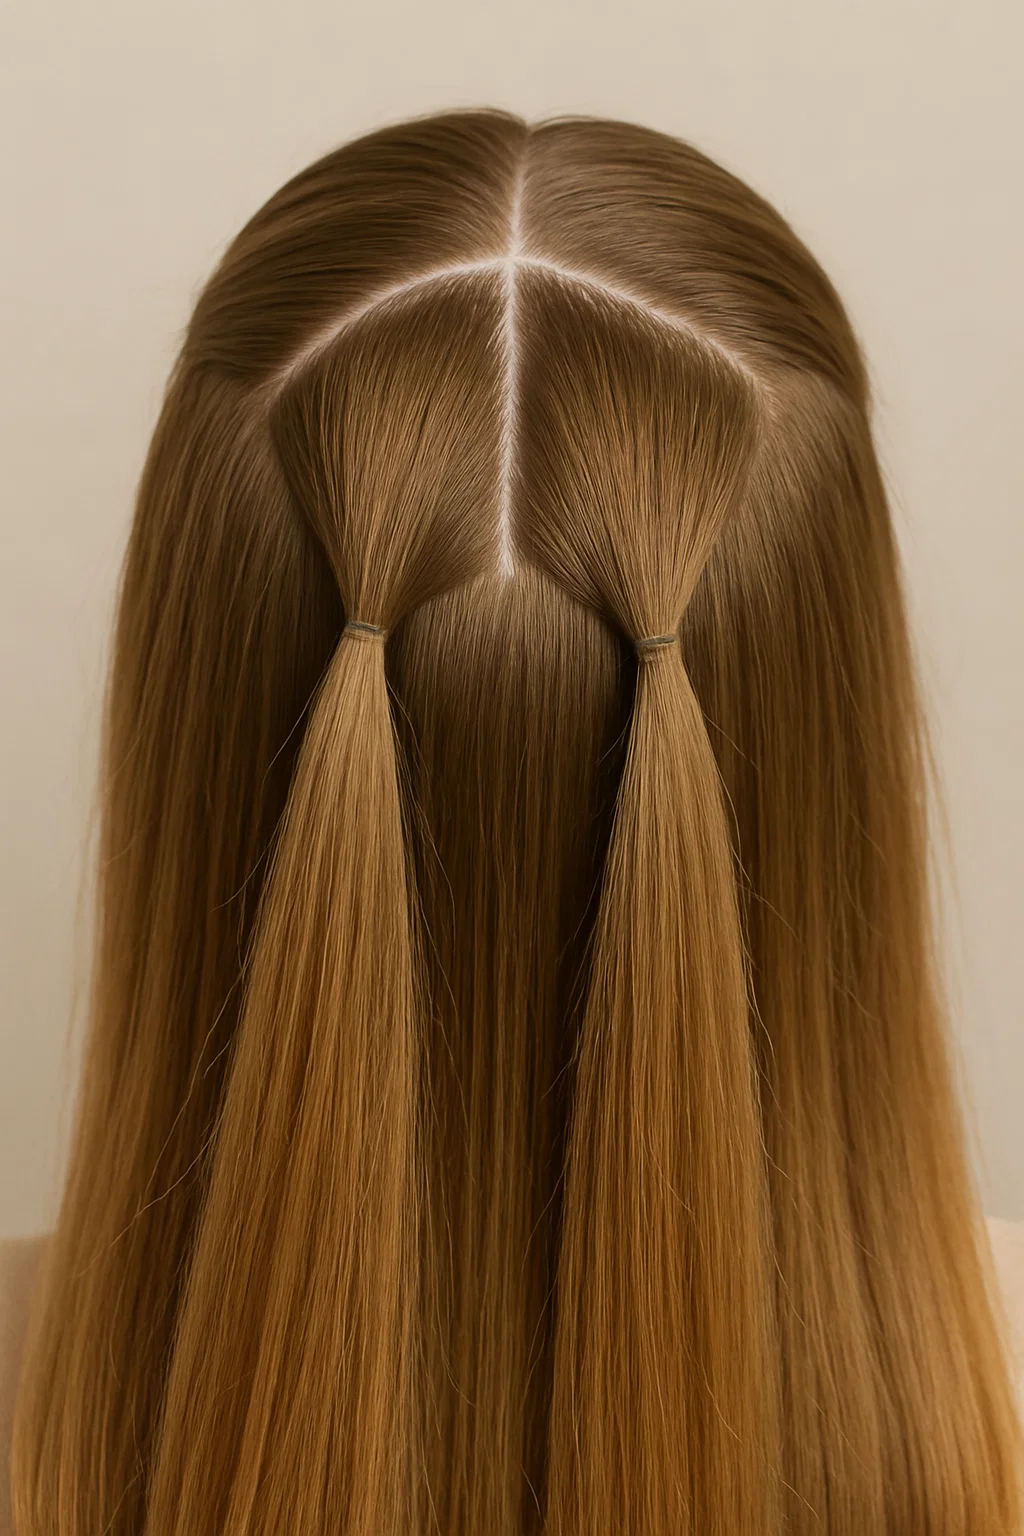
6. Sectioning Like a Pro

Sectioning is where precision matters. Use a fine-tooth comb to create clean, defined sections. Your first section should be about two inches wide, running from your forehead back toward your crown. Side sections should be smaller, about half an inch wide. Clean sections mean a neater finished look. Messy sections create a messy braid. Take your time here. If you’re new to this, practice sectioning a few times before styling. Once it feels natural, the rest flows much faster.
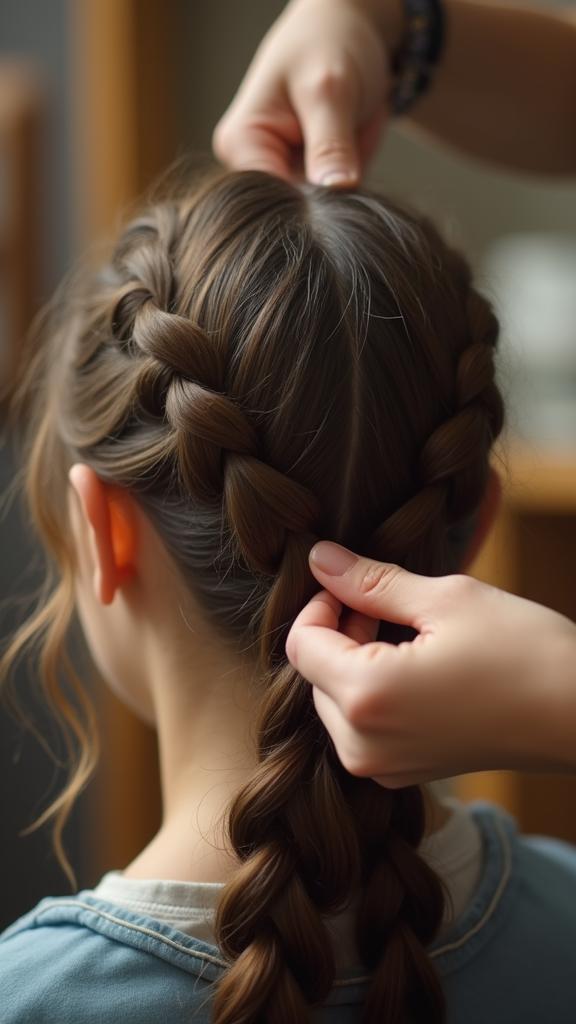
7. The Twist Technique Explained
Divide your main section into two equal parts. Hold one in each hand. Cross the right part over the left, then cross the left over the right. Keep alternating to create a spiral effect that looks like a braid but is simpler to execute. As you twist, grab small sections from the side and incorporate them into your twisting strands. Continue down the back of your head. Keep twists loose and relaxed. Tight twists look harsh; loose twists look effortless and intentional. A slightly messy twist actually looks more modern than a perfectly tight one.
8. Adding Volume and Dimension
Once your twist is complete and secured, gently pull at it to loosen and create texture. Start at the top and work down, pulling small sections outward to create a fuller appearance. This transforms a tight twist into something resembling a real braid and creates that undone, effortless vibe. Don’t pull too hard or you’ll undo your work. Gentle, deliberate pulls work best. For thin hair, pulling is especially important as it makes your twist look fuller. For thick hair, you might pull less since you already have volume. This step takes thirty seconds but makes a huge difference.
9. Securing and Finishing Touches
Use bobby pins matching your hair color, inserting them horizontally into the twist, not vertically. Horizontal pins hold better and are less visible. You might need two or three pins depending on hair thickness and braid length. Apply light hairspray without oversaturating. You want hold without that crunchy feeling. A light mist is better than heavy spray. For evening events, use stronger hold spray. For everyday wear, keep it light. Check the overall look in the mirror. Does the braid sit where you want it? A small brush smooths down flyaways. A tiny dab of hairspray on a brush works wonders for stray hairs.
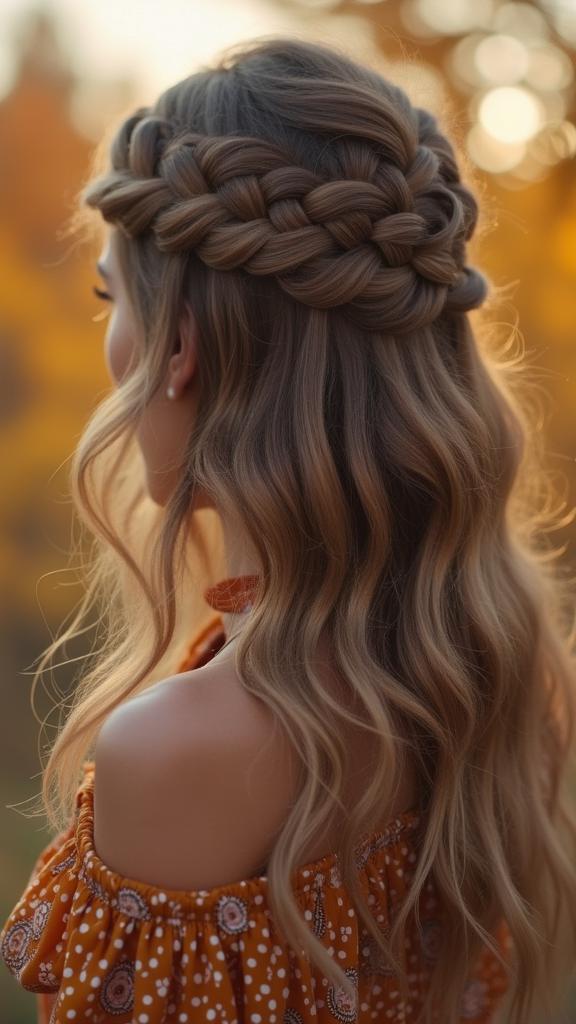
10. Fall Styling Variations and Inspiration

Fall opens endless styling possibilities. A side braid works beautifully with oversized sweaters and scarves. A center braid pairs well with leather jackets. A half-up braid is perfect for casual days. Each variation uses the same twisting technique but positions it differently. You can start at the side instead of center for a completely different look, or start lower near the ears for a relaxed vibe. Fall fashion is all about layering and texture. A braid adds visual interest to your overall look and works with flannel, denim, sweaters, jackets, boots, scarves, and hats.
11. Troubleshooting Common Issues

Hair slipping out usually means your hair lacks texture. Add more texturizing spray and try again. If your twist keeps unraveling, you might not be securing it tightly enough with bobby pins. Use more pins or longer ones. If your braid looks uneven, check your sectioning. Uneven sections create uneven braids. If your braid looks too tight and harsh, you’re twisting too firmly. Relax your hands and let the twist be looser. For very fine or slippery hair, try a stronger texturizing product or light gel instead of spray. Every head of hair is different, so experiment to find what works for you.
12. Maintaining Your Braid Throughout the Day
Your braid should last from morning until evening with proper care. Avoid touching it too much, as every touch risks loosening the twist. Keep bobby pins in your bag for touch-ups. Before going outside in wind, apply light hairspray to help hold everything in place. If wearing a hat, remove it carefully and smooth down flyaways. At day’s end, gently remove bobby pins without yanking. Brush your hair gently to remove kinks. Your hair will be wavy and textured, which is actually a bonus for the next day’s styling.
13. Adapting the Hack for Different Hair Types

Thick hair has natural advantages. Your twist will look fuller without much effort. You might need fewer bobby pins and less texturizing spray. Focus on pulling to create dimension. Thin hair requires more texture and more pulling. Use stronger texturizing product and pull more aggressively. Consider starting your braid lower to avoid emphasizing a thin crown. Curly hair is your friend. Your natural texture creates the look you’re going for. Just twist loosely and let your curls work. Straight hair needs more help. Texturizing spray is essential, and consider adding waves with a curling iron. Short hair can work if you have at least shoulder-length length. Start your twist lower and keep it loose. Very long hair gives you more to work with for longer, more dramatic twists.
14. Combining Braids with Fall Accessories

Fall accessories elevate your braid from simple to stunning. A silk scarf woven through adds color and texture. A decorative hair clip at the base adds polish. Pearl or gold clips work for dressier occasions; tortoiseshell for casual days. Hats pair beautifully with braids. Beanies, berets, and wide-brimmed hats all work while keeping hair off your face. Scarves wrapped around your neck or tied into your braid coordinate with your outfit. Hair ribbons add a vintage-inspired look. Leather hair cuffs add an edgy vibe. These small accessories transform your braid and make it feel more intentional. Coordinate with your outfit: plaid ribbon with a plaid shirt, leather cuff with a leather jacket.
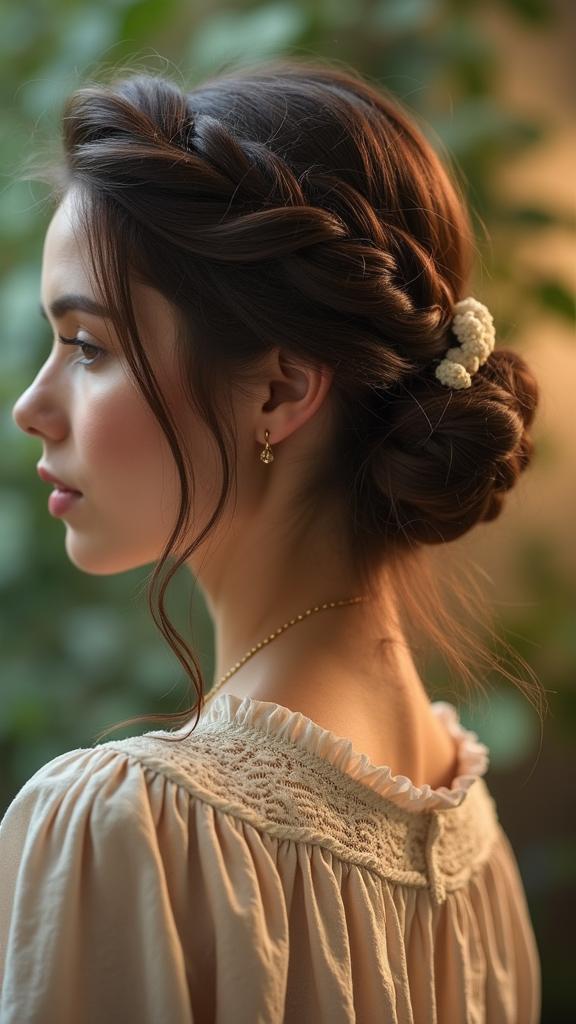
15. Styling for Different Fall Occasions

A casual braid works for everyday wear. Keep it loose, slightly messy, and relaxed with jeans, a sweater, and boots. A side braid works for casual dates or coffee. A center braid works for work or professional settings. Keep it neat and polished with stronger hairspray. A half-up braid works when you want something between fully styled and completely down. A low braid works for dressier occasions. Start lower and keep it sleek. A double braid works for fun, casual events. Create two smaller twists instead of one. A braid with accessories works for special occasions. The same basic technique works for all situations. You’re just adjusting placement, tightness, and accessories.
Conclusion
The faux braid hack is your shortcut to looking polished this fall. It takes minutes instead of hours, works on all hair types and lengths, and requires no special skills. Master the basic technique, practice sectioning and pulling, and experiment with placement and accessories. Fall is the perfect season for this hack. Braids pair beautifully with sweaters, jackets, and layered outfits, adding texture and interest while keeping hair off your face. Give this technique a try and discover how easy it is to achieve professional-looking results.
Leave a Reply