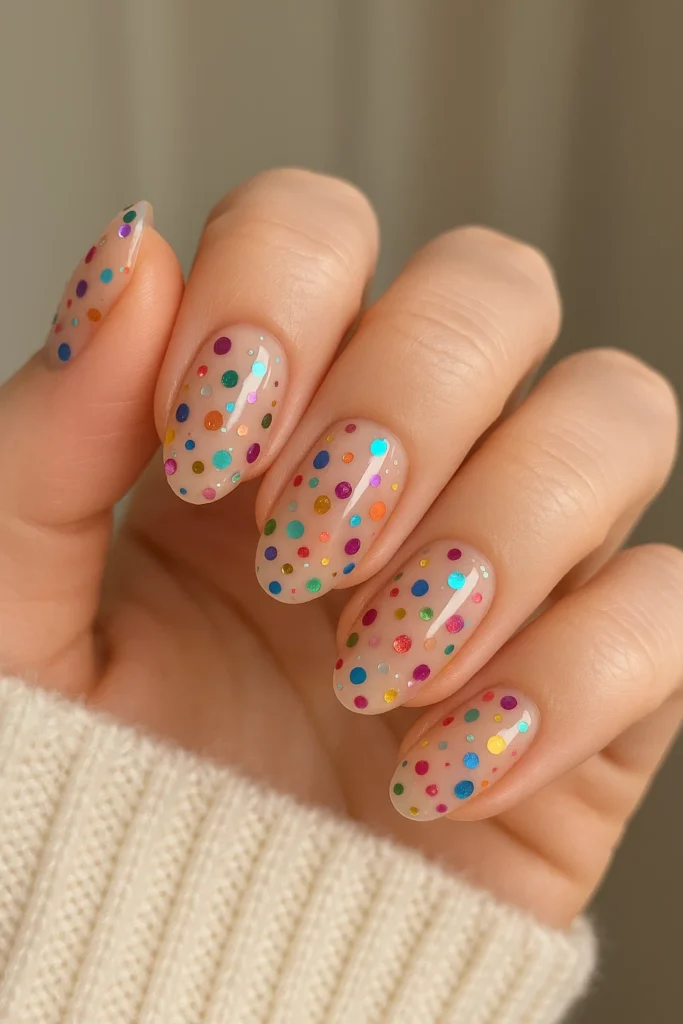
Discover 17 easy rainbow nail designs to try at home in 2025 with step-byg-step ideas and tips for bold, colorful, and trendy nails.
If there’s one beauty trend that refuses to fade—and only seems to evolve year after year—it’s rainbow nail designs. Bursting with color, creativity, and personality, these designs have become a staple for anyone looking to make a bold style statement. And the best part? You don’t need a salon appointment or a professional nail artist to achieve them. With a little practice, the right tools, and some creativity, easy rainbow nail designs at home are totally within your reach in 2025.
Over the past few years, we’ve seen an explosion in DIY beauty trends, driven by TikTok hacks, Instagram reels, and a growing movement toward self-care and personal expression. But 2025 is the year of the DIY rainbow nail renaissance. People everywhere—from casual polish lovers to full-blown nail enthusiasts—are embracing rainbow-inspired looks to add color to their lives. Whether you prefer a minimalist dot design or a full-blown tie-dye effect, the rainbow aesthetic offers endless possibilities.
What makes rainbow nails so appealing is their versatility and inclusivity. No matter your nail length, shape, or skin tone, rainbow nail art can be customized to fit your vibe. Want something soft and ethereal? Try pastel rainbow fades. Feeling bold? Neon chrome rainbow nails have your name written all over them. Looking for a subtle nod to color? Rainbow French tips are your perfect match.
In this ultimate guide, we’ll walk you through 17 easy rainbow nail designs to try at home—each one tailored to suit different styles, preferences, and skill levels. We’ll break down the tools you need, offer step-by-step tips, and share essential nail care advice to keep your mani looking fresh and fabulous for days. From classic stripe patterns to edgy geometric blocks, you’ll find inspiration galore that won’t just look stunning, but will also boost your nail game and confidence.
Why Rainbow Nails Are Trending in 2025
If one thing is clear about 2025 beauty trends—it’s the year of bold self-expression. And nothing captures that better than rainbow nail designs. From TikTok to the red carpet, this multicolor aesthetic has taken center stage for being fun, versatile, and inclusive.
Unlike single-color manicures, rainbow nails let you play with creativity and color theory. Whether it’s pastel rainbows for spring, neon for summer, or muted tones for fall, you can adapt rainbow looks for every season, skin tone, and occasion. Plus, rainbow nails are strongly associated with positivity, individuality, and pride, which adds an emotional flair to their aesthetic appeal.
With the rise of DIY nail culture and influencer-driven beauty hacks, more people are replicating vibrant nail looks at home. As a result, tutorials for easy rainbow nail designs now dominate Pinterest boards, Instagram reels, and YouTube playlists. These designs not only brighten your nails but also your social media feed.
Tools & Supplies for DIY Rainbow Nail Art
Creating stunning rainbow nail designs at home starts with having the right toolkit. Here’s what every DIY nail artist should have in their rainbow nail arsenal:
| Tool/Supply | Purpose | Pro Tip |
|---|---|---|
| Nail Art Brushes | For detailed line work and designs | Use thin brushes for rainbow stripes and curved designs |
| Dotting Tools | To make polka dots or small rainbows | Great for beginners to control polish placement |
| Striping Tape | Helps create clean lines | Apply on fully dried nails to prevent smudging |
| Sponge Applicator | For ombré rainbow effects | Dab gently to blend colors without harsh lines |
| UV/LED Lamp | Cures gel polish | Required if using gel-based rainbow polish |
| Palette or Foil | Mixing custom rainbow shades | Make gradients by blending colors directly on foil |
| Cleanup Brush | Corrects polish outside nail edges | Dip in acetone for a neat finish |
17 Easy Rainbow Nail Designs to Try at Home
Want to add a burst of color to your fingertips? Rainbow nail designs are the ultimate way to show off your vibrant personality—whether you’re into minimalism or full-on glam. From subtle gradients to bold stripes, we’ve gathered 17 easy rainbow nail ideas that you can recreate right at home (no pro skills needed!).
Why Rainbow Nails Are Trending
Rainbow nails are:
-
Playful and eye-catching
-
Perfect for every season (especially summer and Pride month!)
-
Easily customizable with your favorite shades
-
A great way to use up multiple polishes
Ready to bring color to your fingertips? Let’s dive in!
1. Classic Rainbow Skittles Nails
This is the easiest rainbow nail design — simply paint each nail a different color of the rainbow (red, orange, yellow, green, blue, indigo, violet). It’s fast, fun, and foolproof.
Tip: Choose either bold or pastel tones for a cohesive look. Great for beginners!
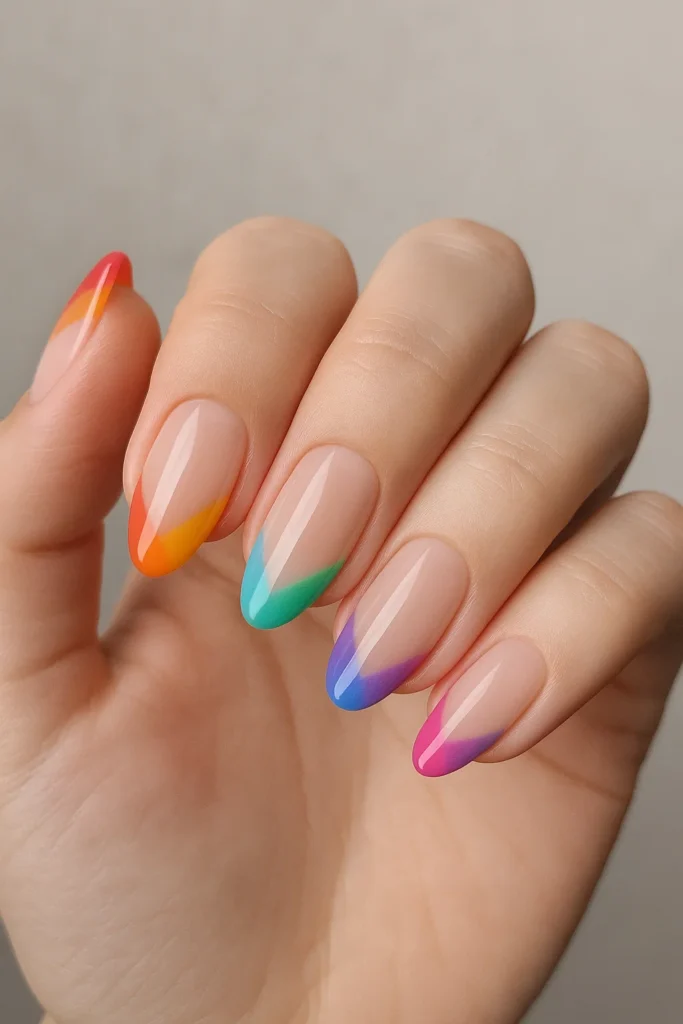
2. Rainbow French Tips
Give the traditional French manicure a colorful twist by painting each tip a different shade. Keep the nail base nude or clear for a clean contrast.
How-To:
-
Apply a clear base coat
-
Use nail guides or tape to section off the tips
-
Paint each tip in a different rainbow color
-
Seal with top coat
3. Vertical Rainbow Stripes
Use a thin nail brush or striping tape to create clean vertical lines on each nail using rainbow colors.
Vibe: Sleek, bold, and fashion-forward.
4. Rainbow Ombre Fade
Blend rainbow colors into a smooth gradient across each nail using a makeup sponge.
Pro Tip: Use a white base coat to make the colors pop, and blend quickly before polish dries.
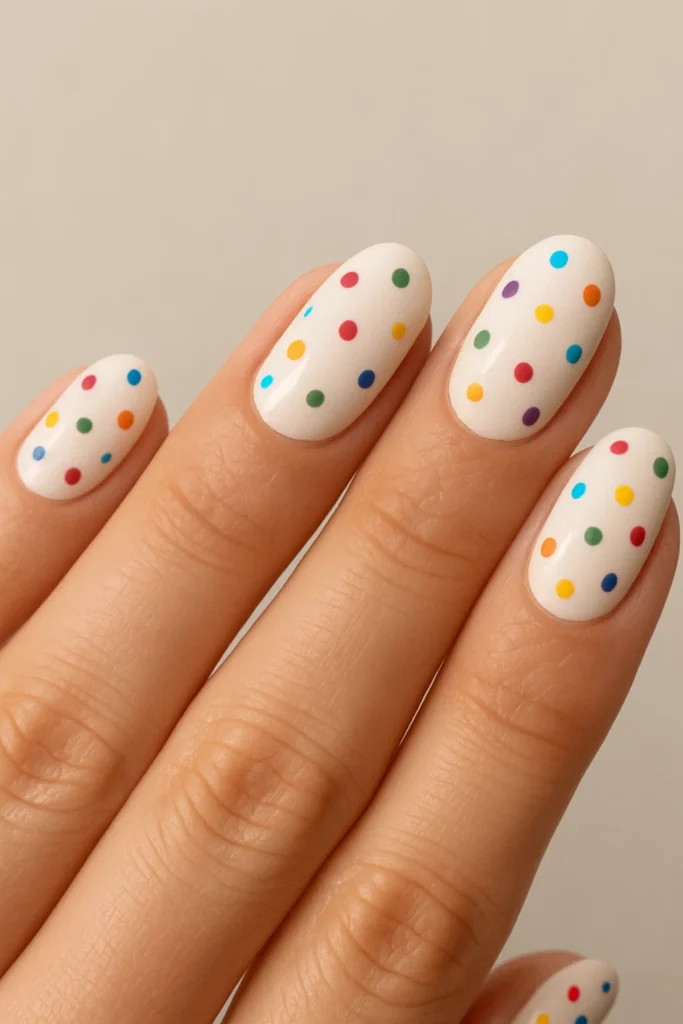
5. Rainbow Dots Mani
Dotting tools or even bobby pins can be used to create cute rainbow polka dots on a white or nude base.
Fun for: Kids, parties, or a playful everyday look.
6. Diagonal Rainbow Tips
Instead of straight lines, paint diagonal blocks of rainbow colors across the tip of your nails. This design gives your nails a modern, edgy flair.
Tip: Use tape for crisp edges.
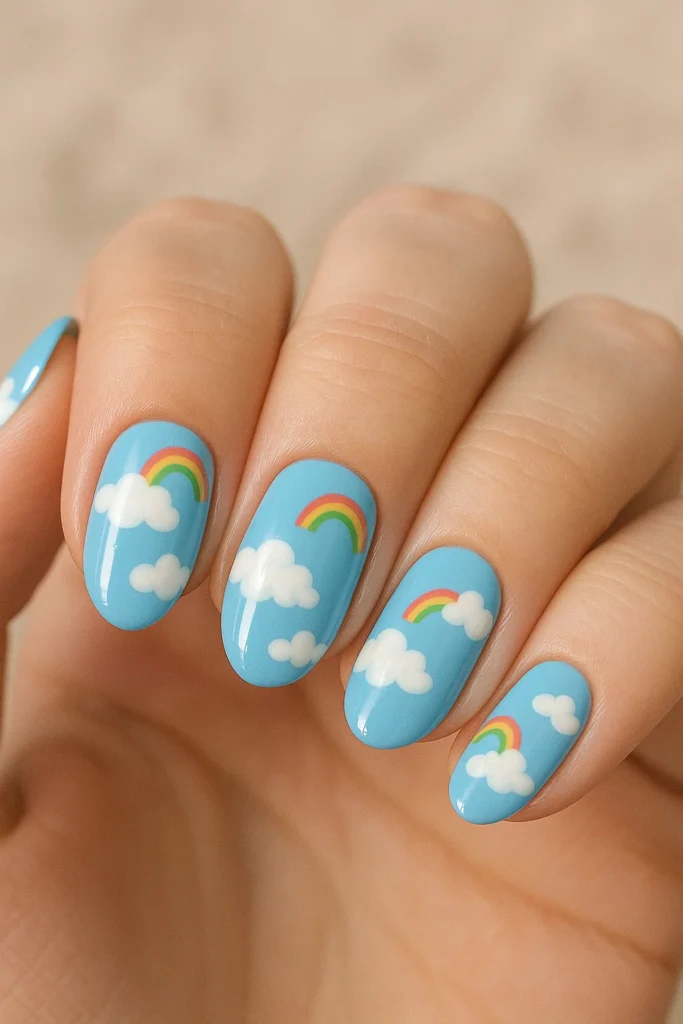
7. Rainbow Cloud Nails
Paint white fluffy clouds on a sky-blue background and add tiny rainbow arcs above them.
Perfect for: Dreamy, whimsical nail lovers.
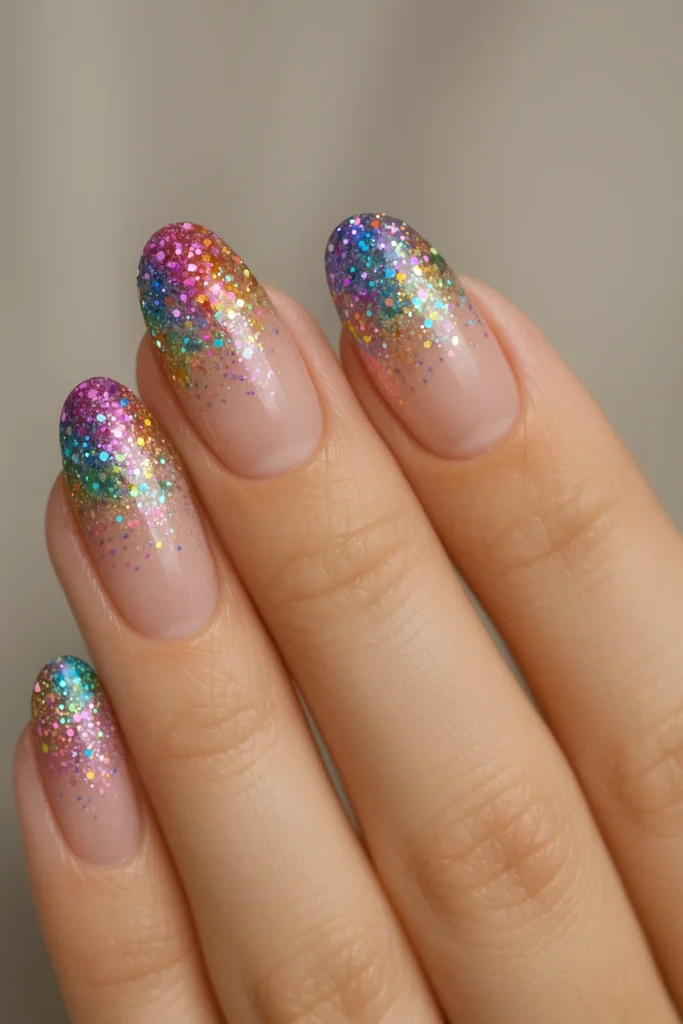
8. Rainbow Glitter Fade
Use a glitter polish with rainbow flecks and dab it near the nail tips, fading it down for a simple but dazzling gradient.
Pro Tip: Try applying it with a sponge for better glitter payoff.
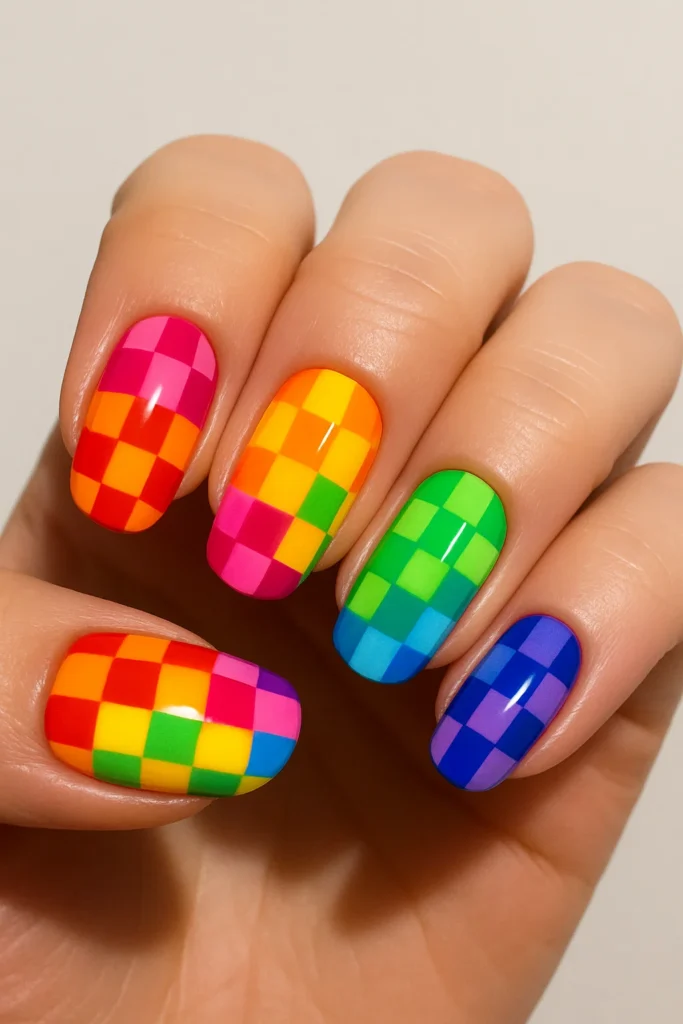
9. Rainbow Checkerboard
For a retro vibe, paint checkerboard patterns using different rainbow colors. You’ll need a thin brush or tape for precision.
Style tip: Looks great on just accent nails too!
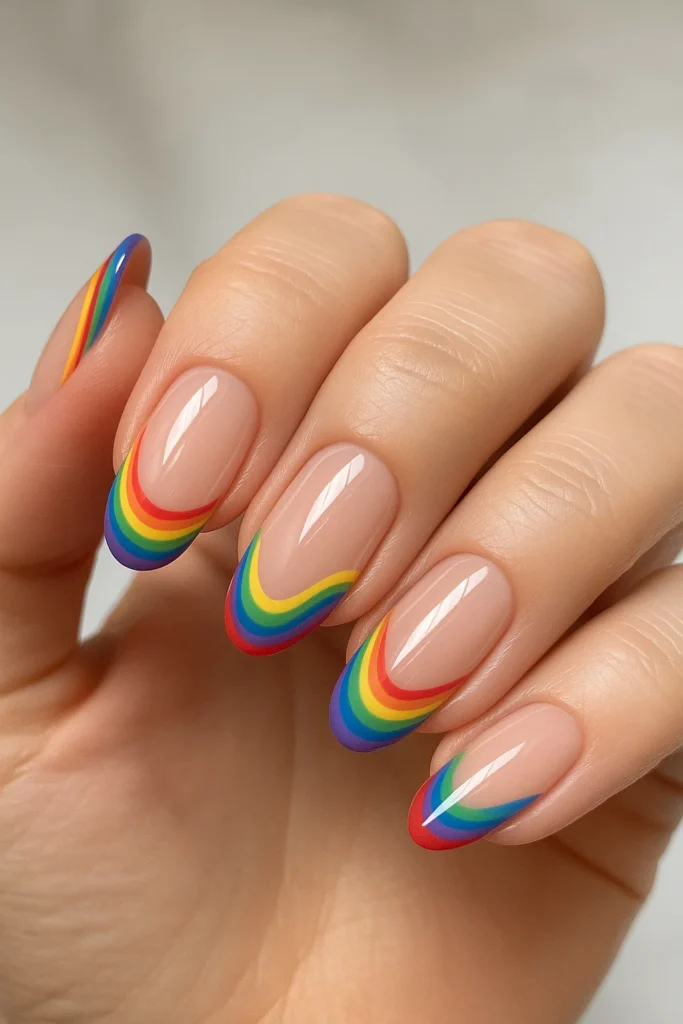
10. Rainbow French Waves
Swap straight French tips for rainbow wave designs that curve along the tip of your nail. It’s trendy and fluid.
You’ll need: A steady hand or nail art stickers for uniform curves.
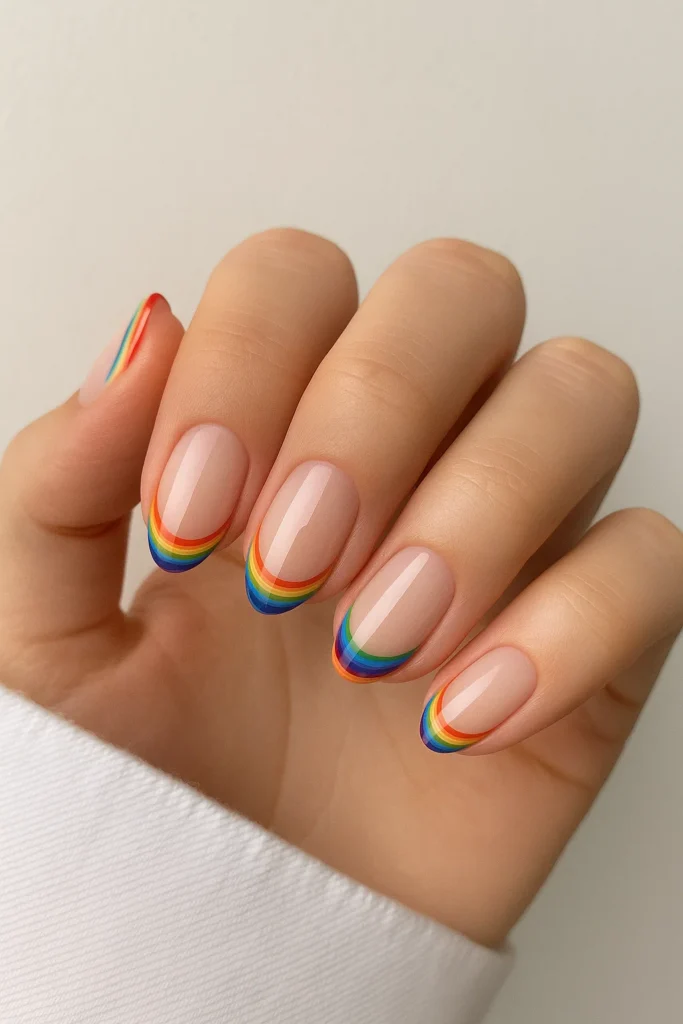
11. Negative Space Rainbow Arcs
Draw thin, curved rainbow lines along the edge or center of your nails while keeping the rest of the nail clear or sheer.
Look: Elegant and minimalist.
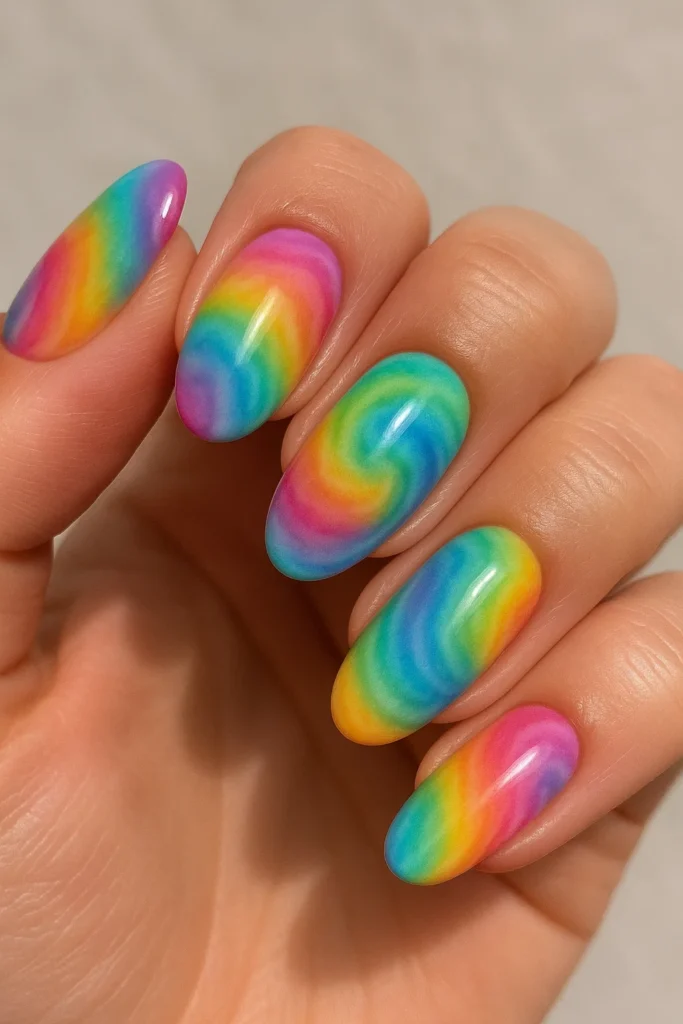
12. Rainbow Tie-Dye Nails
Blend rainbow colors into a swirled, marbled effect for a groovy tie-dye finish. Use a toothpick or fine brush to swirl wet polish gently.
Pro Tip: Practice on one nail first before doing all.
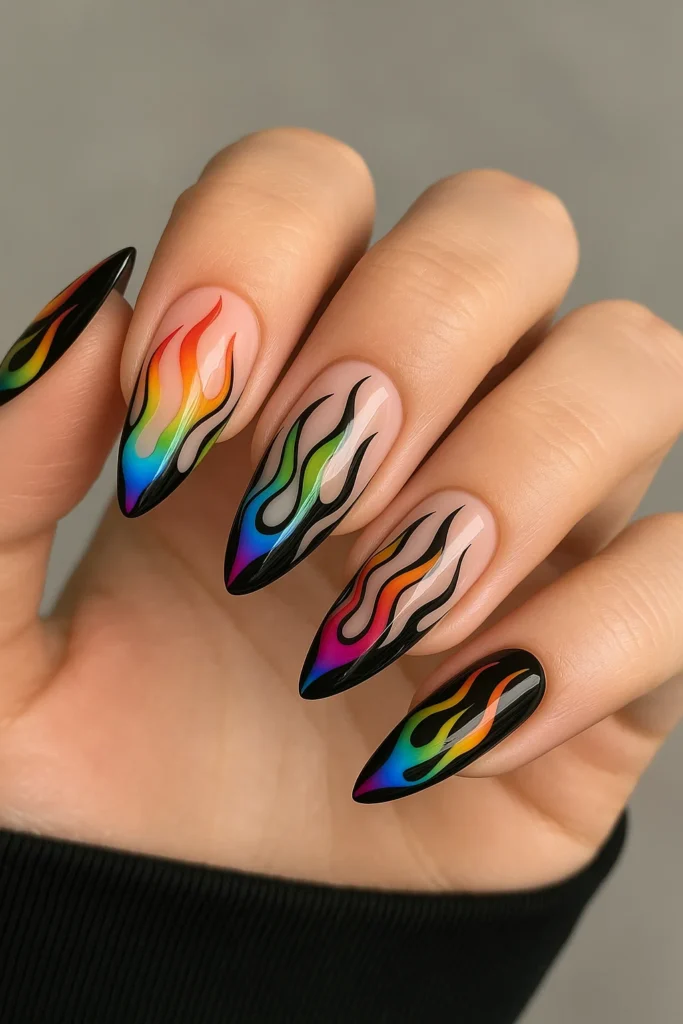
13. Rainbow Flame Design
Outline colorful flames on a nude or black base using rainbow shades. This edgy design is popular on social media and perfect for a bold look.
For best results: Use a fine brush or pre-made flame decals.
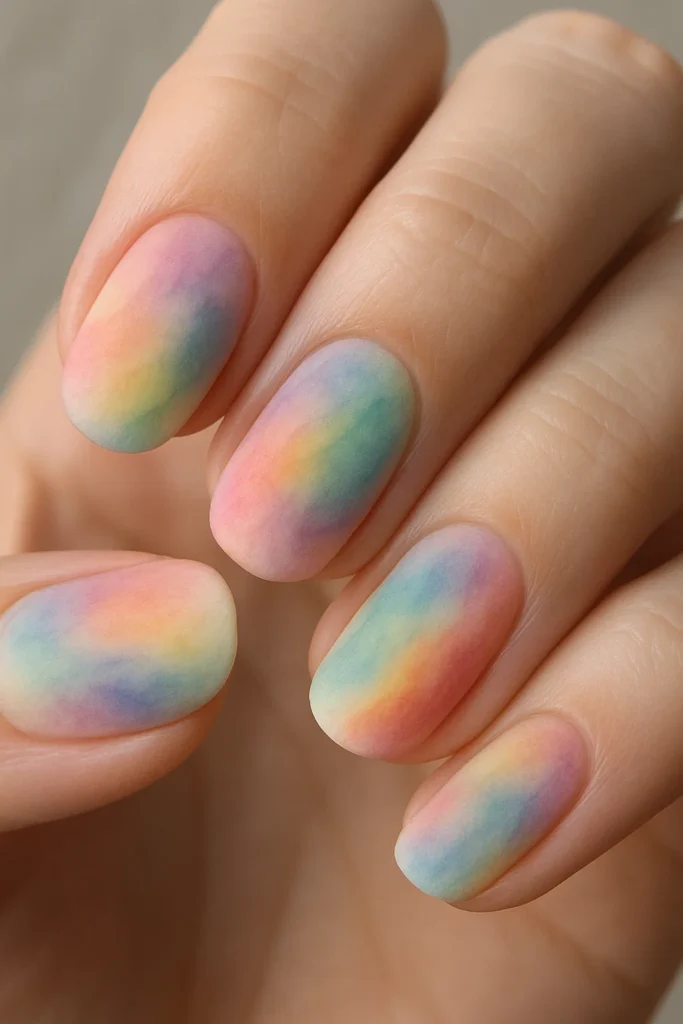
14. Rainbow Watercolor Wash
Dilute your nail polish slightly with polish thinner or acetone and dab it onto your nail for a watercolor effect.
Finish with: A matte top coat for an artsy vibe.
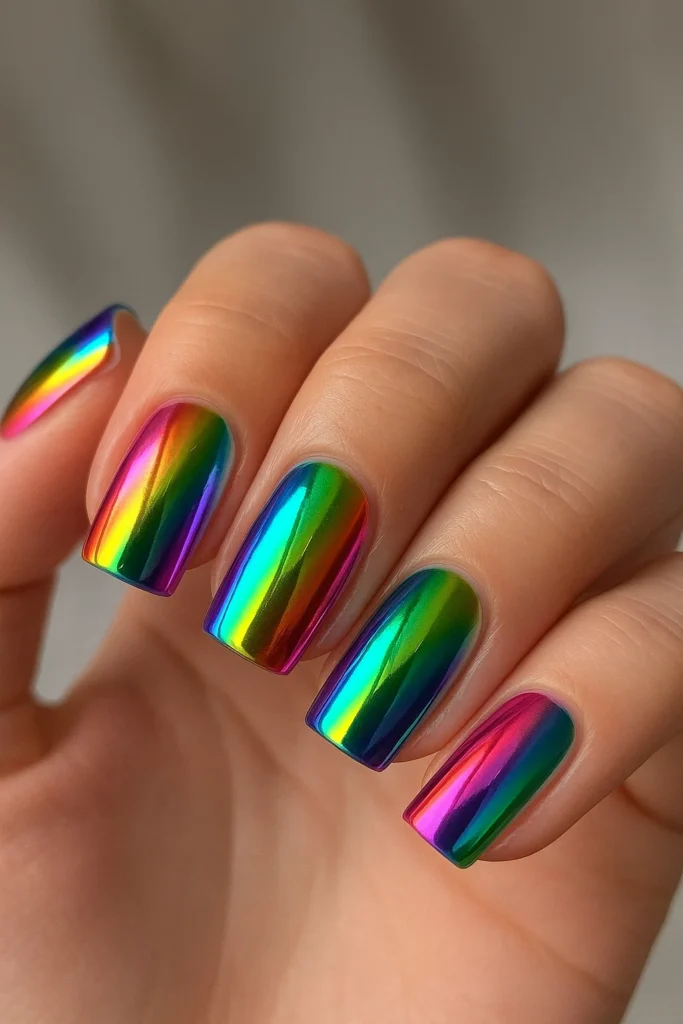
15. Rainbow Foil Nails
Apply rainbow foil sheets over a sticky base (like foil glue or tacky polish) for a futuristic, textured look.
Tools: Nail foil, foil glue, and tweezers.
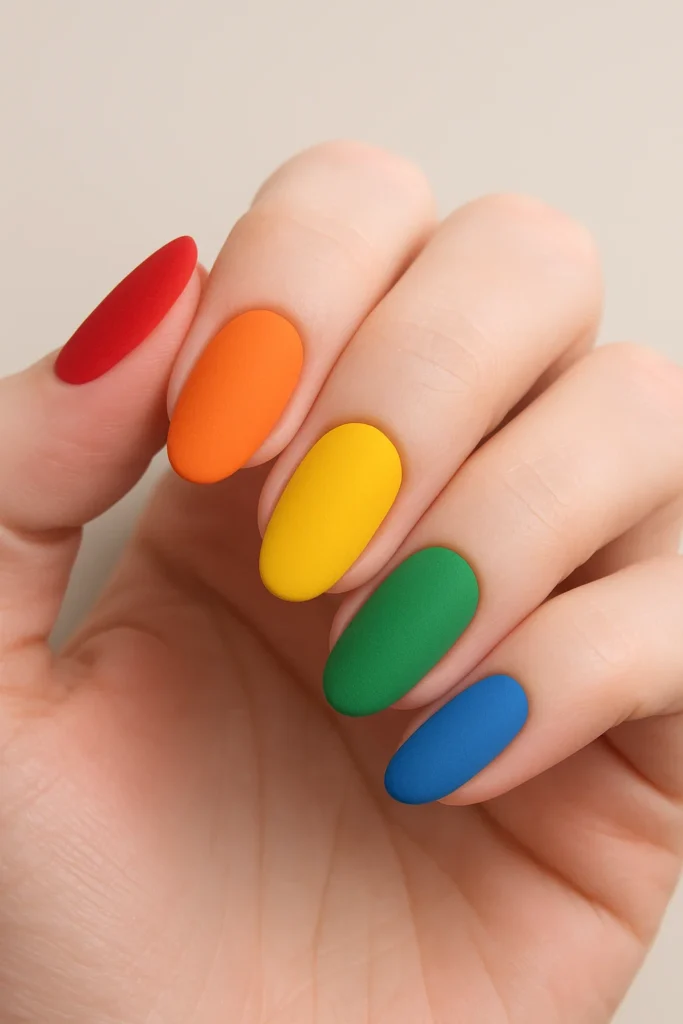
16. Matte Rainbow Nails
Just paint your rainbow-colored nails as usual and top them with a matte finish coat for a trendy, velvet look.
Best with: Soft or muted rainbow shades.
17. Rainbow Confetti Nails
Use chunky glitter or confetti nail decals in rainbow colors and place them randomly on your nail.
Pro Tip: Apply over a sheer or white base, and seal with a thick top coat.
🧼 How to Make Your Rainbow Nails Last Longer
-
Start with a clean base – Remove oils and push back cuticles.
-
Use a base coat – Protects nails and helps colors stick.
-
Apply 2 thin coats of polish – Prevents smudging.
-
Seal with top coat – Go glossy or matte.
-
Reapply top coat every 2–3 days – For chip-free shine.
📸 Final Tips for the Perfect At-Home Rainbow Manicure
-
Try press-ons or nail stickers for no-mess designs.
-
Use a fine brush or dotting tool for detailed artwork.
-
Always let each layer dry fully to avoid smudging.
-
Mix and match ideas for your own signature look!
Nail Prep Essentials Before Painting
Prepping your nails is a must before diving into any intricate design. Proper prep ensures better polish adhesion, fewer chips, and smoother designs. Follow these essential steps before applying your DIY rainbow nail art:
-
Clean the Nail Bed
Start with acetone or a nail cleanser to remove oils and old polish. This creates a fresh surface for your colors. -
Shape and File
Almond, square, or round—choose your preferred shape and file accordingly to reduce jagged edges. -
Push and Trim Cuticles
Overgrown cuticles can interfere with clean polish lines. Use a cuticle pusher and nipper for precision. -
Buff Gently
Lightly buff your nail surface to remove ridges. Don’t overdo it—just enough to smooth the texture. -
Apply a Base Coat
This is crucial for preventing staining and helping polish last longer. Look for a ridge-filling base if your nails are uneven. -
Let It Dry
Always give your base coat a full minute or two to dry before applying color.
How to Make Rainbow Designs Last Longer
Nothing’s worse than spending time on gorgeous nail art only for it to chip after one day. Fortunately, you can keep your rainbow nail designs fresh and fabulous for up to 10 days with a few strategic steps:
-
Seal with a High-Quality Topcoat
Use a long-lasting, gel-effect topcoat to prevent chipping and give your colors that salon-shine finish. -
Wrap the Tips
When applying polish and topcoat, swipe across the tips of your nails. This “wrap-around” technique seals edges to reduce flaking. -
Moisturize Daily
Keep nails and cuticles hydrated with oil or hand cream, which prevents breakage and keeps designs from cracking. -
Avoid Harsh Chemicals
Wear gloves when doing dishes or cleaning. Household chemicals and water weaken polish layers. -
Reapply Topcoat Every 2–3 Days
This renews the protective barrier and enhances shine. -
Choose Long-Wear or Gel Formulas
Some rainbow polishes now come in chip-resistant, gel-like finishes that last longer even without a UV lamp.
For travel or event nails, consider layering rainbow designs on press-on nails for quick application and easy removal.
Tips for Mixing and Matching Colors
Creating the perfect rainbow nail design is more than just grabbing seven colors and painting away. It’s about balance, harmony, and knowing which tones play well together.
Here’s how to make your rainbow nails pop with cohesive style:
-
Stick to a Color Theme
Want a soft look? Choose all pastel versions of rainbow colors. Going bold? Try neons. Keeping a theme creates visual unity. -
Use a Color Wheel
Complimentary colors (like blue and orange or yellow and purple) enhance contrast and vibrancy. Analogous colors (next to each other on the wheel) offer smoother blends. -
Don’t Overdo It
If you’re adding glitter, decals, or shapes, go simpler on the polish hues. Let one design element take center stage. -
Balance Warm and Cool Tones
To avoid a clashing look, pair warm colors (like red, orange) with cooler tones (like blue, green) evenly across nails. -
Accent Nails
Consider doing full rainbow on one or two nails, and keep the others neutral or with minimal rainbow lines or dots.
How to Avoid Common DIY Nail Art Mistakes
Even with the best tools and polish, DIY nails can go sideways fast. Here are the top blunders people make—and how to dodge them:
-
Skipping Base Coat
Without a base, your polish chips faster and may stain your natural nails. Always start with one! -
Not Letting Layers Dry
Patience pays. Let each coat dry thoroughly to avoid bubbling or dragging color. -
Too Much Polish on the Brush
Overloading causes mess and uneven strokes. Wipe excess off the brush before painting. -
Rushing the Art
Intricate rainbow lines or dots need a steady hand. Take breaks or use stencils for accuracy. -
Forgetting to Seal the Edges
The tips of your nails take the most wear. Always “wrap” your polish and topcoat over the tip to prevent early peeling.
Top Nail Finishes: Glossy, Matte, or Iridescent?
Choosing the right finish for your rainbow nail designs can dramatically change the vibe:
-
Glossy Finish
The classic choice. Ideal for bold rainbow styles and for a polished, salon-quality look. -
Matte Finish
Want a modern, edgy twist? Try matte topcoat over your rainbow nails. Especially striking with neon or pastel palettes. -
Iridescent or Holographic Finish
Adds depth and shimmer—perfect for rainbow gradient or prism-inspired designs. A must-try for party or festival looks.
You can even combine finishes—like matte nails with glossy rainbow stripes—for maximum impact. Experiment and find what suits your mood or outfit!
Matching Rainbow Nails with Outfits
Rainbow nails are a bold fashion accessory in themselves. Here’s how to style them without clashing:
-
Go Neutral
Let your nails be the star. Pair them with whites, nudes, denim, or black for contrast. -
Pick a Color to Echo
Match one nail shade with an accessory—like a coral bag, green earrings, or blue sandals. -
Stick to Solids
If your rainbow nails are detailed or sparkly, avoid loud patterns in clothing. Solid colors keep your look balanced. -
Try Color Blocking
Pair your nails with color-blocked outfits in similar hues. It’s playful, coordinated, and very 2025. -
Minimalist Vibes? Go Pastel
Pastel rainbow nails pair beautifully with soft linen dresses, light denim, or beige loungewear.
In a world that constantly craves individuality, joy, and creative freedom, rainbow nail designs have risen to the top as the ultimate beauty statement for 2025. They’re not just another trend—they’re a vibrant expression of mood, style, and personality, accessible to anyone with a little time and a few tools. Whether you’re celebrating Pride Month, adding color to a gray day, or simply looking for a fun weekend project, rainbow nails allow you to turn your fingertips into your personal canvas.
What makes rainbow nails especially magical is their sheer adaptability. Love soft tones? Go for pastels. Into bold, eye-catching color? Try neons. Prefer understated glam? Try matte finishes with a single accent nail. From classic rainbow stripes to whimsical cloud details and glitter gradients, there’s a version of this trend for every personality and every occasion.
And you don’t have to be a nail artist to make it happen. With the right prep, some basic tools, and quality polish, anyone—from teens to professionals—can master the art of DIY rainbow nails at home. As this article has shown, the possibilities are nearly endless, whether you want something subtle for daily wear or something show-stopping for a party, concert, or festival.
Moreover, rainbow nail designs carry deeper meaning. They symbolize inclusion, positivity, self-love, and sometimes even activism. They tell the world you’re not afraid to be seen in color, that you celebrate your uniqueness and find beauty in diversity. That’s why rainbow nails are more than just cute—they’re empowering.
So as you scroll through social feeds or browse Pinterest boards filled with color-coordinated inspiration, remember that your next favorite nail design doesn’t have to come from a salon. It can come from your kitchen table, your bedroom vanity, or your travel case. You just need a spark of creativity and the freedom to experiment.
This year, let your nails speak volumes. Let them radiate confidence, tell your story, and reflect your joy. After all, what’s better than carrying a little rainbow magic with you every single day?
It’s time to grab your favorite colors and go all in—because rainbow nail designs aren’t just a trend. They’re a lifestyle.
FAQs
Are rainbow nails easy to do at home?
Yes! With the right tools and a bit of patience, DIY rainbow nail designs are very achievable—even for beginners. Start with simple designs like gradient stripes or color-block nails and work your way up.
What’s the best nail shape for rainbow designs?
Short square and medium almond shapes work best. They offer enough surface area for multi-color patterns while staying practical for everyday wear.
Can I create rainbow nails without nail art tools?
Absolutely. You can use household items like toothpicks for dotting or makeup sponges for gradient blending. However, investing in basic tools will improve your precision and final results.
How long do rainbow nails last at home?
With proper prep and a good topcoat, DIY rainbow nails can last up to 7–10 days. Using a gel polish or a long-wear formula can extend that to two weeks or more.


